
Table of Contents
Introduction
There are several options for creating Custom Post Types (CPTs) and custom fields. The most popular way to do it is with Custom Post Type UI (CPT UI) and Advanced Custom Fields (ACF). There are several reasons why the combination of CPT UI and ACF is the number one choice:
- CPT UI is free and it does everything you need to create Custom Post Types and Taxonomies.
- CPT UI is pretty basic and there is not a lot of documentation, but fortunately it is pretty straightforward and I’ll show you all you need to know in order to use it.
- Advanced Custom Fields has a free version with all of the basic field types. ACF Pro adds advanced features.
- ACF support is excellent and there are a large number of 3rd party addons (though you likely won’t need them).
- ACF is the most widely supported tool. ACF fields are supported by all of the major page builders that have support for dynamic data (pulling data from the database).
- The professional versions of the major page builders have a “theme builder” option that allows you to create single and archive templates for your Custom Post Types. All of them support ACF.
In this tutorial I will do a walk-through of CPT UI and ACF free. I think you will see that it is pretty easy. I will also mention some of the features of ACF Pro. In the subsequent parts of this series, I will use the various “theme builders” to create single and archive templates the the Custom Post Type created in this tutorial.
Video Version
CPT UI
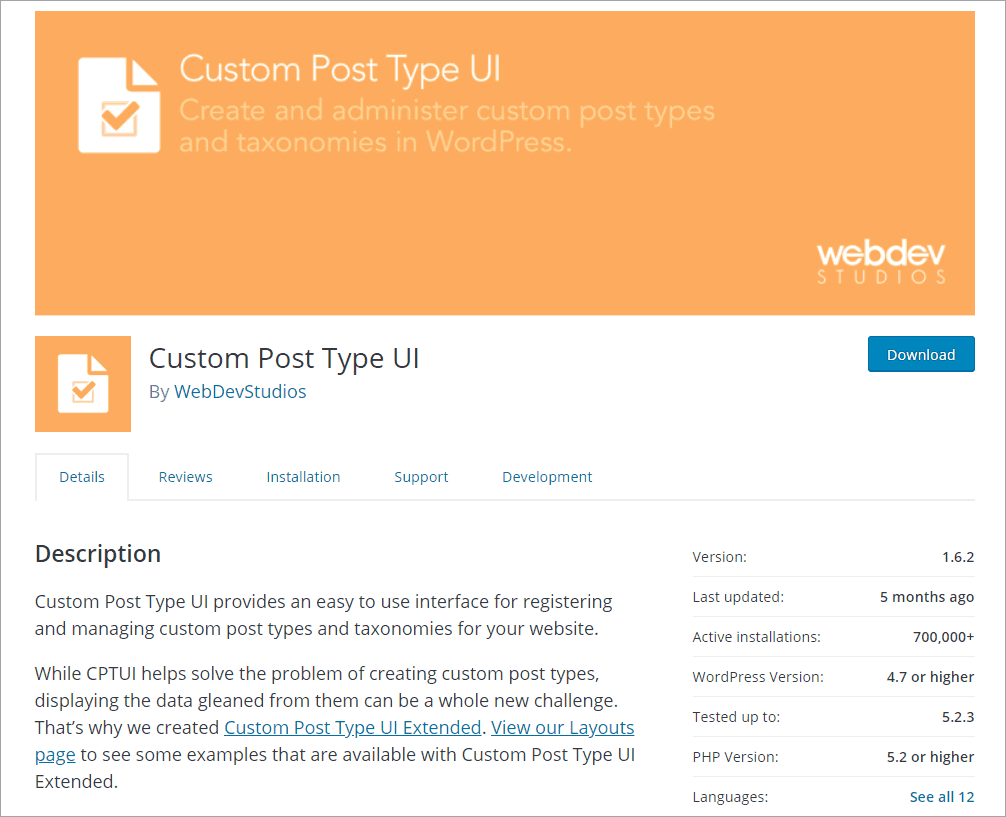
CPT UI is a free plugin available in the WordPress directory. From the admin of your site, go to add plugins and type “CPT UI” and it will show up in the list. Install and active it.
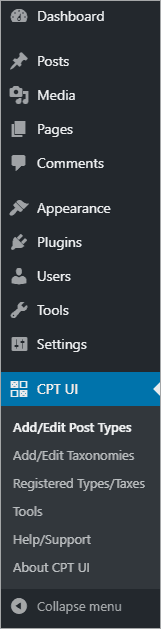
When you active it, you get a new admin menu item.
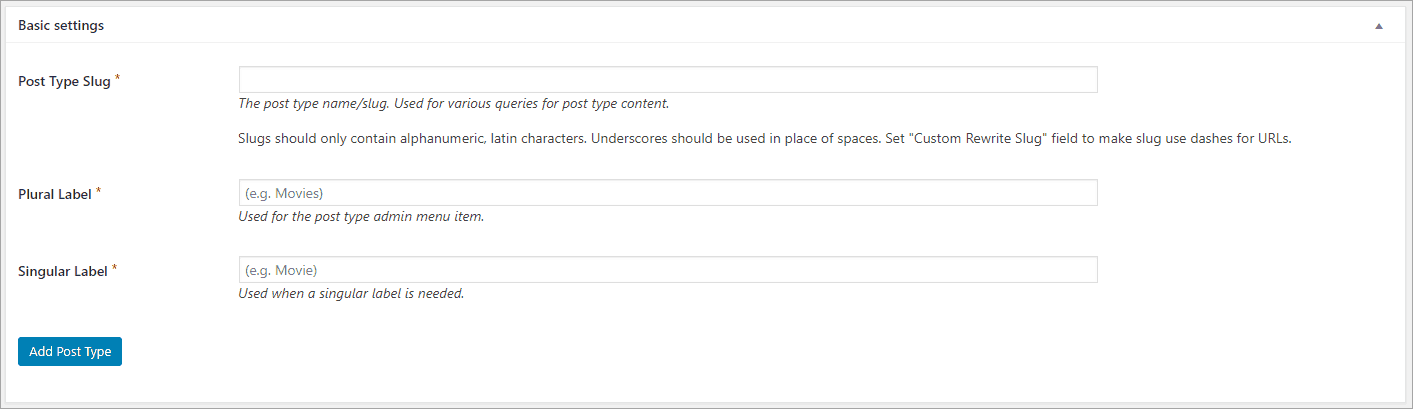
Clicking on the first menu item, “Add/Edit Post Types” gives you a page for creating Post Types. There are three sections to this page.
Creating a Custom Post Type
Basic Settings
There are three fields here. The “Post Type Slug” is a lower case word which will be part of the URL to the CPT records. For example, if the CPT is called “Books” then you would likely give a value of “book.” Then provide the “Plural Label” and “Singular Label” values. From mine I typed in “book”, “Books”, and “Book”.
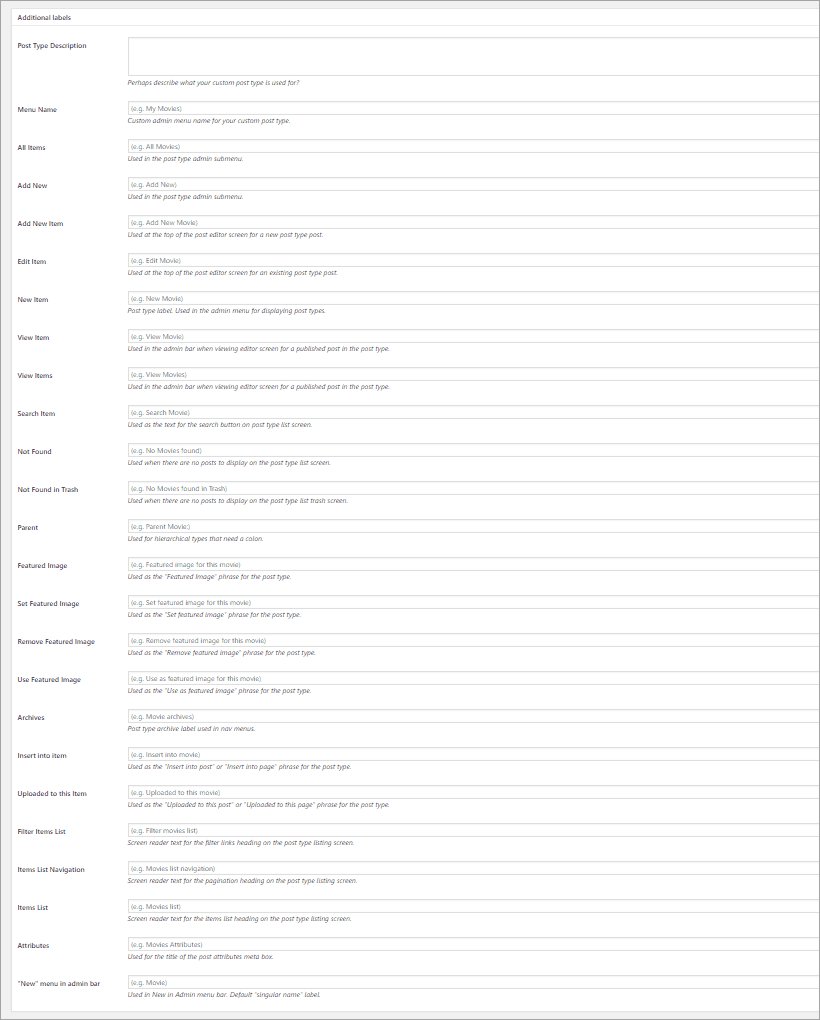
Additional Labels
The next settings group is for labels. You can enter values if you want, but these are totally optional and I usually skip them.
Settings
The last group is just called “Settings” and this is the one to pay attention to. The good news is that you can changes these if needed. There is a short blurb by each setting and for the most part that is sufficient to understand what it does. There are a few that I change or that need more information.

Show in REST API: You will want to leave this as true if you want to use the CPT with the Gutenberg Block Editor.
Has Archive: I usually set this to true so that the CPT has an archive.
Capacity Type: This means that the same user role permissions will be applied to the new post type as are applied for Posts.
Hierarchical: I go with the default, but if you wanted a nested structure like Pages then you would change this to true.
Menu Position: This would be more user friendly if there was a drop down list of side menu items and you could pick the one to show up before. As it is, you need to go to the WordPress Codex page to see the options. I usually go for “20” for a Custom Post Type.
 menu_position
(integer) (optional) The position in the menu order the post type should appear. show_in_menu
 must be true
.Default: null - defaults to below Comments
5 - below Posts
10 - below Media
15 - below Links
20 - below Pages
25 - below comments
60 - below first separator
65 - below Plugins
70 - below Users
75 - below Tools
80 - below Settings
100 - below second separator
Menu Icon: Here is a link to the list of Dashicons. Select the one that best suits your purpose. When you click on one of the icons the page will scroll to the top with your icon selected. You can then copy the class and paste it in here.
Supports: This is the list of features that show up on the edit screen. If you are going to be using ACF then you don’t need to check “Custom Fields” as this refers to the WordPress built in custom fields, which are all of type “text.” I usually add “Revisions” and, if there is more than one person adding content to the site, then add “Author” as well.
Custom Supports: Some themes or plugins provide features that you can declare support for. Most of the time this can be ignored.
Built-in Taxonomies: You can use the built-in taxonomies that are attached to Posts, or you can use CPT UI to create new ones. This is where you assign them to your post types.
Edit Post Types
Once you save your first Post Type you get some tabs across the CPT UI screen. “Edit Post Types” is where you can change the settings for a post type that you have already created. One tip is to take note of the checkbox “Migrate posts to newly renamed post type?” If you change the “Post Type Slug” and records you already created won’t be carried over unless you check that box … and that only works when you first change the slug. Checking that box later and then clicking the “Save Post Type” button won’t do it.
Creating a Taxonomy
The menu item “Add/Edit Taxonomy” is where you create a taxonomy. Just as when creating a CPT, there are a few basic settings at the top, a long list of labels (that you can leave as default if desired), and a list of settings.
My definition of taxonomy is to “order by things that are alike.”
David McCan
Basic Settings
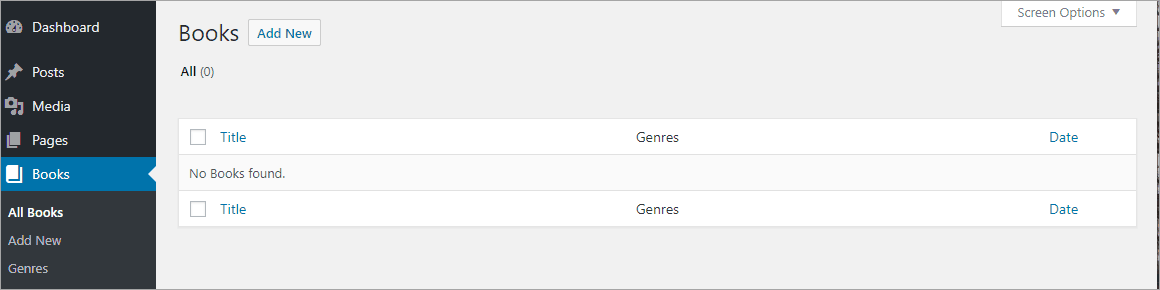
I created a CPT called “Books,” so I am going to create a taxonomy called “Genres” so that I can categorize the books. I could add another one for “Audiences” if I also wanted to segment by age group. Note the section to attach the new taxonomy to the desired post type.
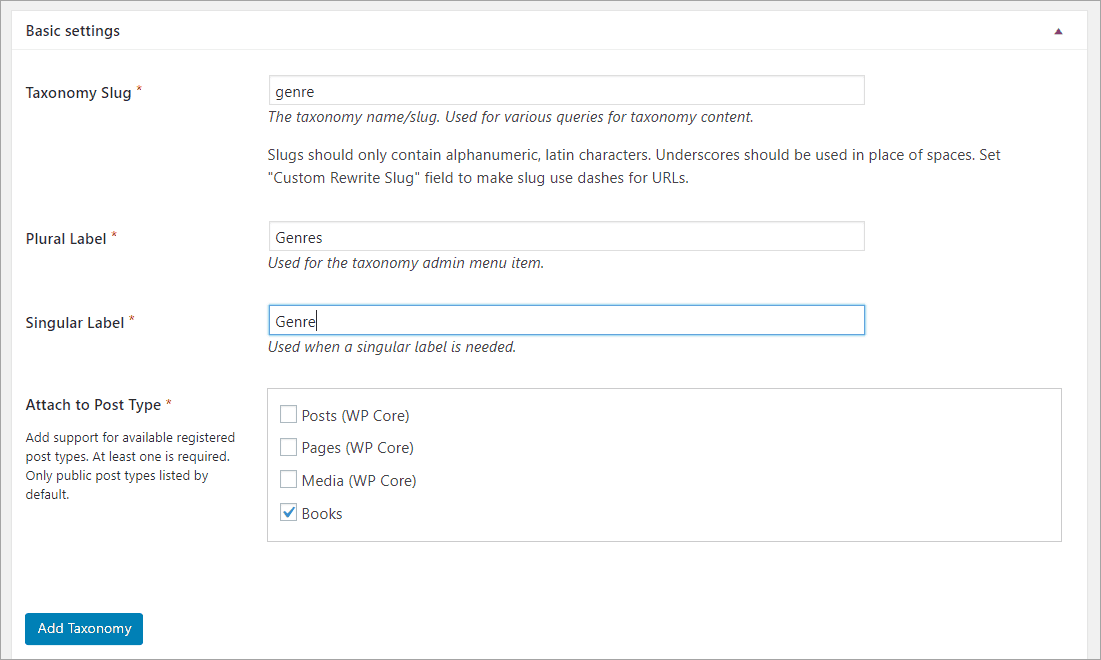
Additional Labels
I’m going to leave the labels at their default, but you can customize them if desired.
Settings
The short blurb next to the settings are pretty self-explanatory and I keep most of them at their defaults, but I’ll mention a few that I change or that are important.
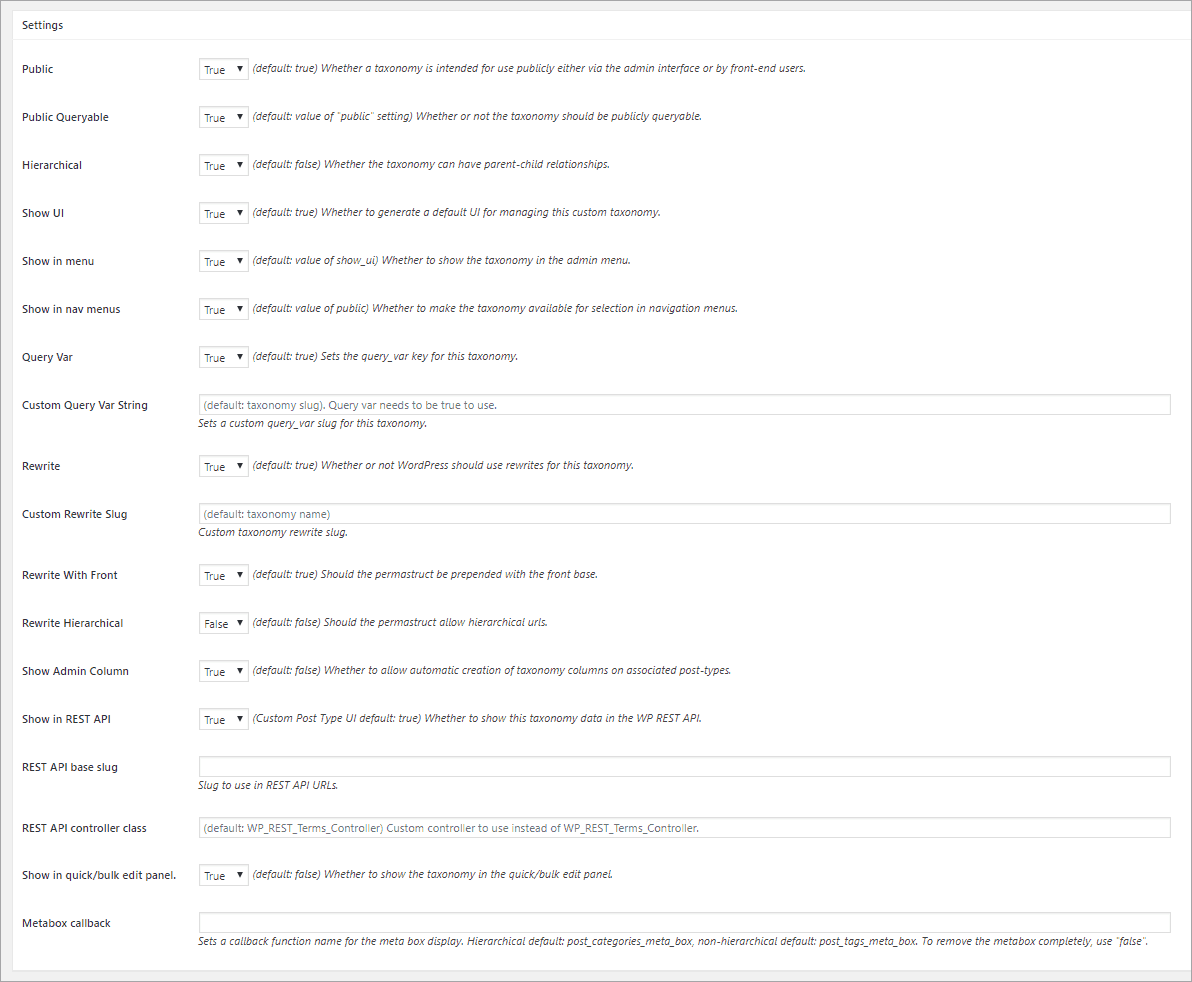
Hierarchical: By default this is false, which sets the taxonomy to be like “Tags,” a flat set of attributes that you can add. In my case, I’ve changed this to true as I want a drop down list of genres. This will set the taxonomy to be like Categories, which can be nested if desired.
Rewrite Hierarchical: If you are using the Hierarchical option to make your taxonomy like Categories and you intend to nest them into levels, then this setting gives you the option to have those levels reflected in the permalink structure. I’m using the Hierarchical option, but I don’t intend to nest the genres, so I left this as false.
Show Admin Column: I almost always change this to True as it shows the input values of your taxonomy on this list of all posts.
Show in quick/bulk edit panel: This allows you to add or change the input values applied on the quick edit screen. This is a nice convenient option.
Edit Taxonomies
Once you save your first taxonomy you get additional tabs across the top of the Add/Edit Taxonomies screen. You would click on the Edit Taxonomy tab if you want to make changes to the settings.
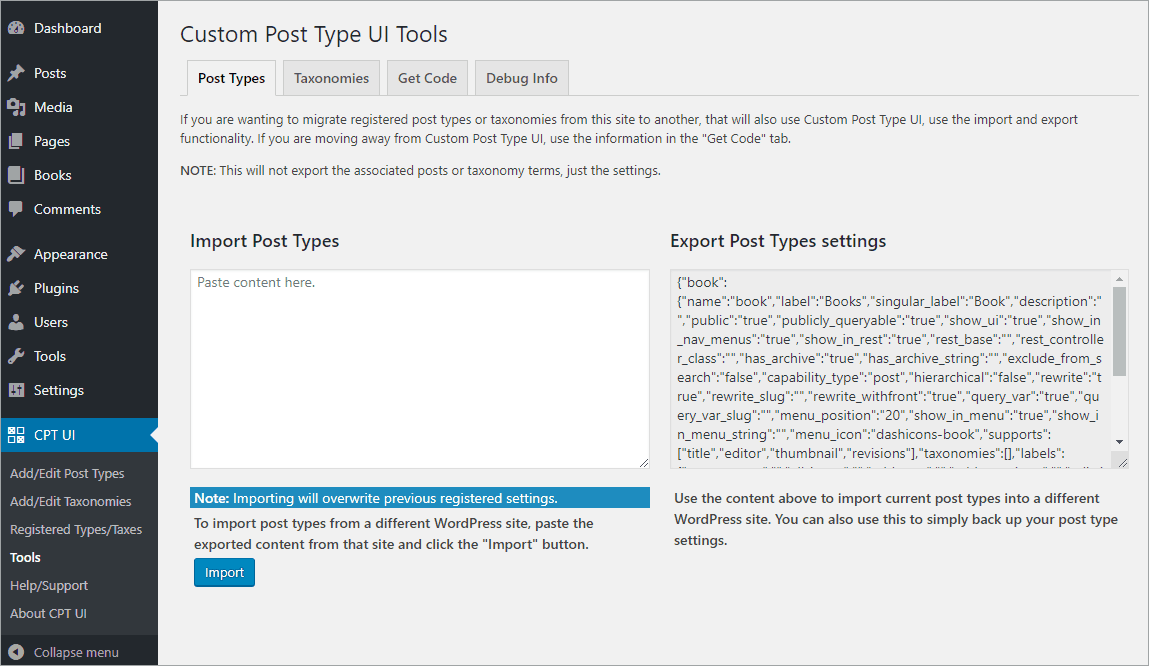
CPT UI Tools Menu
The other area of the CPT UI program that is important is the Tools menu. This area has some nice helpers.
Post Types
If you have created a CPT on one site that you want to also use on another site then you can copy the settings code from the “Export Post Types Settings” on one site and paste it into the “Import Post Types” box on another.
Taxonomies
The same for taxonomies. You can copy the settings code from one site to another the same way as you did for Post Types.
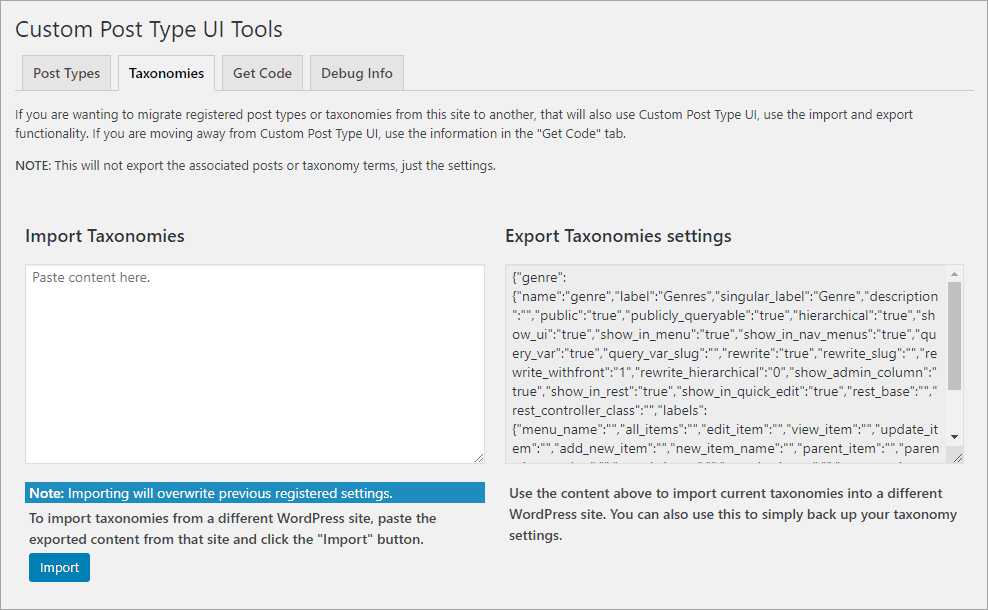
Get Code
The “Get Code” tab is interesting and fairly unique. If you have gotten your CPTs and Taxonomies just the way you need them and you are sure you won’t need to make changes, you can copy the code from these code areas and put them into your child theme’s functions.php file. While that is an option, be careful if you change themes to copy the code over to the new child theme so that you don’t loose your CPTs.
Note that there is both a box for each post type or taxonomy as well as box for all post types and a box for all taxonomies. This way you can grab the code you need.

CPT UI Results
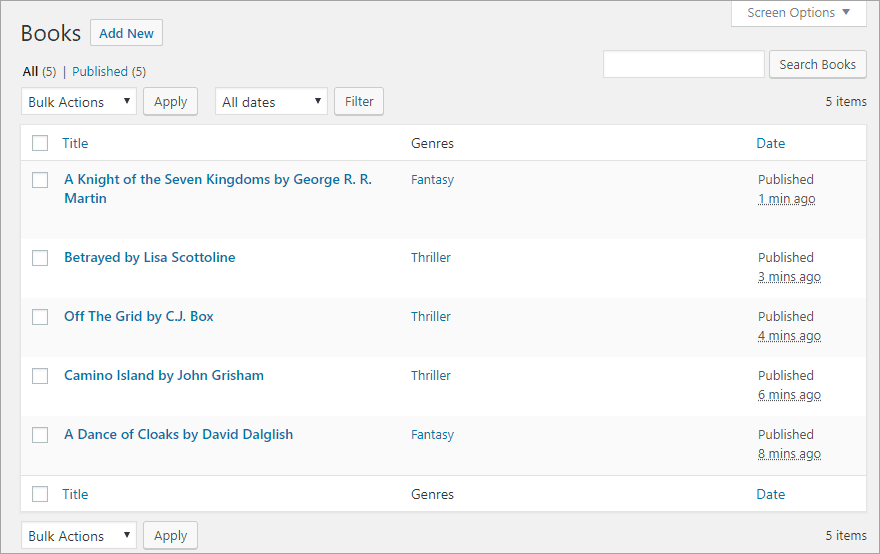
We now have our Custom Post Type and Taxonomy created. Note that we have the “Book” post type, “book” icon, the “Genre” taxonomy, and on this list of all Books, we have the “Genres” column where the input values will show.
However, if we look at the edit screen for books, we find that it has the same input areas as Posts do (Title, Content, Featured Image). For books we want to add some extra book specific fields.
Advanced Custom Fields (free version)
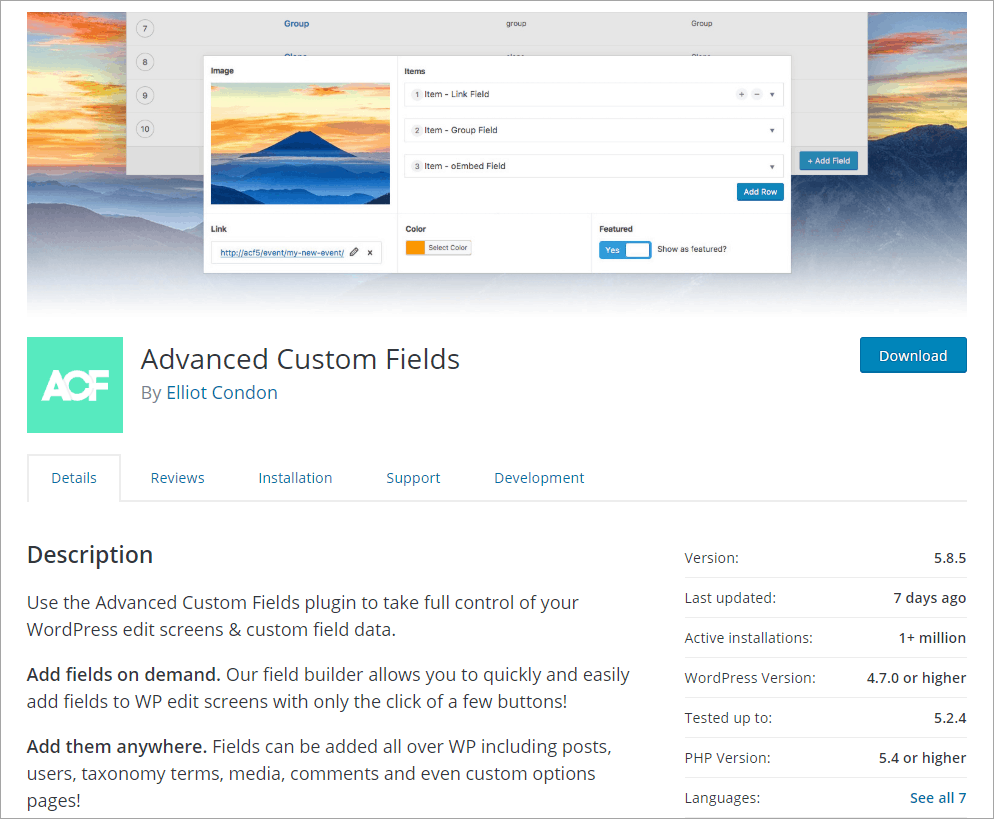
The free version of Advanced Custom Fields is available for download from the WordPress directory. As you can see, it is being used on more than a million websites and has an excellent user rating.
Install ACF free by going to the Plugins menu and selecting add new. Type “ACF” into the search box and scroll down to find the plugin. Click install and then activate it. You then get a new menu in the admin. Click the “Add New” button to get started.
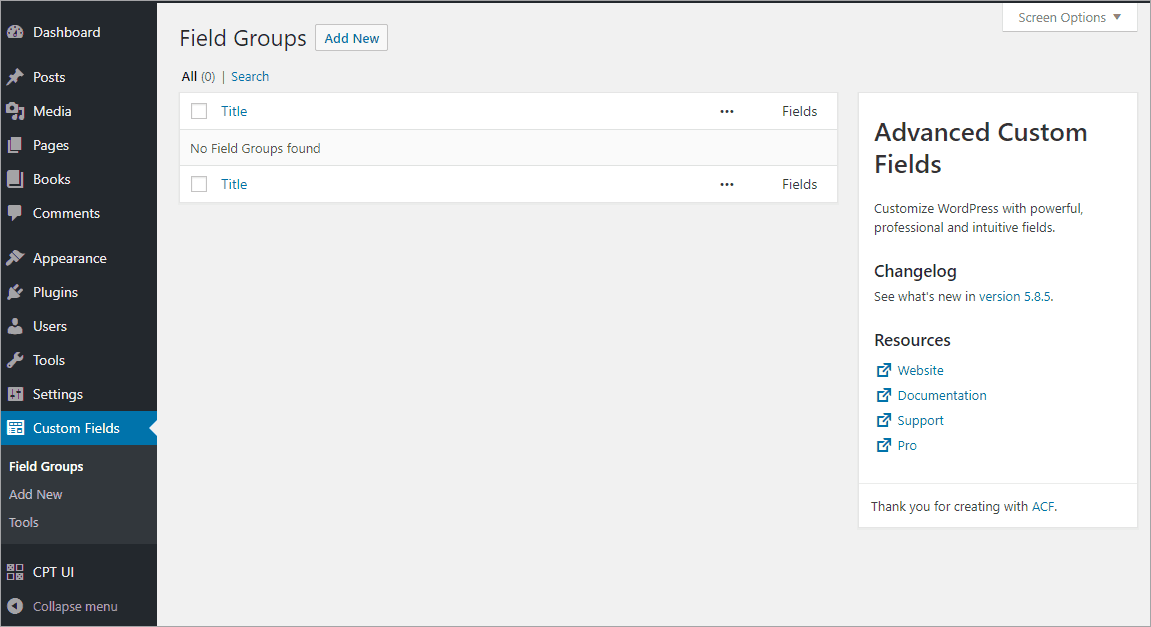
When you click the Add New button you get a settings screen. A “Field Group” is a collection of custom fields. Give your group a name and select which post type you want to add it to. That setting controls which edit screens it shows up on. I named mine “Book Info” and assigned it to the Books Custom Post Type.
The section at the bottom with the list of check boxes is a helper where you can turn on or off some of the options on the editor page, if desired.
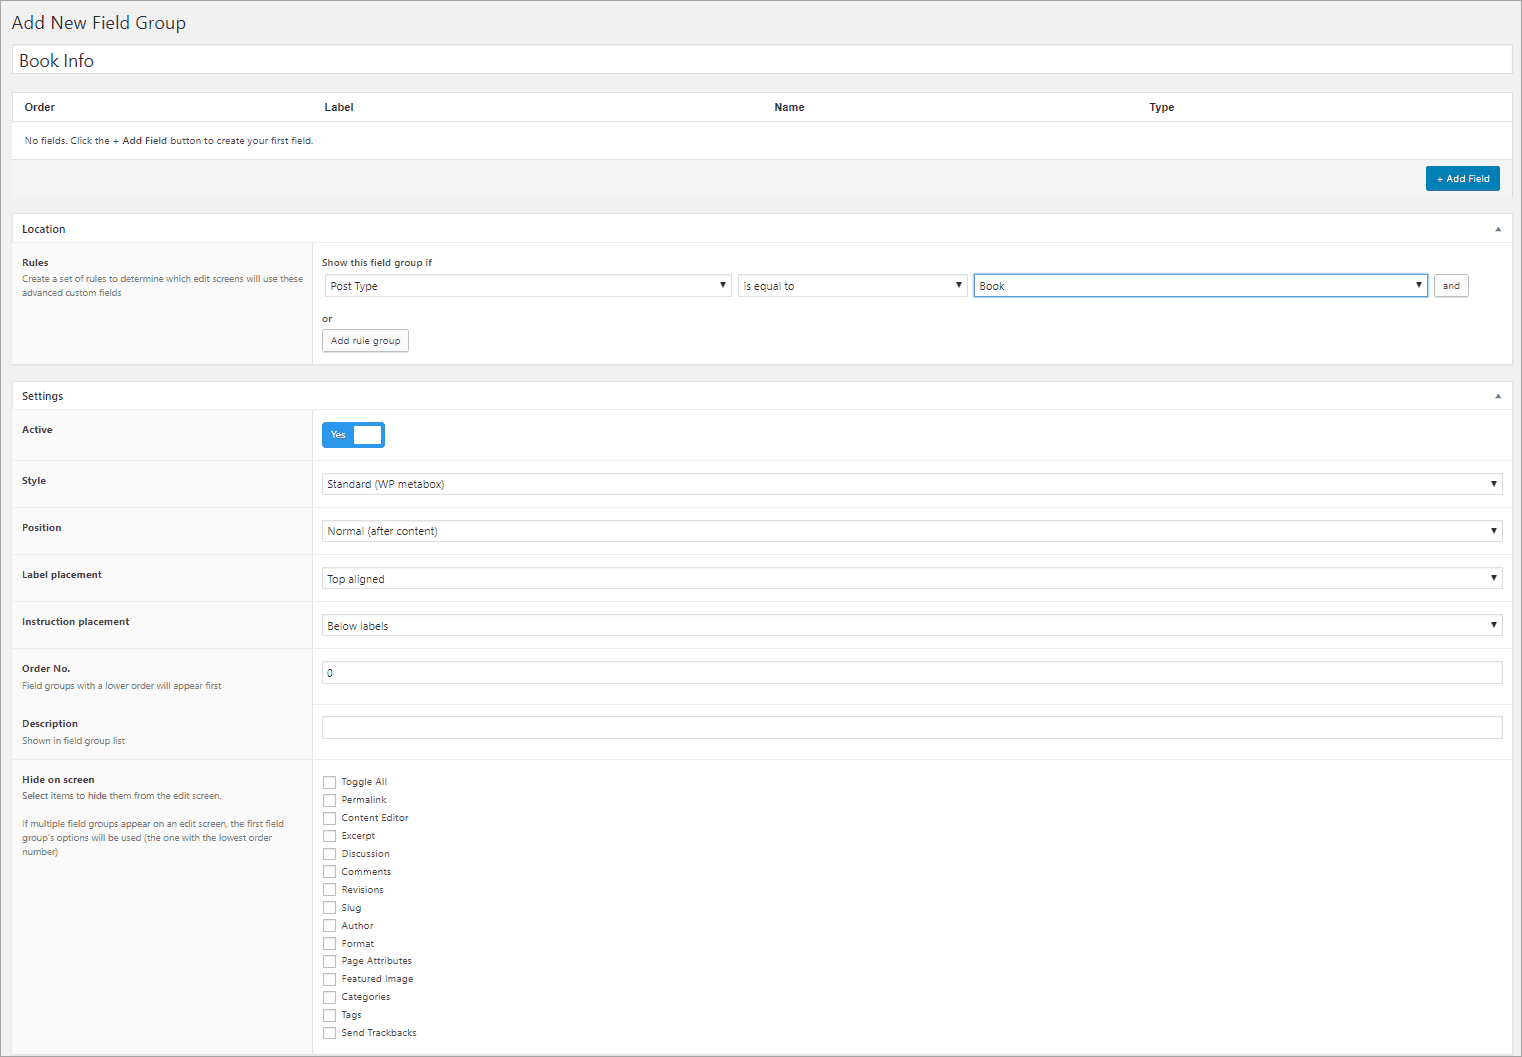
Next, you want to click the button to “Add Field”. When you do that you get a section for each field where you can set the field options.

There are a large number of field types to choose from. I marked the ones that are only available in the Pro version. As you can see, ACF free is very full featured. Unlike CPT UI, Advanced Custom Fields has excellent documentation. Here is a link to the docs on the various field types.

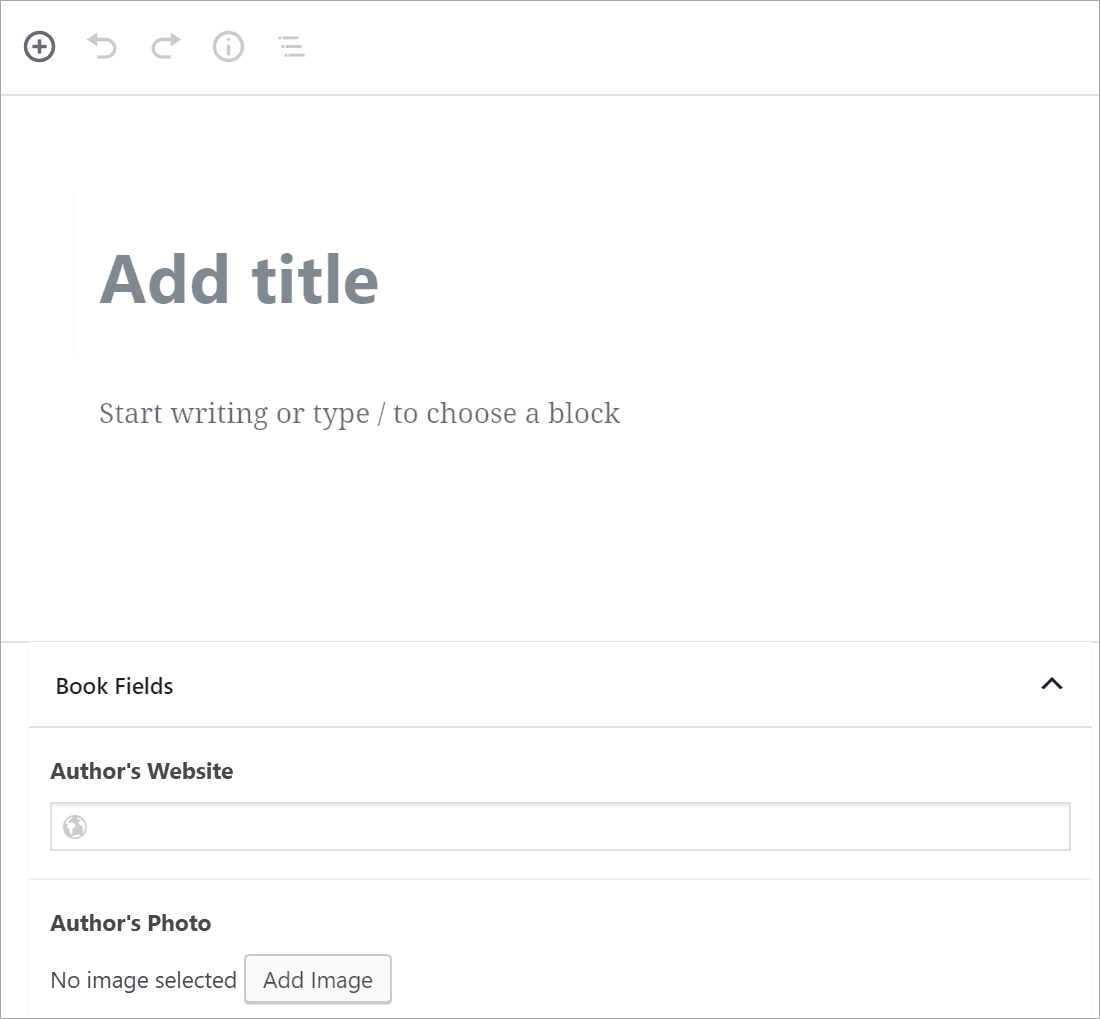
I added two fields, a URL field for a link to the author’s website and an image field for the author’s photo. Here is a screenshot of the Book edit screen with the two new fields.
I added five records.
When you view a book on the front end, one thing you notice is that none of the custom fields show by default. This is one of the biggest WordPress “anti-features,” fields associated with a post are not output automatically when being viewed.

This completes the CTP UI and ACF walk-through. I hope that you’ve been able to see that using these tools is pretty easy and they offer a lot of features for free. Some people may be interested in the ACF Pro version.
Advanced Custom Fields – Pro Version
Although I’m not using it in this project, the ACF Pro version adds some powerful features.
Repeater Field: The repeater field is one of THE most popular ACF features. You can create sets of fields that you can “repeat” on the fly when editing. For example, when creating a restaurant menu, you can have fields for dishes and for each new one just click the Add Row button to add another one. You don’t have to know in advance how many rows you will need.
ACF Blocks: Gutenberg introduced blocks that are created with JavaScript. ACF blocks lets you create blocks with PHP in an easier manner. Creating ACF blocks that include your custom fields is one way to output your custom fields for viewing on the front-end.
Flexible Content Field: This allows you to organize your field groups in the editor to make data entry easier.
Options Pages: These are the settings pages in the WordPress admin. You can use ACF to create your options page.
Gallery Field: The gallery field is another popular ACF field type. Instead of adding images one-by-one, you can add as many images as you want.
Clone Field: This allows you to reuse existing fields or field groups so that you don’t have to have duplicate fields. For example, if you have a set of fields for image attribution, such as “source” and “license” as you need to keep track of them. You could create a field group for this and then clone it for each custom post type.

What is Next?
It used to be a major pain to output your Custom Post Types and their custom fields to the front-end of your site for people to read. You had to create PHP templates from scratch. Then Toolset came along which gave the site builder a huge amount of power and control over creating templates. However, lots of people feel that Toolset is too complex. The fact is that Toolset is very powerful, and it is complex, but it can cover a lot of edge cases needed for advanced site functionality. Today, with the rise of “theme builder” functionality in popular page builders this once painful task is very easy. Most sites can get by using a the theming features in their page builder and don’t need to create PHP templates by hand or navigate Toolset complexity. As mentioned in the introduction, to this tutorial, ACF is supported by all of the popular page builders. Checkout the next parts of this tutorial series where I create the theme templates using the most popular page builders.


Hi Dave … I’ve just made the case on my Blog that Elementor should look into incorporating ACF directly into the Elementor platform … I make the basic case for doing so here …
https://whiterockwp.com/a-new-product-features-id-like-to-see-in-elementor-built-in-acf/
Interesting idea. Elementor also supports Toolset, Pods, and Meta Box, though I imagine ACF is the most widely used.
Excellent instructions!
Thank you for the positive feedback.
Hey there. Thanks for posting this. I’m not sure how old it is, but ACF Pro is not a one-time payment. It’s yearly, which is at the bottom of the page: https://www.advancedcustomfields.com/pro/. I wish it were just a one-time price.
I fixed it. Thank you.
Thank you, David! You know I’m an absolute beginner in custom taxonomy. This post came as a Related post to your review of – Metaboxes & Metaview.
Definitely learned new things . I downloaded both of them for offline re-reading.
However I’m heading to install “Show Current Template ” plugin.
Have a very Merry Christmas!
Hi Dimiter,
I hope you have a good holiday and that 2021 is a great year for you.
I’m glad you are finding some of the posts interesting.
Best regards,
David
I would like to have a new site and embrace that damn gutemberg plugin.
With Elementor PRO (or Oxygen) it’s super easy to add dynamic content… with Gutemberg… is it possible to do without coding?
I think we will see several good options for this in a couple of months when WordPress 5.9 is released. Right now Stackable Blocks is pretty close. Kadence and others will offer something in the near future also. I have a post / video on Cwicly, which is one of the first to offer that, but other more established ones will be coming.
Thanks David