Table of Contents
I’ve been publishing tutorials about Custom Post Types for a few years and I’ve been asked several times to do one on Pods. My reply has been that I’d do one when Pods version 2.8 was released. Pods 2.8 has been in development for more than 6 years and I started to think that I may never need to create a Pods walk-through. However, Pods 2.8 was just released and I am very happy to make good on my promise.
Pods is a WordPress plugin for working with dynamic data. There are two steps in the process: creating the Custom Post Type and custom fields in the WordPress admin and then displaying that data on the frontend. In this walk-through and review we’ll have a quick overview of Pods and then I’ll show how to create a Custom Post Type with custom fields and how to add a custom taxonomy. Then we’ll look at different ways to display the Custom Post Type fields on the frontend of the site and show how to do this using Pods Templates and with Beaver Themer.
Video Version
The video version has the complete step-by-step walk-through. It would take dozens of screenshots to show this in detail in the text version, so here we will have more of an overview and summary of the steps involved.
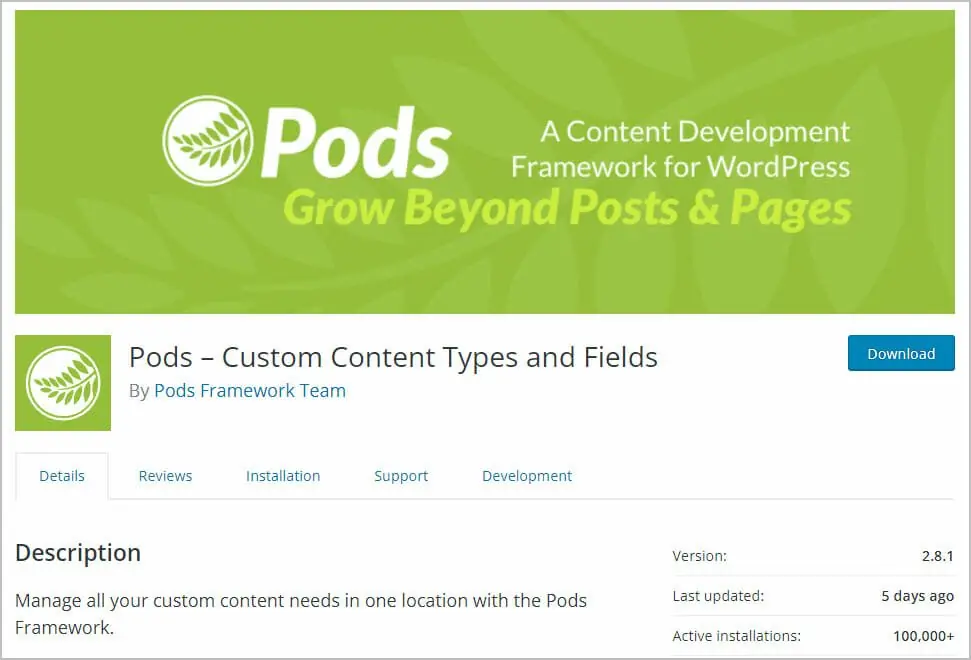
Pods in the WordPress Plugin Directory
The core Pods plugin is available free in the WordPress plugin directory. It has more than 100,000 active installs and 330 5 star reviews. The Pods team is active in the support forum helping users.
Pods Website
There are a large number of Pods addons. Some of them are very old. Many of them allow you to use Pods fields with other plugins. Some of them also extend Pods with additional features.
Pods just updated their website. It is attractive, but a lot of the information is out of date and the documentation is incomplete. Pods is user sponsored, so there are pages for making donations if you want to contribute.
Pods Admin Menus
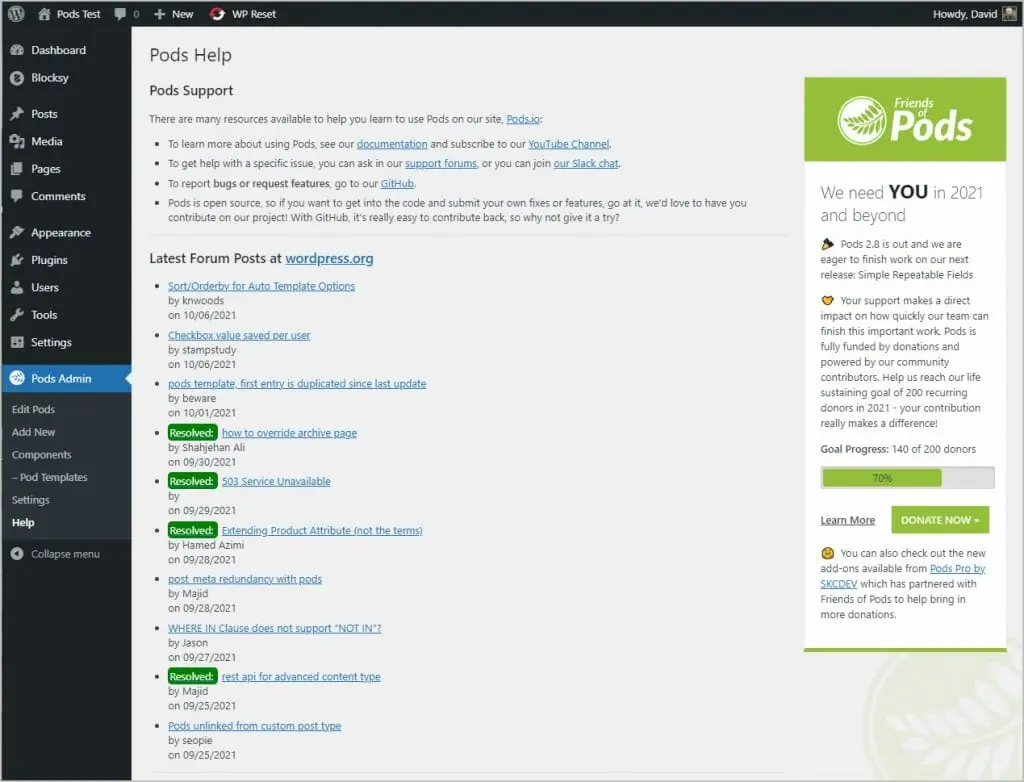
When you activate Pods a new admin area is created. Starting at the bottom is the Help page.
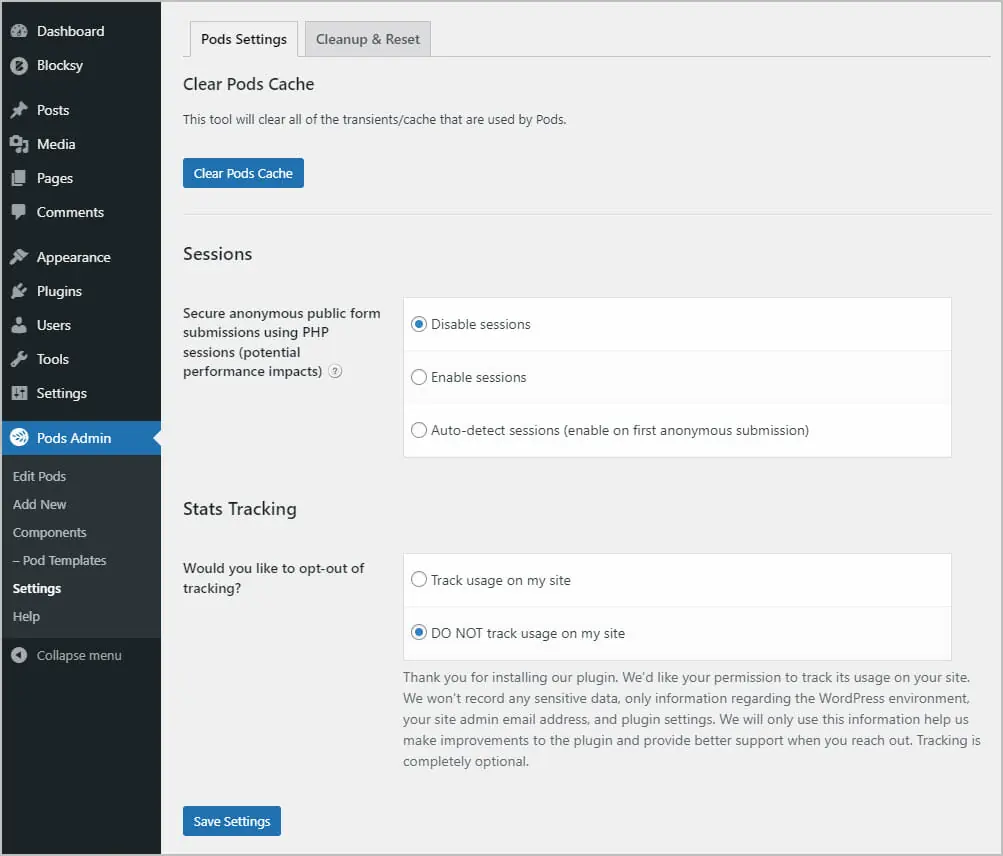
Next there is a settings page. This has two tabs. On the first one you can clear the Pods cache, enable or disable sessions, and allow Pods to track usage.
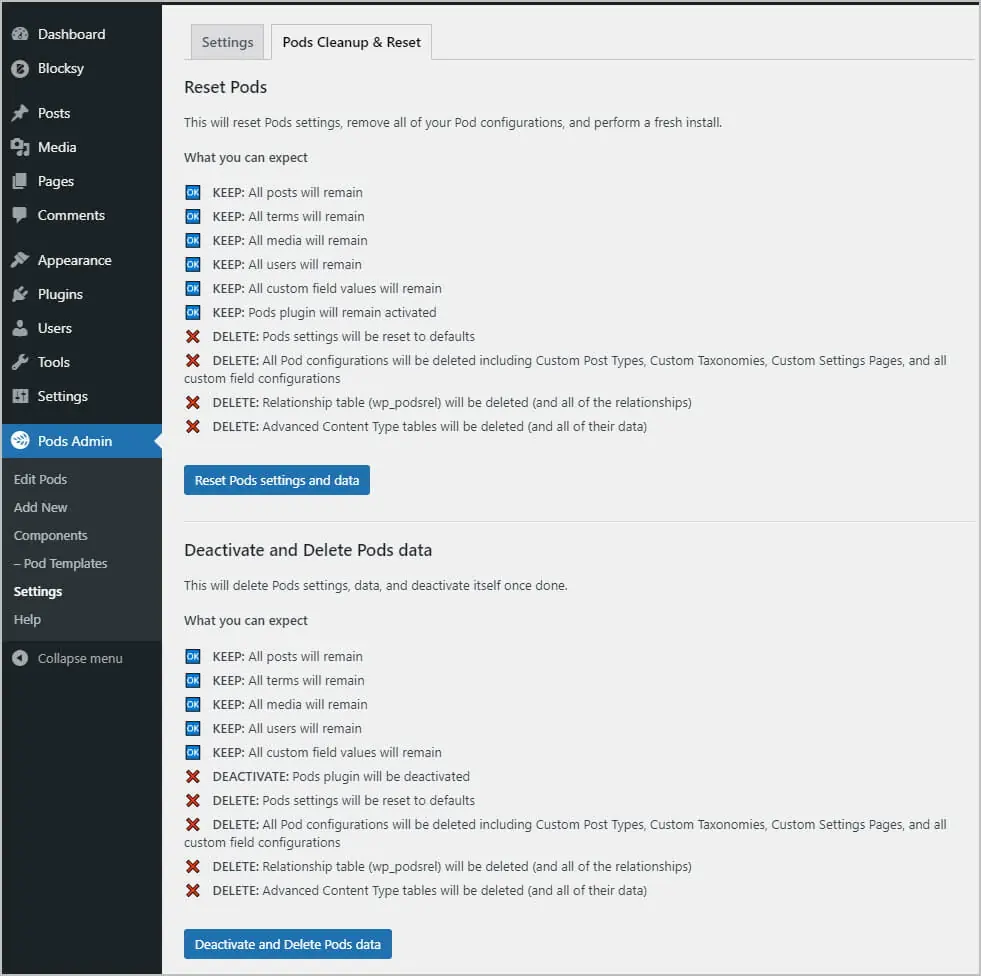
On the other tab you can reset your Pods data. Read the instructions carefully!
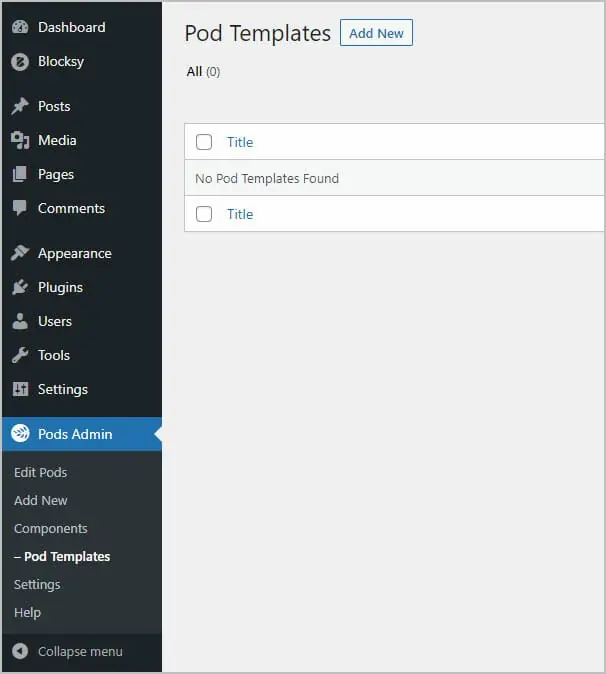
Pods has its own template system and we will look at that further on. This is the menu you go to when creating or editing a template.
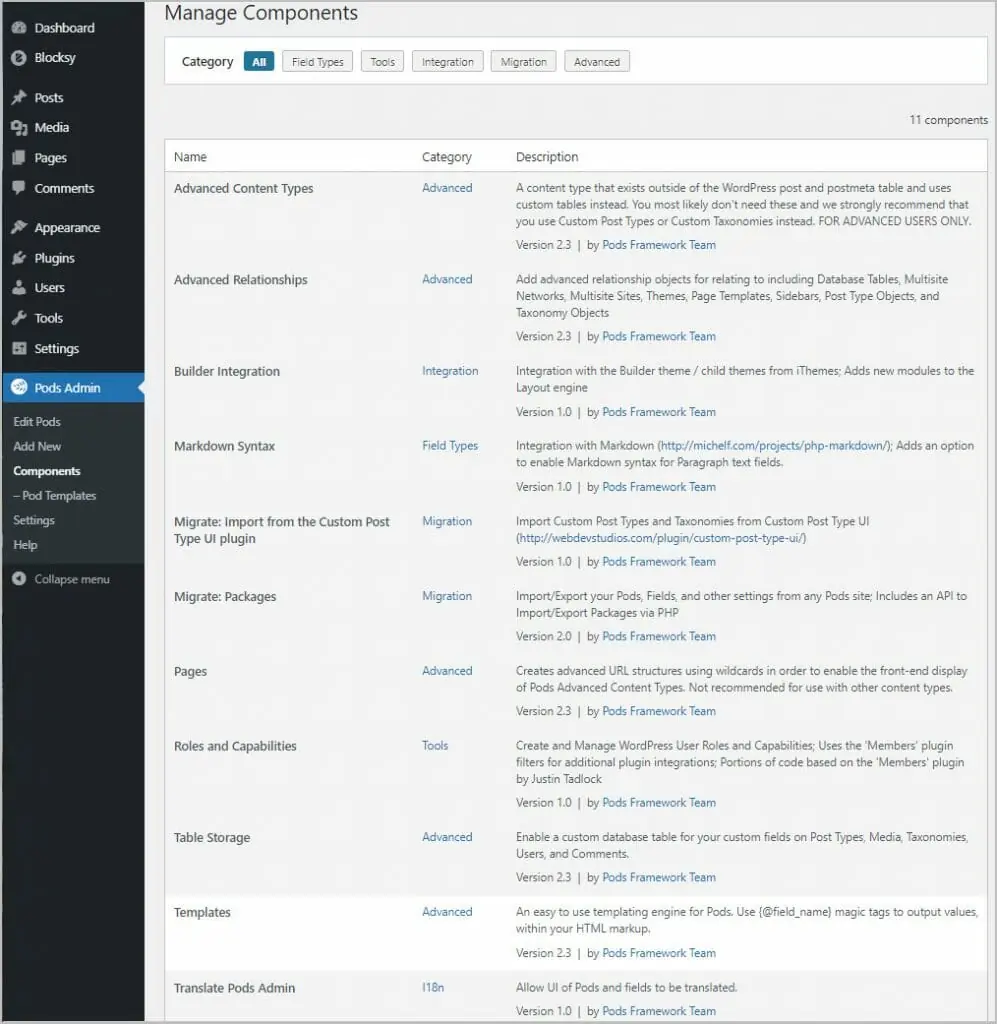
These components are features built into the core plugin that you can enable or disable.
Finally, this is the screen where you can create or edit a Pod.
Creating the Custom Post Type
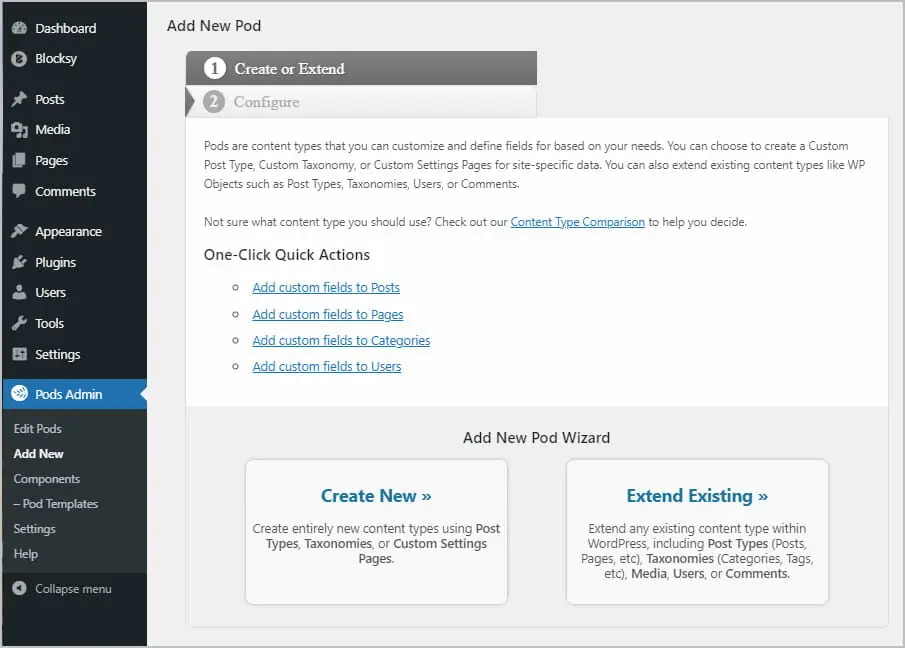
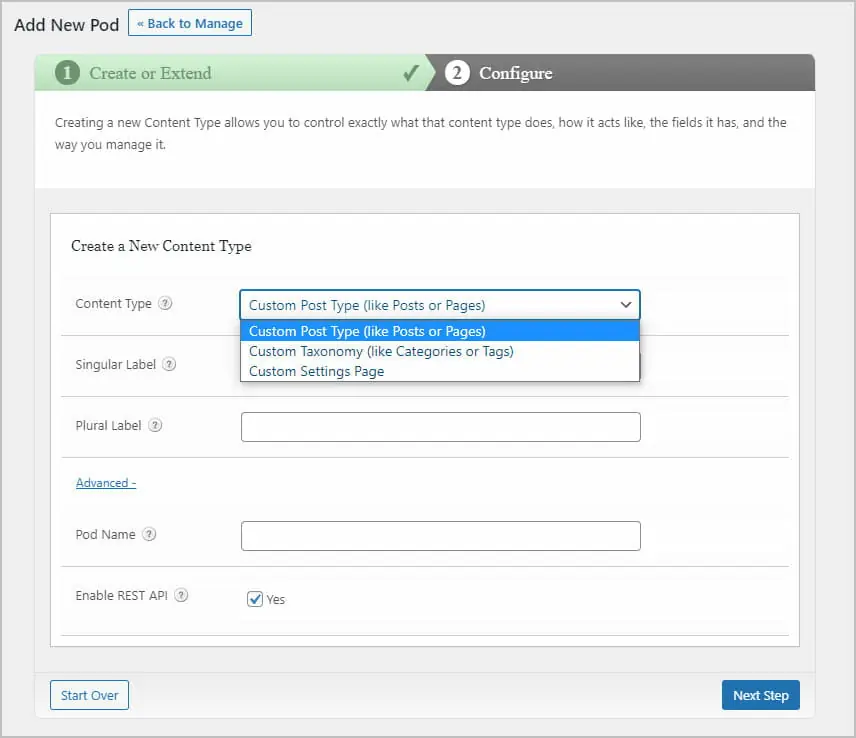
When you go to create a new Pod there is a choice where you choose new Pod, new taxonomy, or a settings page. There is an “Advanced” link that shows the pod name and the option to disable the Rest API for the Pod.
When you click Next Step you arrive at a screen where you add custom fields to your Pod.
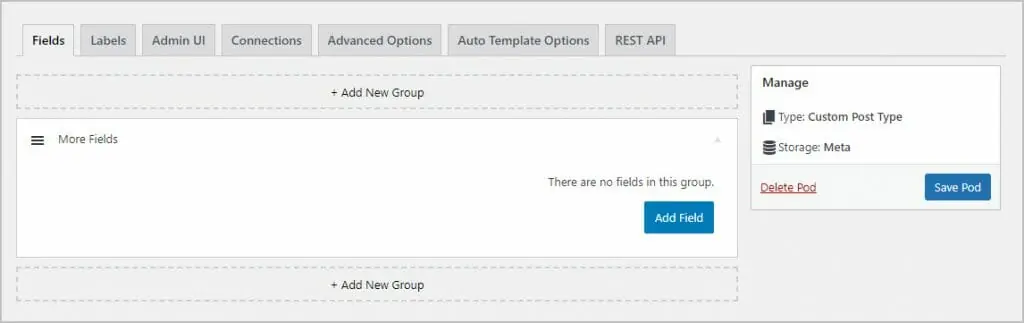
After clicking the Add Field button there is an edit field screen popup that has four tabs. On the first one you supply the name and description. There is a drop down with a long list of field types you can pick from. I wanted this field for the author’s photo and picked the File, Image, Video field type.
The contents of the 2nd tab depends on the field type you picked. Each field type has different options.

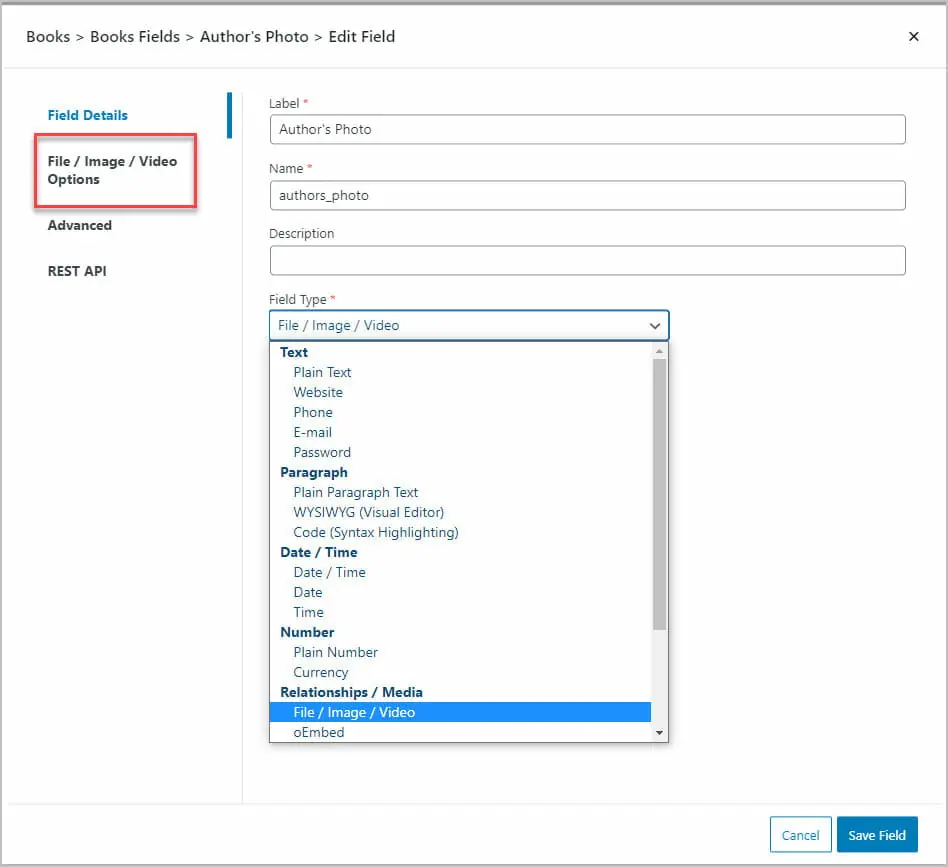
On the Advanced tab you can add a custom CSS class and there are visibility options.
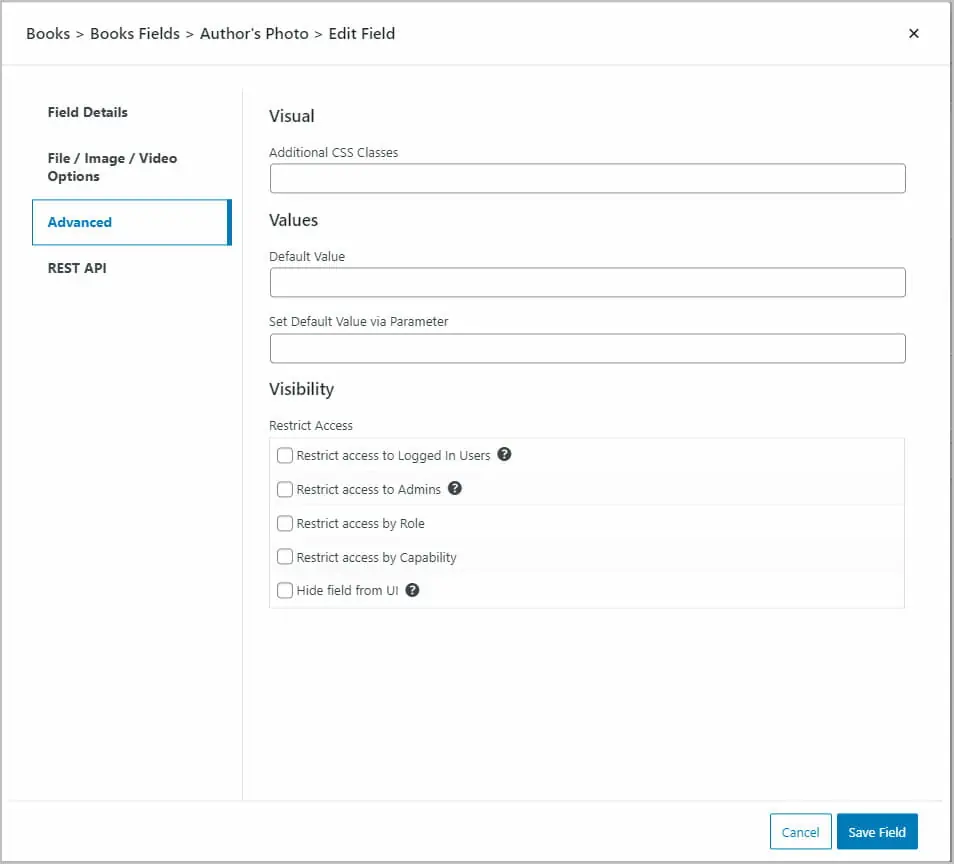
The Rest API tab is another place for Rest API settings, these are for field specific options.
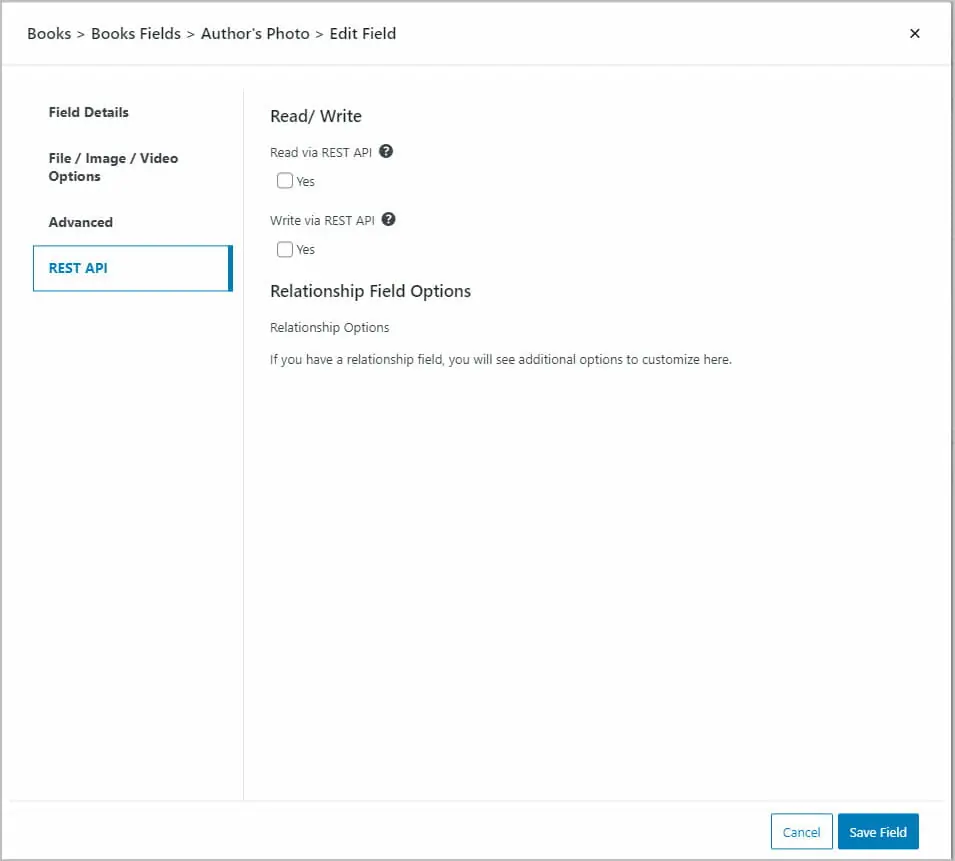
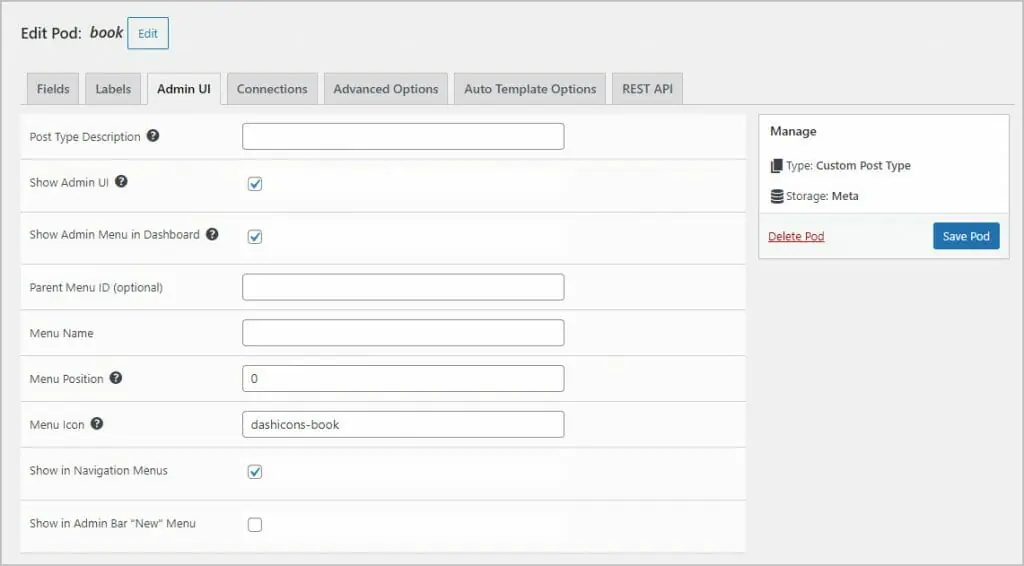
There are a number of other tabs related to the Pod. Labels has the options for all of the labels that show in the admin and on the edit screens. The Admin UI tab has the options for different ways to show in the admin. It seems that some of the options overlap between all of the tabs. They were probably added over time the old ones were not updated.
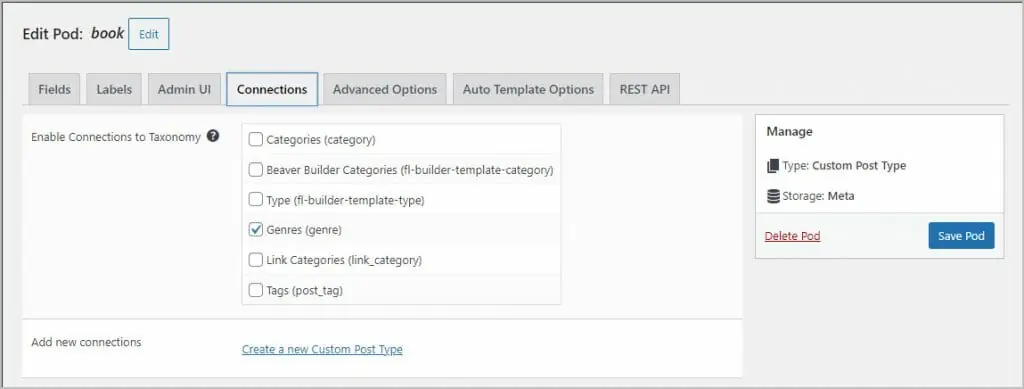
On the Connections tab you check which post types you want to associate with the Pod. Here I’ve already created the Genre taxonomy which is associated with the Books Custom Post Type.
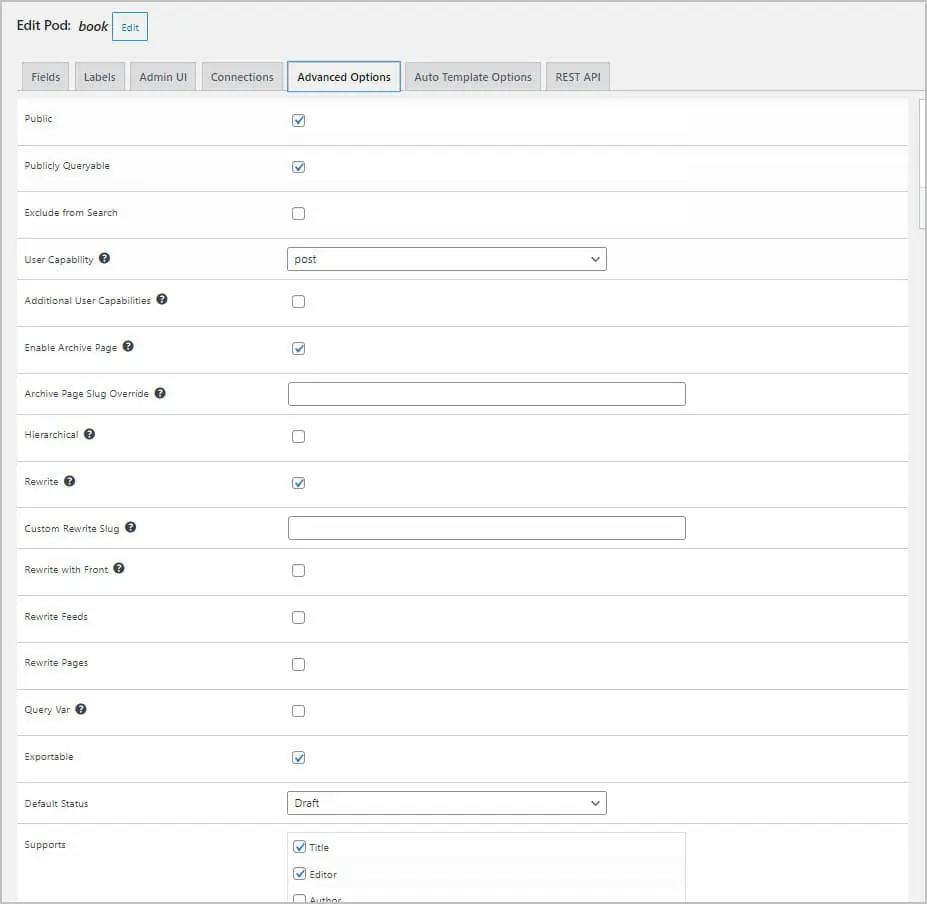
There is a long list of Advanced Options. You need to check if you want an archive, which editor features you want, and options regarding permalinks. Some of these probably have defaults, but these aren’t clear.
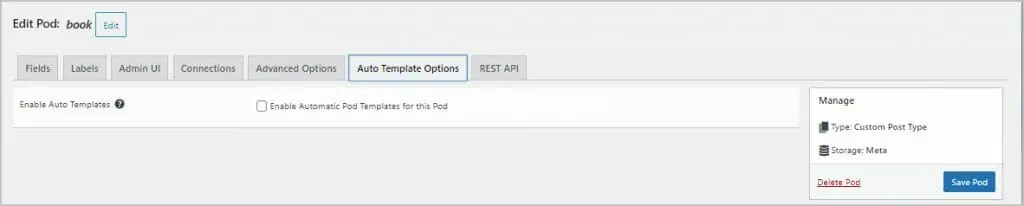
The Auto Template tab is where you check if you want to use Pods templates. We will look at that below.
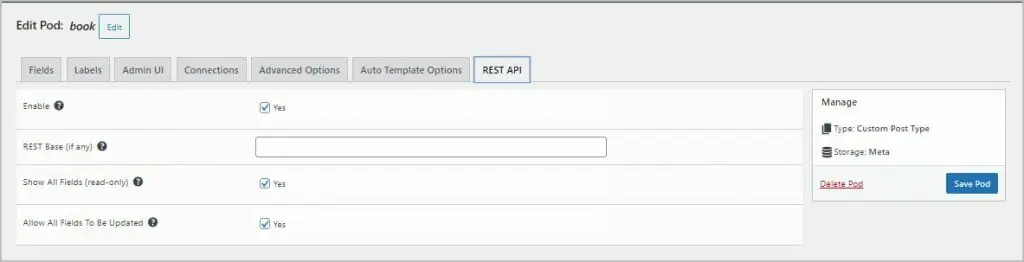
Finally, there is the Rest API tab, which is another place where you can make those settings, this time the settings apply to all of the fields of the Rest API.
After clicking the Save Pod button the Custom Post Type shows in the Admin menu.
Creating a Custom Taxonomy
The process to create a custom taxonomy is very similar to that of creating a Pod. You select the second option on the create new Pod screen drop down.
You can add custom fields, but most taxonomies don’t use them. Some of the tabs are the same as when creating a Custom Post Type and some have different options.

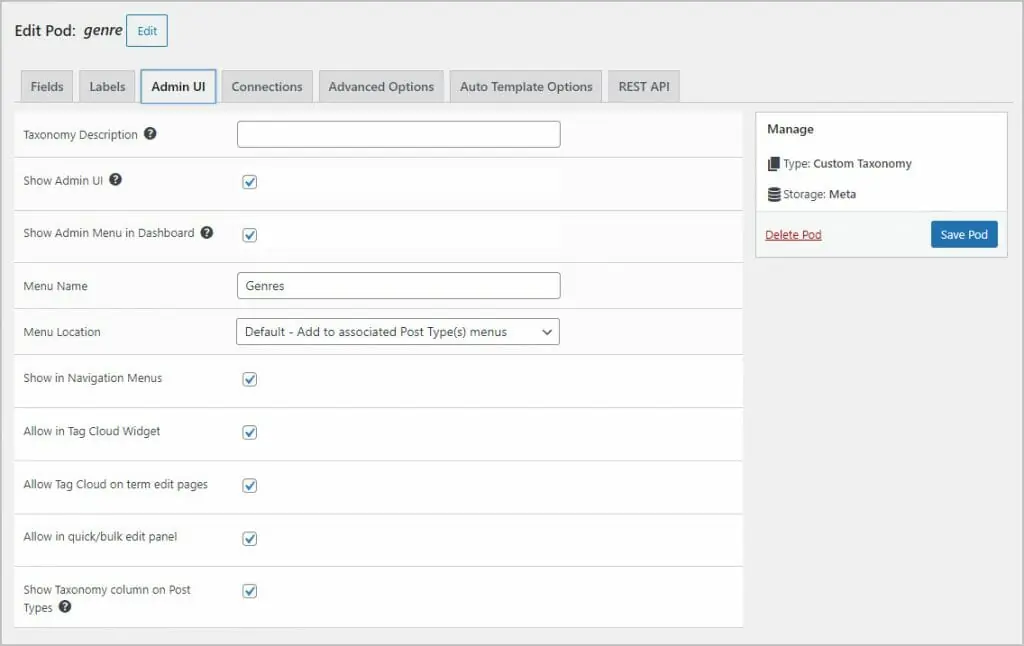
The Admin UI is one of the tabs that is different. These settings are mainly taxonomy specific.
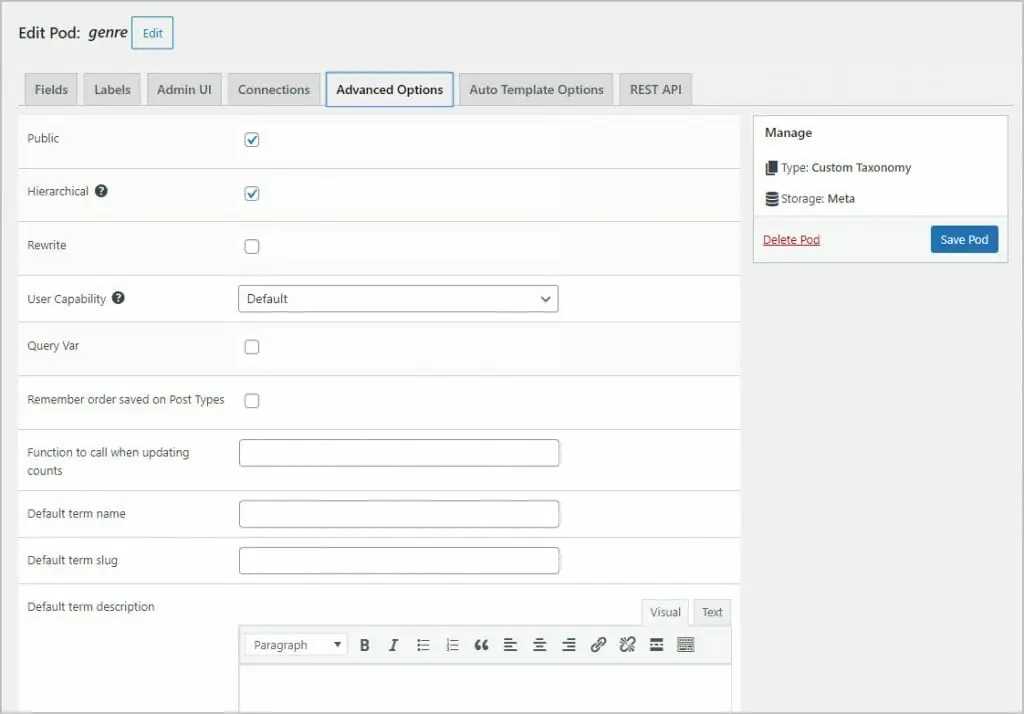
The other screen that is different is the Advanced Options screen. A number of the settings are advanced and many of them don’t even have little tool tip icons.
The Book Custom Post Type
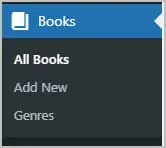
After creating the Book Custom Post Type and the Genres Taxonomy we have a new admin menu item.
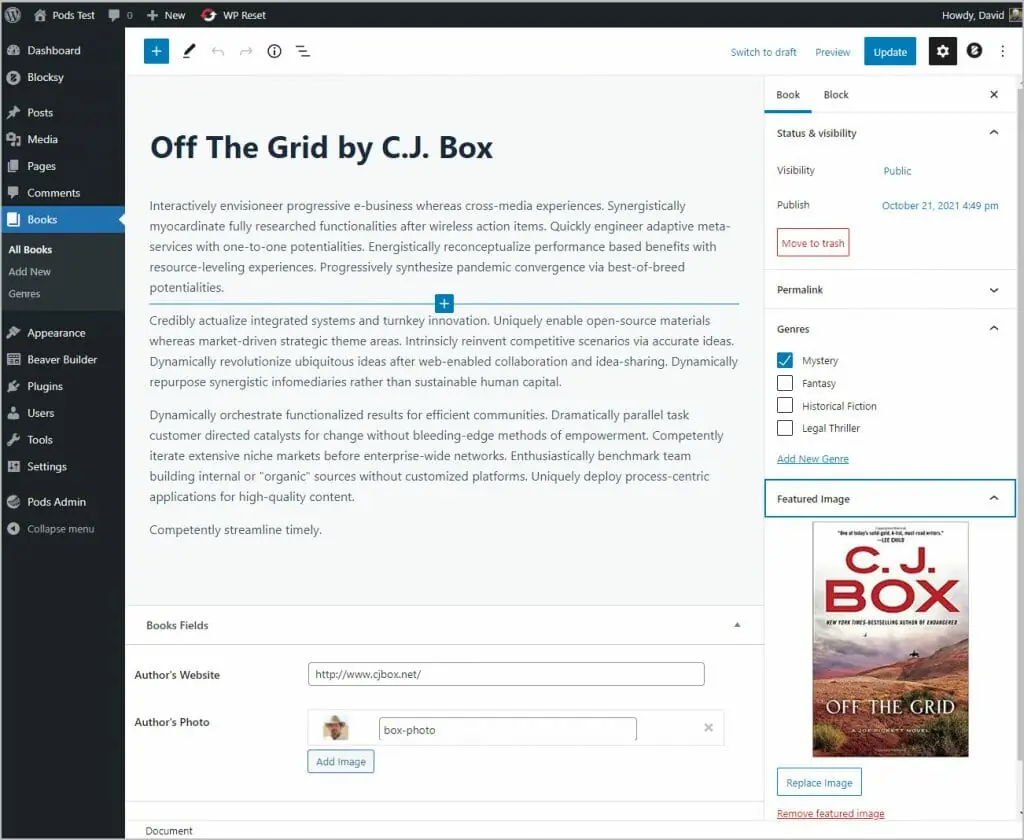
In the editor screen we see the title, content editor, genres taxonomy, featured image, and the two Pods custom fields we created.
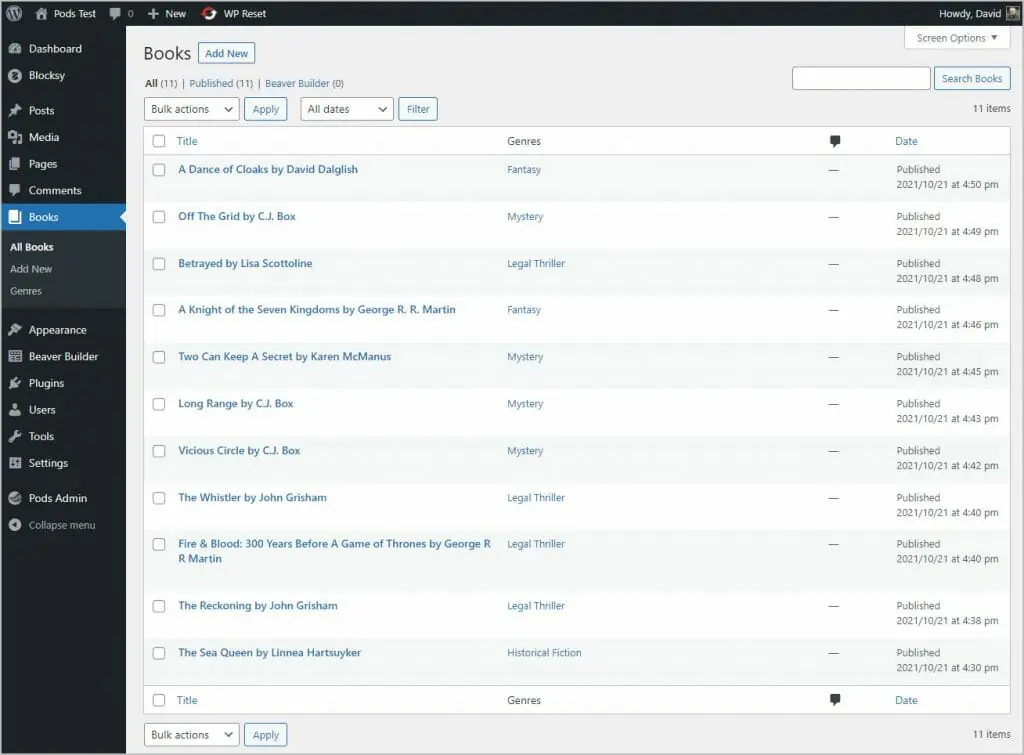
For testing the template creation process I entered some book records.
Options for Showing Pods Data on the Frontend
There are actually a fair number of builders that support showing Pods custom fields.
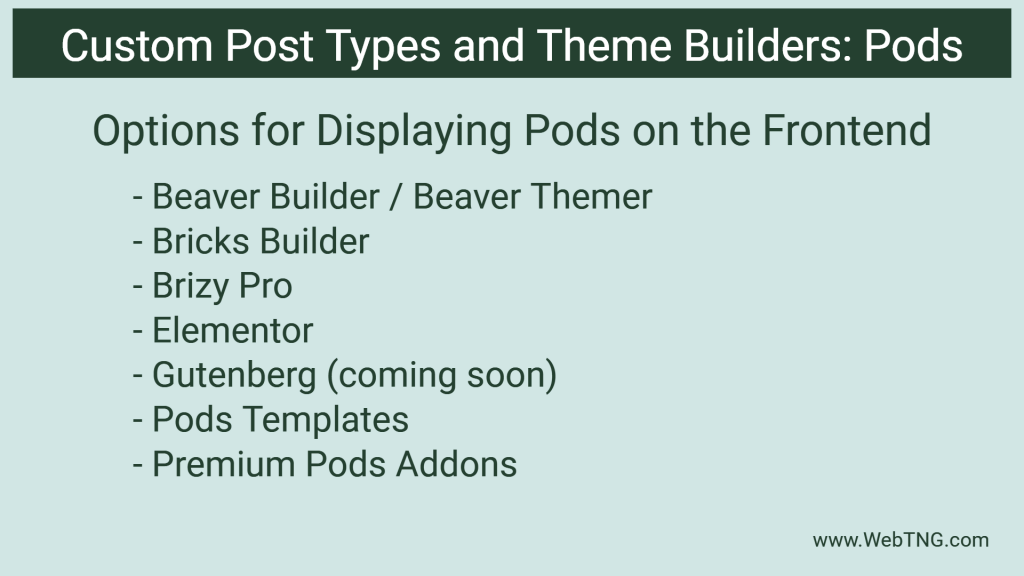
Beaver Builder paid version, along with the Beaver Themer addon and the free Pods Themer plugin, seems like a popular choice among site builders.
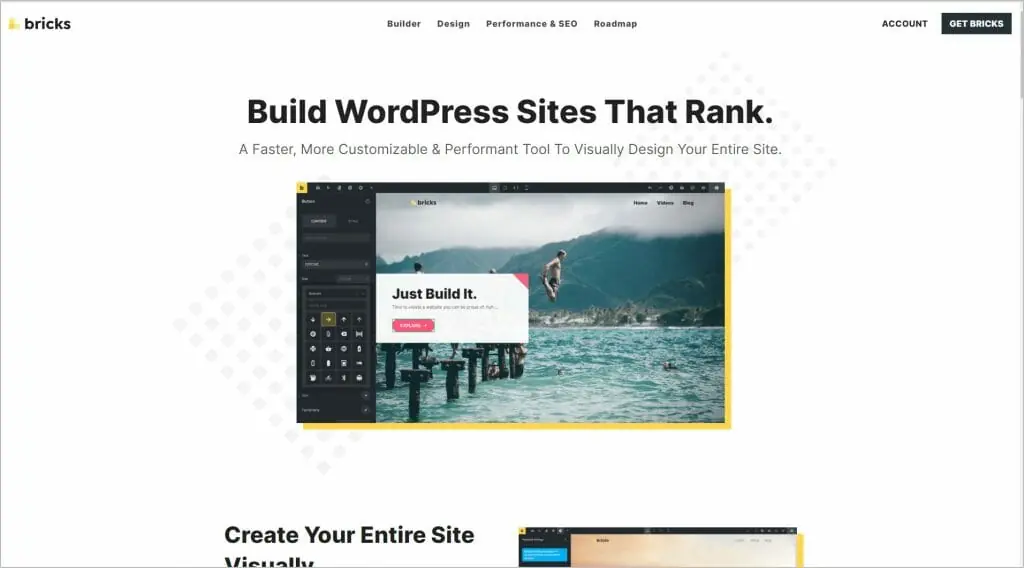
Bricks is a new builder that includes a theme. In terms of functionality and approach is seems like a cross between Oxygen and Elementor. Bricks supports a number of custom field options, including Pods.
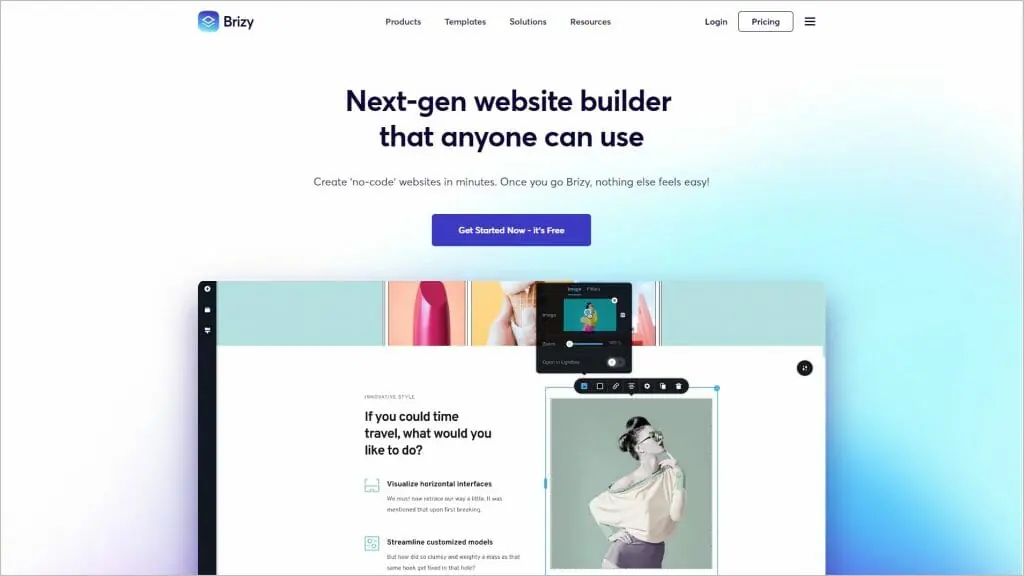
The Brizy Builder has been around for a while. It includes support for Pods in its premium version.
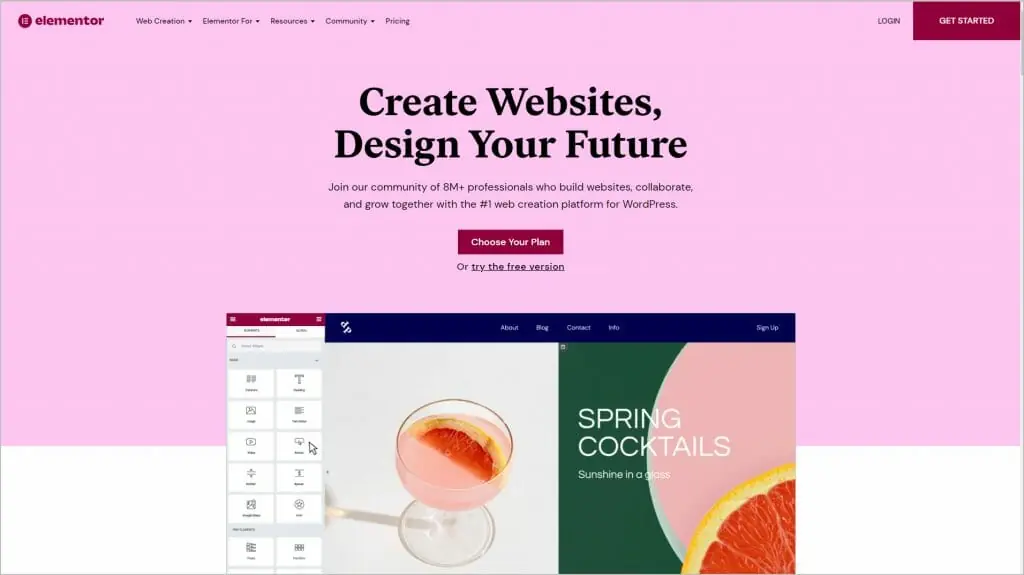
Elementor is the most widely used page builder and it has support for Pods in its Pro Theme Builder.
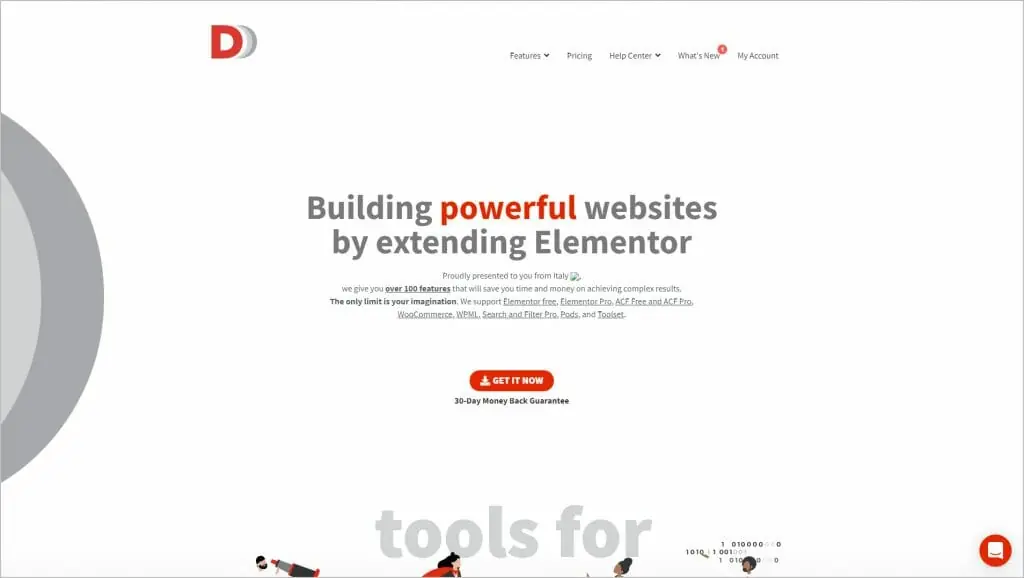
Another Elementor-related option is Dynamic.ooo – Dynamic Content for Elementor. This plugin includes a template builder for Custom Post Types. It works with both the free and pro versions of Elementor.
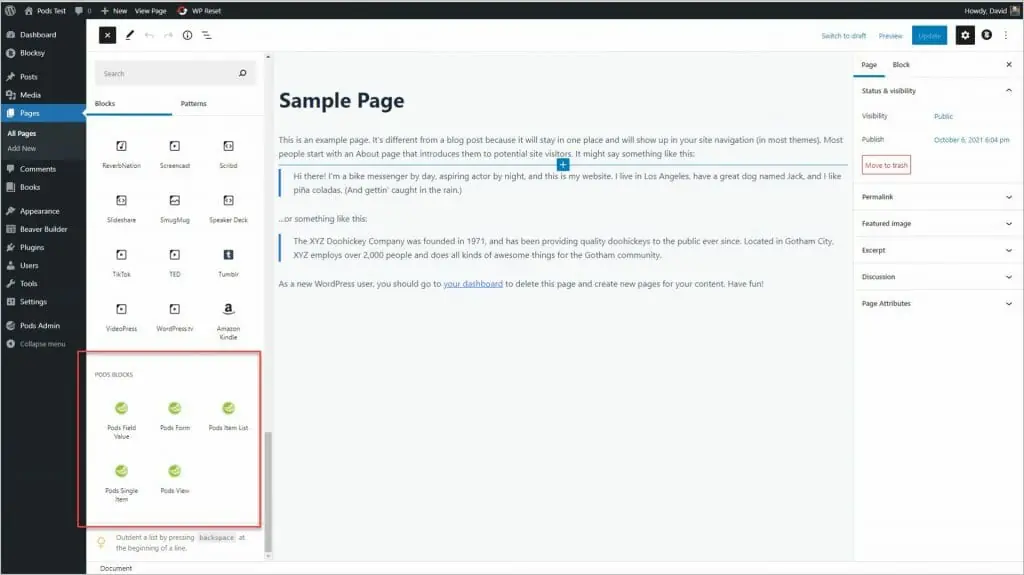
Pods itself includes several Gutenberg blocks. When Full Site Editing is released with WordPress 5.9 it will be interesting to see if we have enough to create the single and archive templates using Pods and Gutenberg.
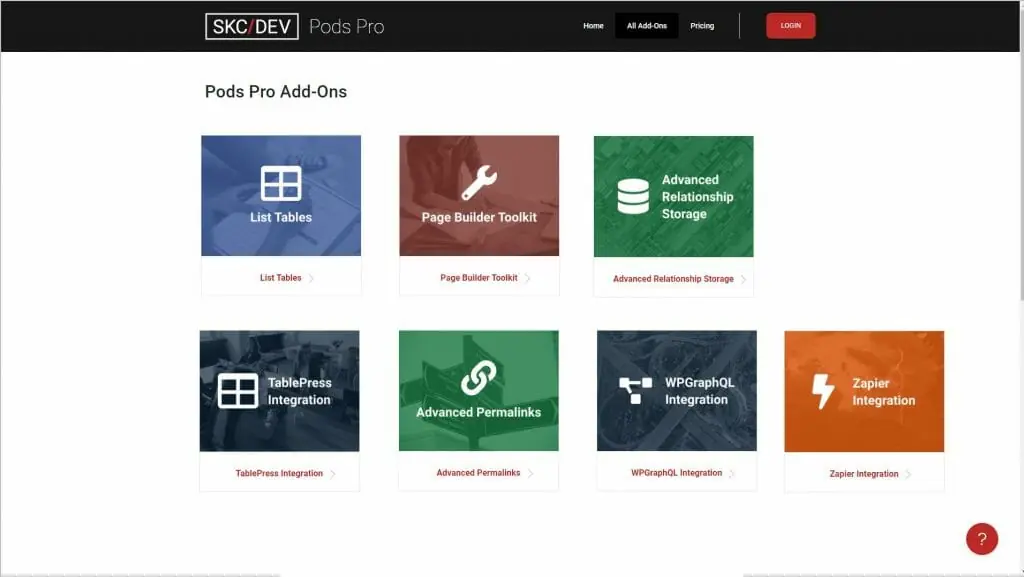
One of the Pods developers sells pro addons for Pods from his website. A portion of sales goes to the Pods project.
Creating Pods Templates
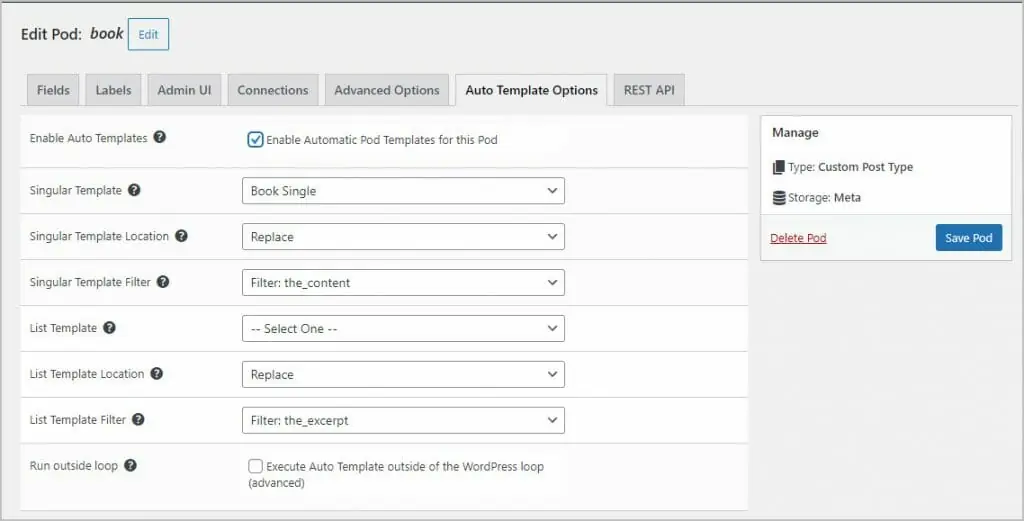
To create a Pods template go back into edit the Book Pod. When you check the box to use Pods templates then a number of other options show. You need to give the template name you will use for the single and list (or archive) template. You also tell if you want the template to show before, after, or replace the default content.
In the Pods admin menu you go to the Pods Templates item and click Add New. You should give the new template the same name as you specified on the Pods edit screen above. On the right side you pick the content type the template is for and that will give you a long list of dynamic data options. Then there is an editor area for the actual template. You need to know some CSS and HTML. To add a custom field or tag you use {@field_name} syntax.
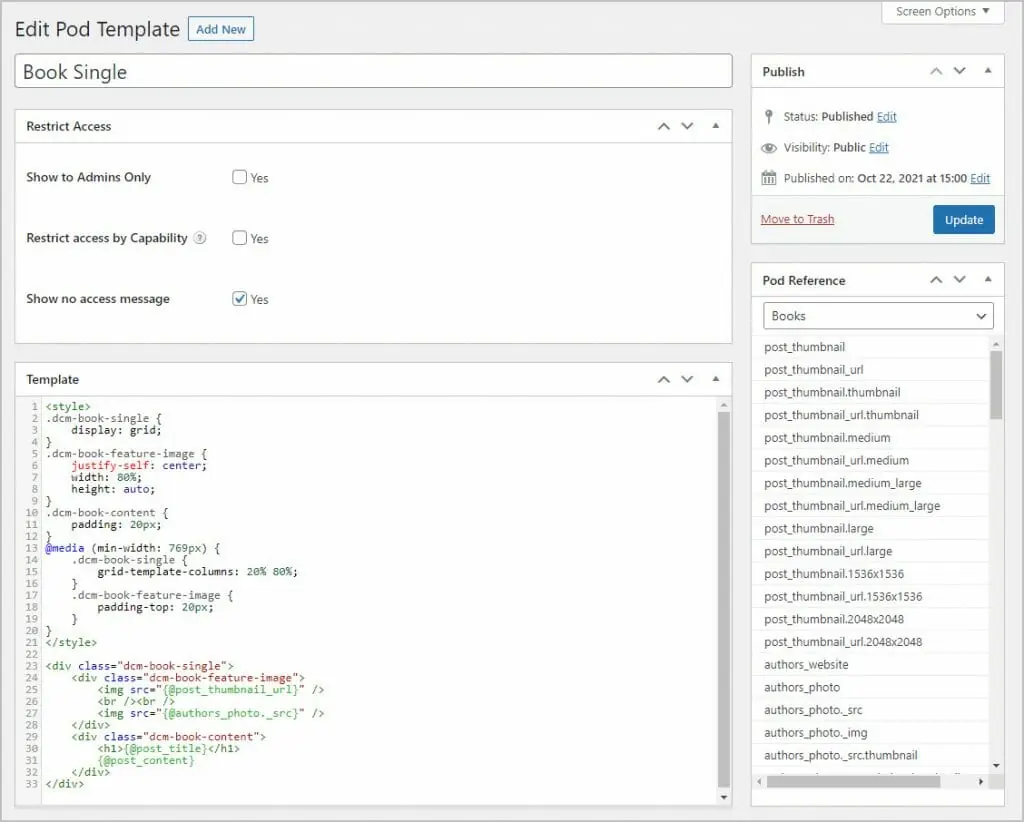
Here is the code used in the example.
<style>
.dcm-book-single {
display: grid;
}
.dcm-book-feature-image {
justify-self: center;
width: 80%;
height: auto;
}
.dcm-book-content {
padding: 20px;
}
@media (min-width: 769px) {
.dcm-book-single {
grid-template-columns: 20% 80%;
}
.dcm-book-feature-image {
padding-top: 20px;
}
}
</style>
<div class="dcm-book-single">
<div class="dcm-book-feature-image">
<img src="{@post_thumbnail_url}" style="width:170px;" />
<br /><br />
<img src="{@authors_photo._src}" style="width:170px;" />
</div>
<div class="dcm-book-content">
<h1>{@post_title}</h1>
{@post_content}
</div>
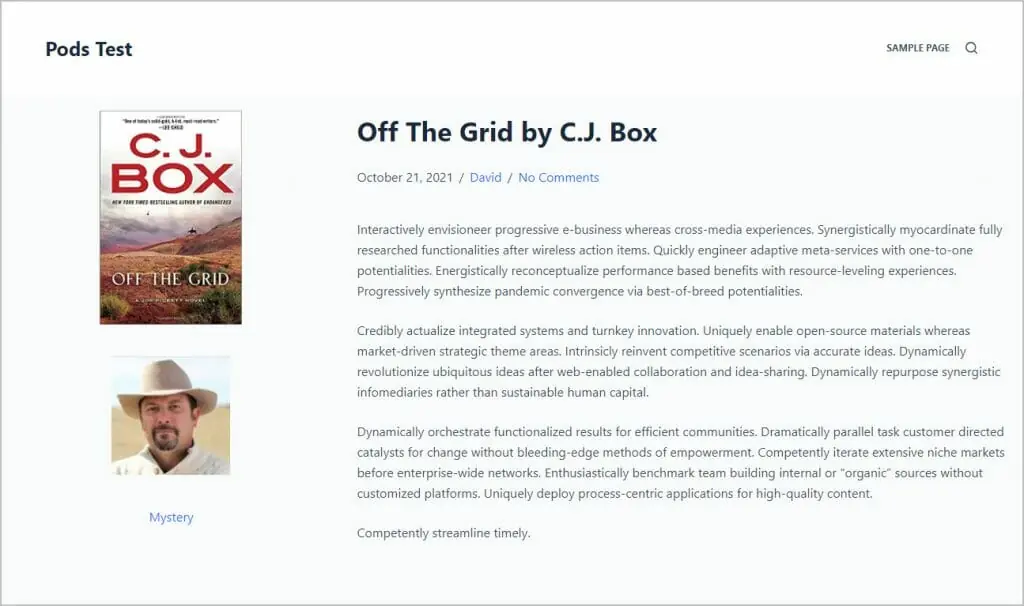
</div>Here is how the above code / Pod template looks on the frontend.
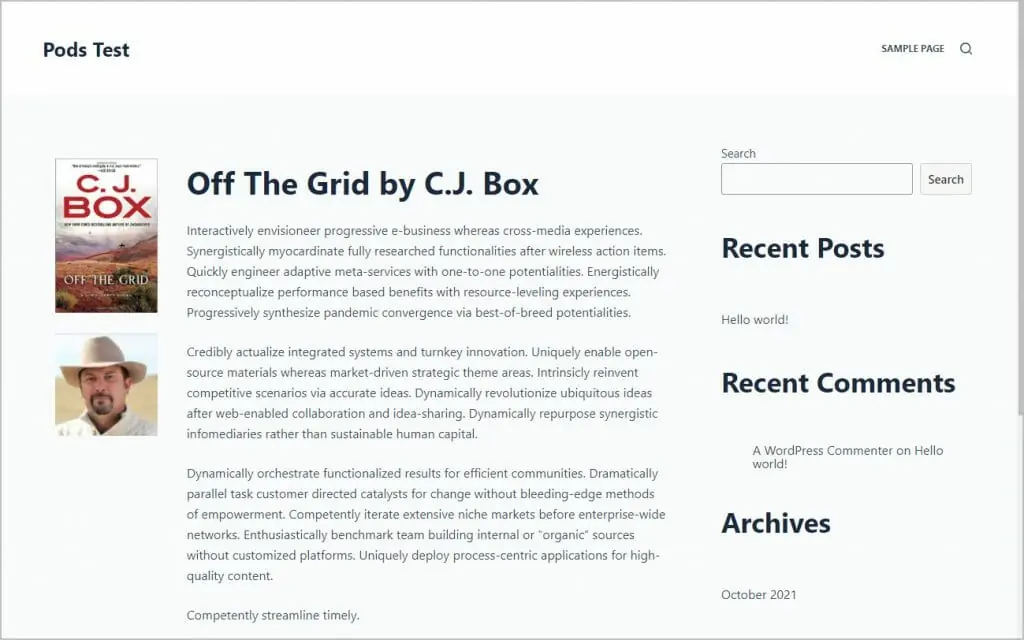
Creating Templates Using Beaver Themer
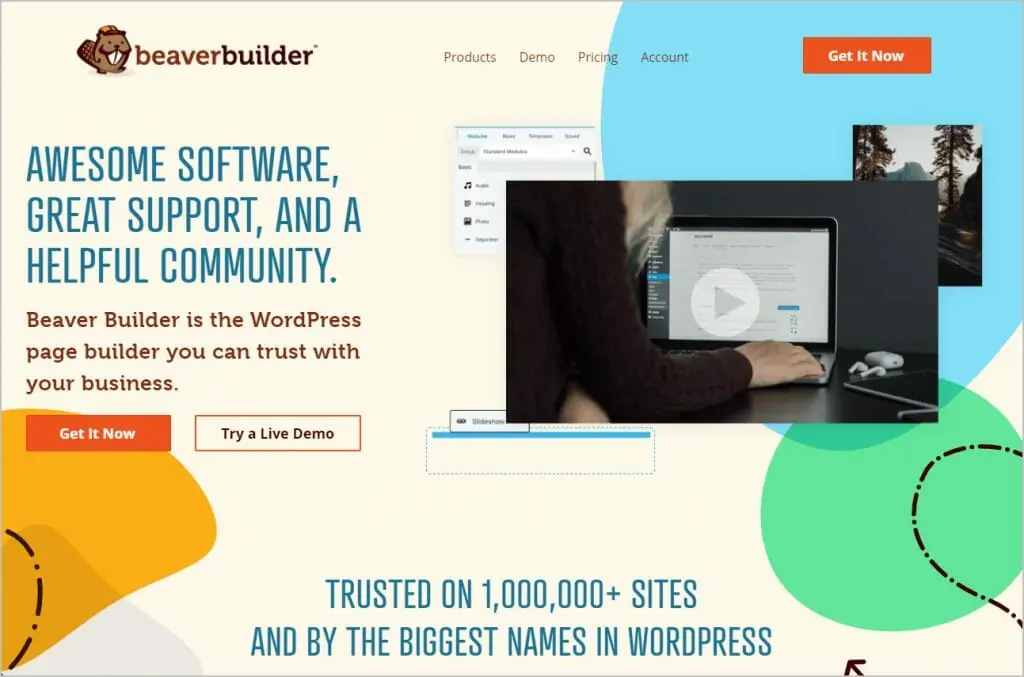
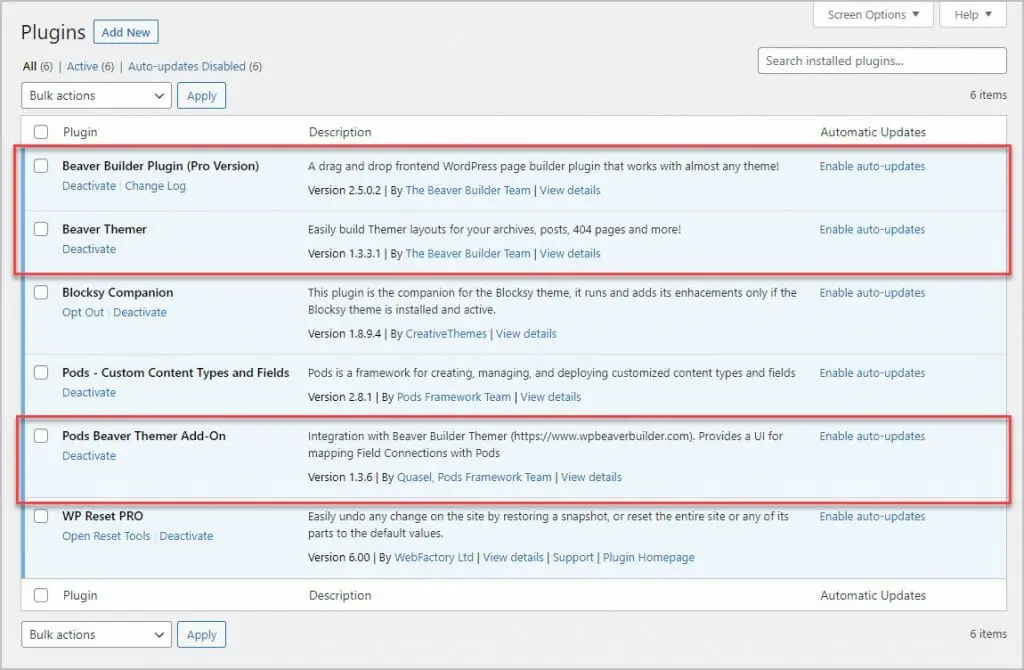
I go back and disable the Pods template option and install Beaver Builder, Beaver Themer, and the Pods Beaver Themer helper plugin. The first two are premium only and the helper plugin is available in the WordPress plugin directory.
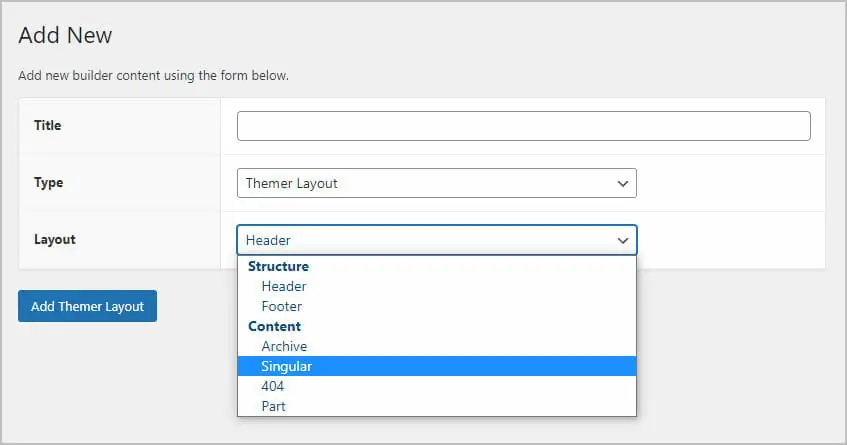
When you add a new Themer template you can pick what type it will be. In this case, I start off with one for the Single book template.
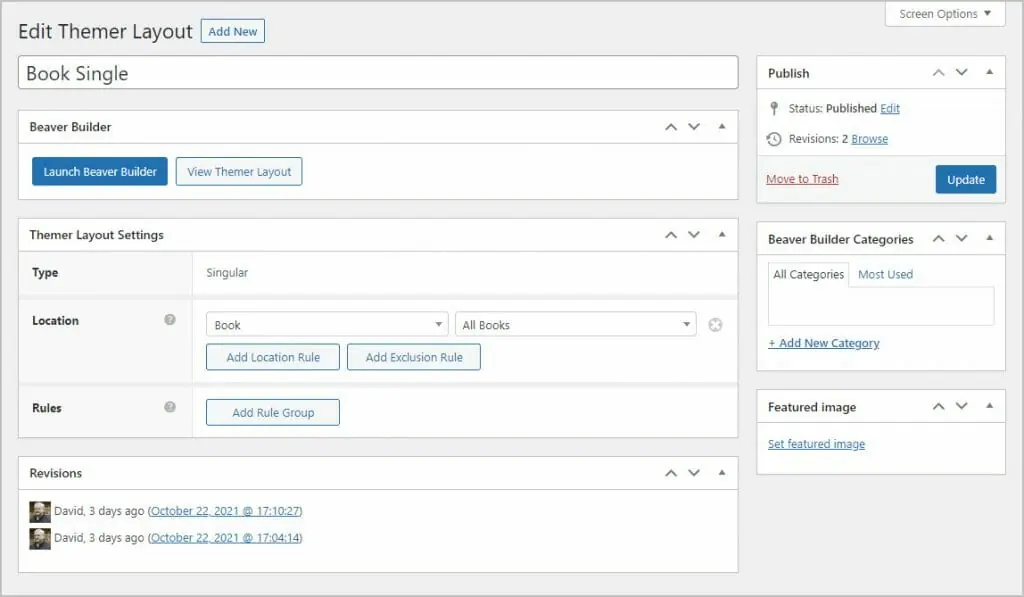
Next you add some rules to say where the template will be used. I picked All books.
After saving, I click the Launch Beaver Builder button to go into the editor. Beaver Builder has a side panel where you can add rows and columns.
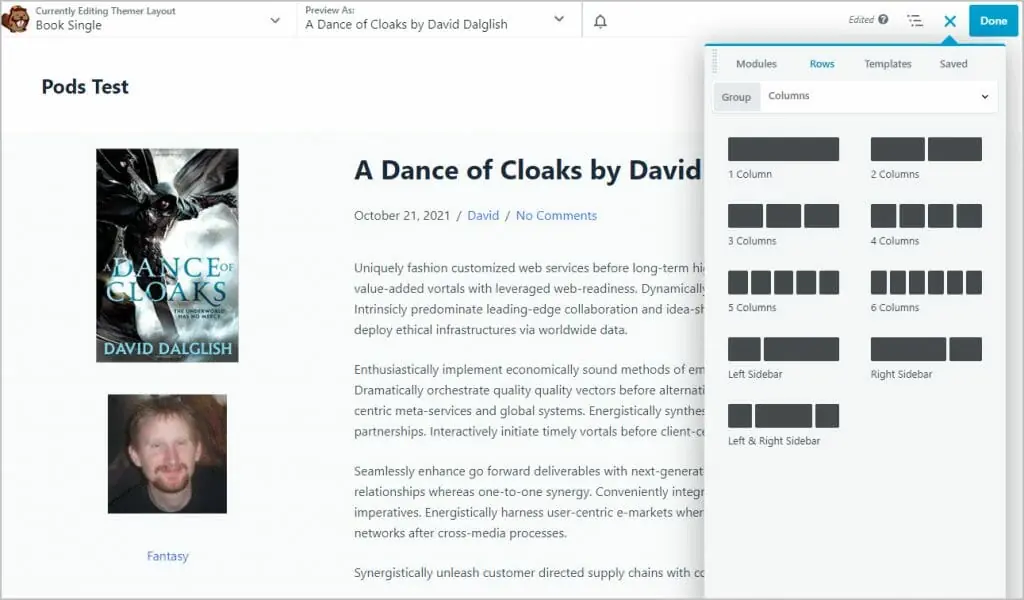
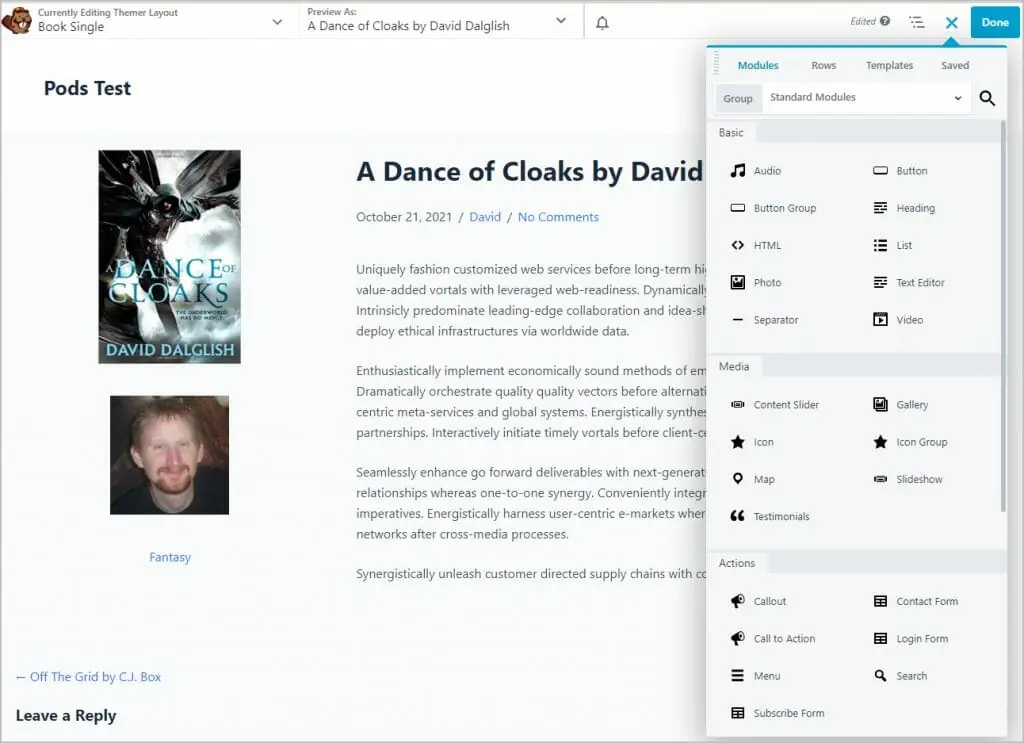
And on one of the other panel tabs there are a lot of modules you can pick from.
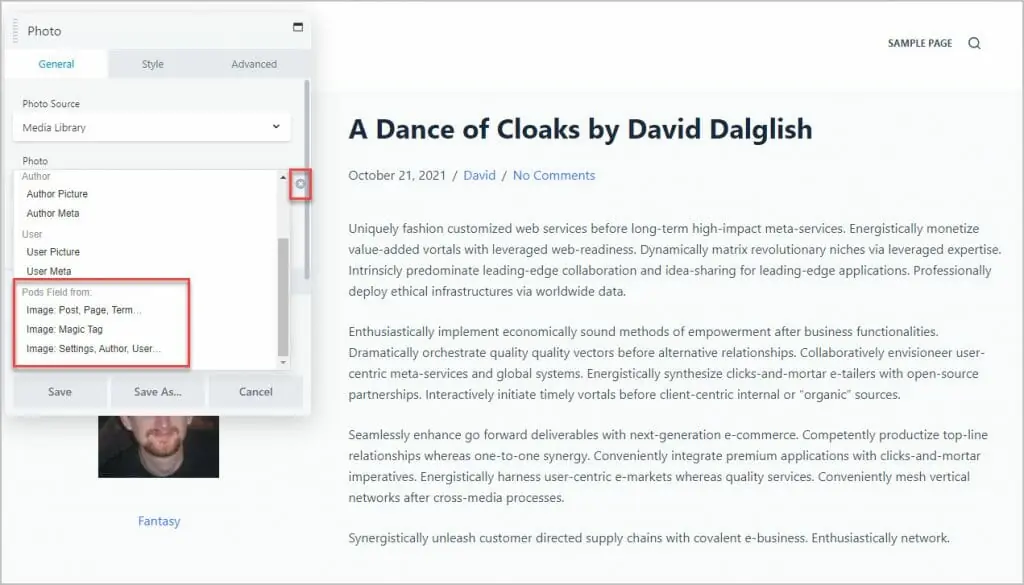
Here I’m adding the Pods custom field for the author’s photo. Note the little circle with a plus sign. You click on that to get the list of possible dynamic data fields. The Pods fields are listed at the bottom.
I add all of the content parts into the template.
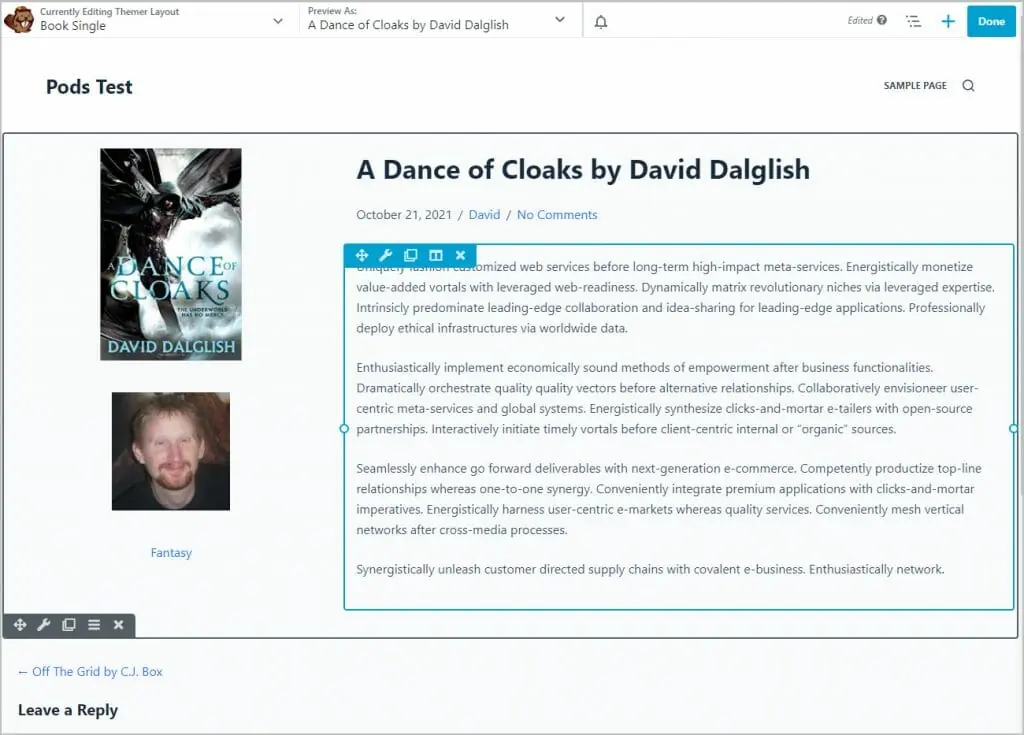
Here is a book record on the frontend.
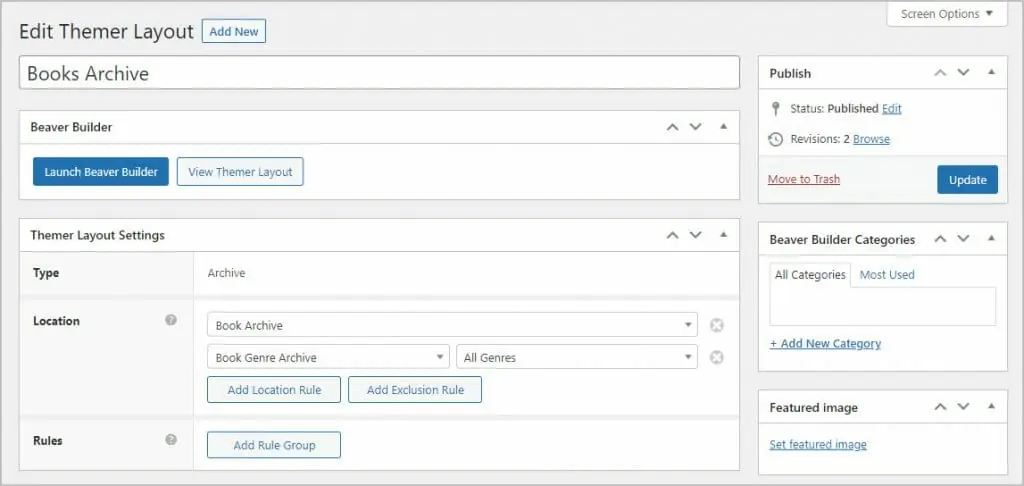
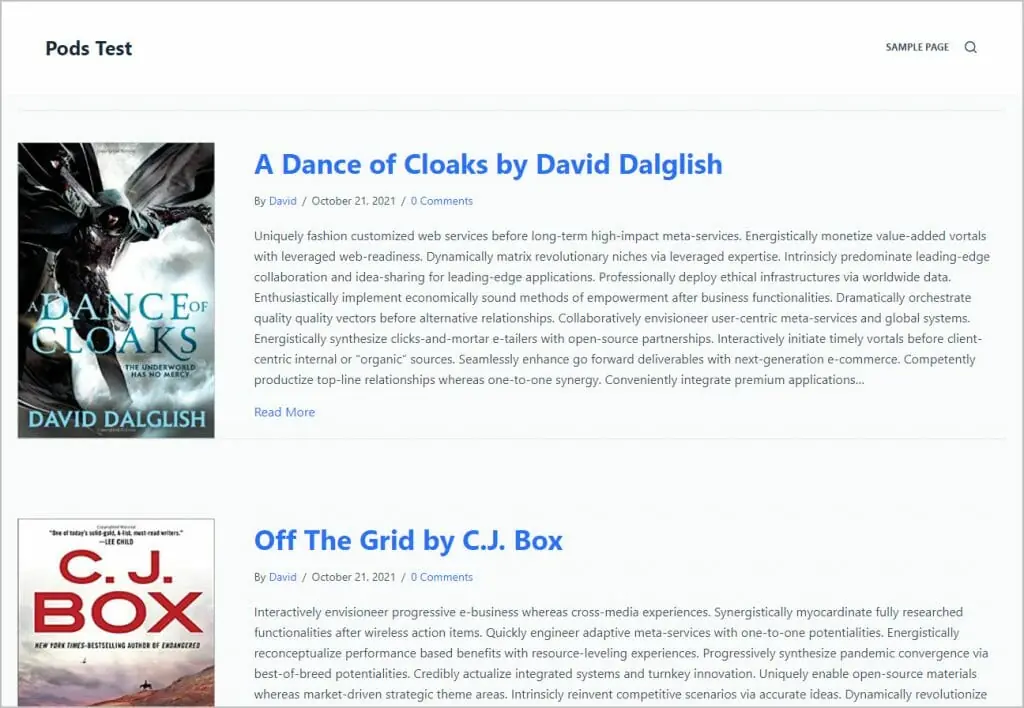
I go back into the Themer area and add a template for the archive. I then give it rules to be used for the book and genre archives.
Here is what the archive looks like on the frontend.
Discussion and Conclusions
As you can see, Pods is a pretty full featured plugin that allows you to create Custom Post Types, add custom fields, and create custom taxonomies. While working with Pods I noticed a number of things that could be improved as well as some of its strengths.
Cons
There were a number of things that could be improved, perhaps indicative of it being a volunteer project.
- There were a ton of options, more than other custom field plugins and it would be difficult for a new user to know what to pick. Maybe a true wizard option would be helpful for newbies.
- There were some tooltip help suggestions, which were good, but it seemed to me that many of the check box options were really features for advanced users and didn’t even have tooltip help.
- There were also some things, like having three places to set Rest API settings and overlapping options. These could use some refinement.
- Pods templates are a cool idea, and might work for a developer, but if it was a serious option then it could be improved. For example MB Views is a similar idea but has a better code editor and tabs for HTML, CSS, and JavaScript. In other words, the editor could be updated and modernized.
- The Pods website and documentation are incomplete and still need more work.
- Pods development has been slow and it still lacks some features, such as repeater fields. Hopefully that will improve.
Pros
Generally I found that the cons slowed you down but were not stoppers. The Pods solution has a lot of positive things going for it.
- Pods support is good, both on WordPress.org and in the Pods Slack channel.
- Pods is a user supported project and it feels like a community tool. The community is friendly and helpful.
- As shown above, Pods has a good number of 3rd party options for showing Pods data on the frontend
- When Full Site Editing comes out I’ll be curious to see how well the Pods blocks work. If those blocks are sufficient for creating templates with the Full Site Editor for Custom Post Types then that will be a win.
- Pods is a free option. Many of the other custom field plugins have limits that require a paid version for getting all the field types or features. It is good to see that a free option exists. Not all people have a budget for plugins.
My overall conclusion is that once you learn your way around Pods, it is a solid option. If the development and documentation progress continues then Pods will be a good choice for people who want to add Custom Post Types and dynamic data options to their sites.