Table of Contents
Zion Builder is a relatively new builder and as of this writing is already on version 2.5. This tells you that the developers are busy adding features and fixing bugs. Zion Builder was recently offered at a discounted price on AppSumo, not to raise money, but to raise awareness. The team wanted to get the builder into people’s hands so they can get feedback and hopefully spread the word. They have had the theme builder feature available for a few months and I’ve been thinking to give it a try. Note that the video version was created with a newer version of the builder, so PHP functions to get the ACF fields was not needed, as is shown in the text version.
Video Version
Testing Site
I setup my usual testing site that has a bunch of posts and a Custom Post Type called Books with a couple of ACF custom fields. If you are not familiar with setting up custom fields and Custom Post Types, please take a look at the first tutorial in this series.
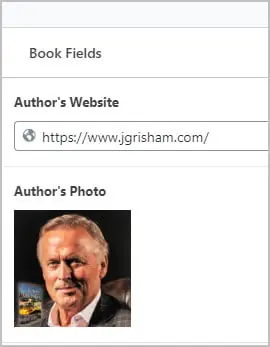
I created several book records and for each one there is a URL field with a link to the book author’s website, and an image field with the author’s photo. WordPress doesn’t display custom fields automatically on the front-end, which is where there Zion Builder’s theme builder comes in.
I started off with the Page Builder Framework theme, but switched to the Blocksy theme for reasons that will be explained below.
Quick Overview of the Zion Builder
Versions
There is a free version of the Zion Builder available in the WordPress plugin directory. It has more than 500 active installs. Ten of the twelve ratings are 5 star. Many, but not all, of the WP support question have been answered.
There is basic documentation and a sandbox for testing available on the Zion Builder website.
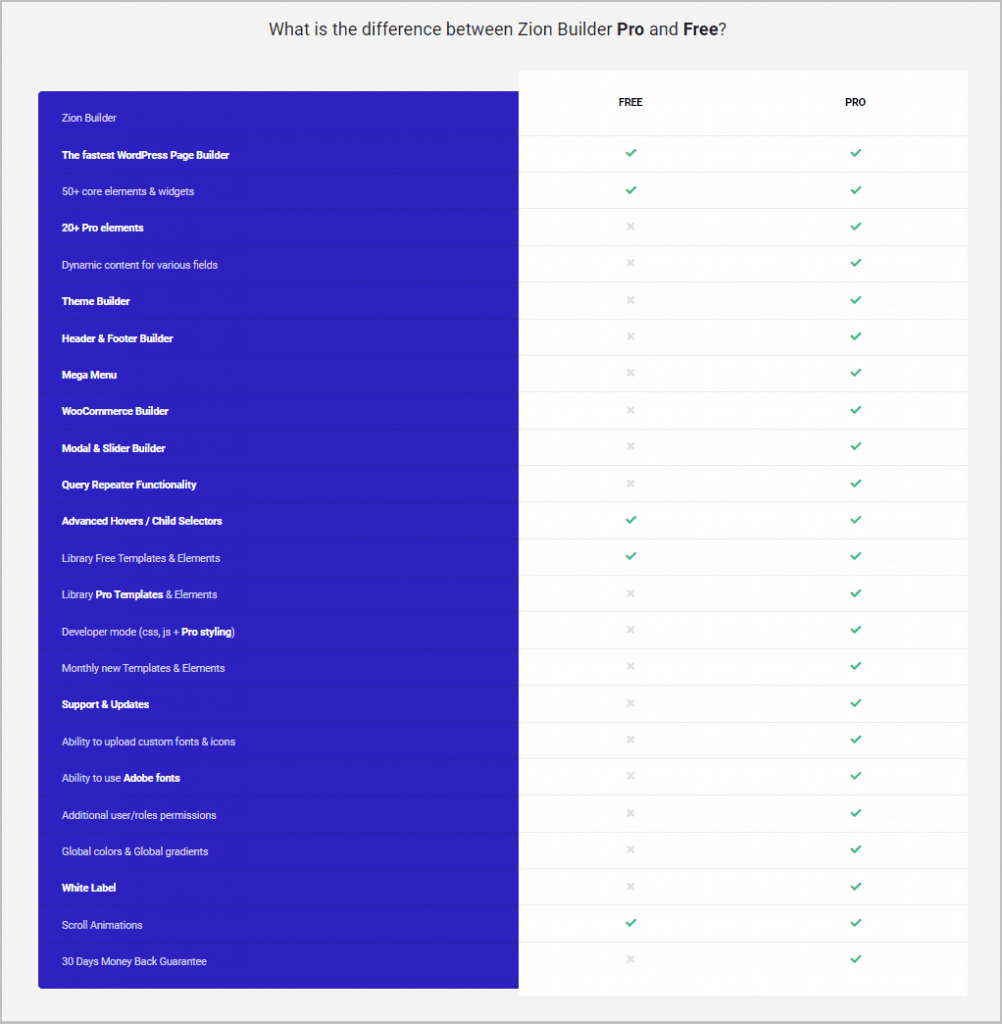
There is a comparison table between free and pro. Dynamic data, the theme builder, and the ability to create archives are all pro features, so that is what we’ll be looking at.
Admin Screens
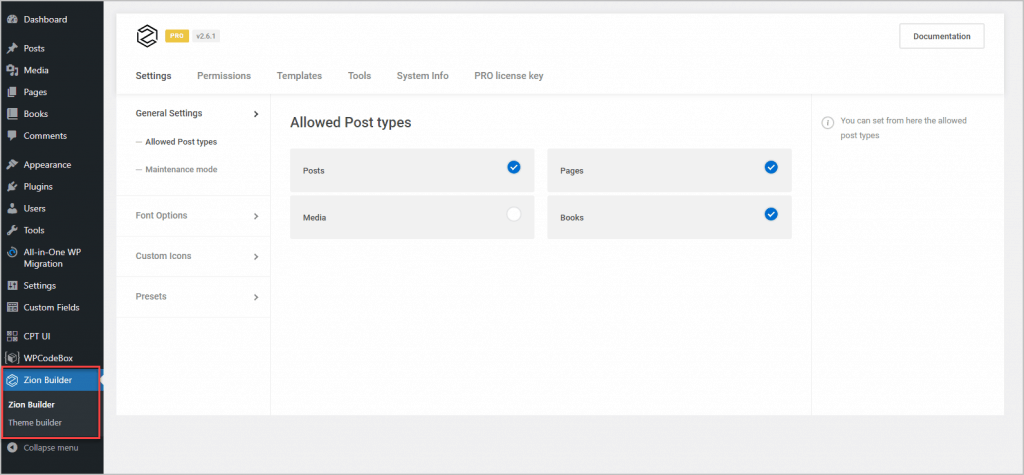
When you install and active Zion free and pro you get two main menu items: one of the settings and one for the theme builder.
On the General Setting screen there are tabs for Allowed Post Types, for using Zion as a page builder. There is also the convenient ability to set the site into maintenance mode. There is an area for font options, for icon options, and for setting color palettes and gradient presets.
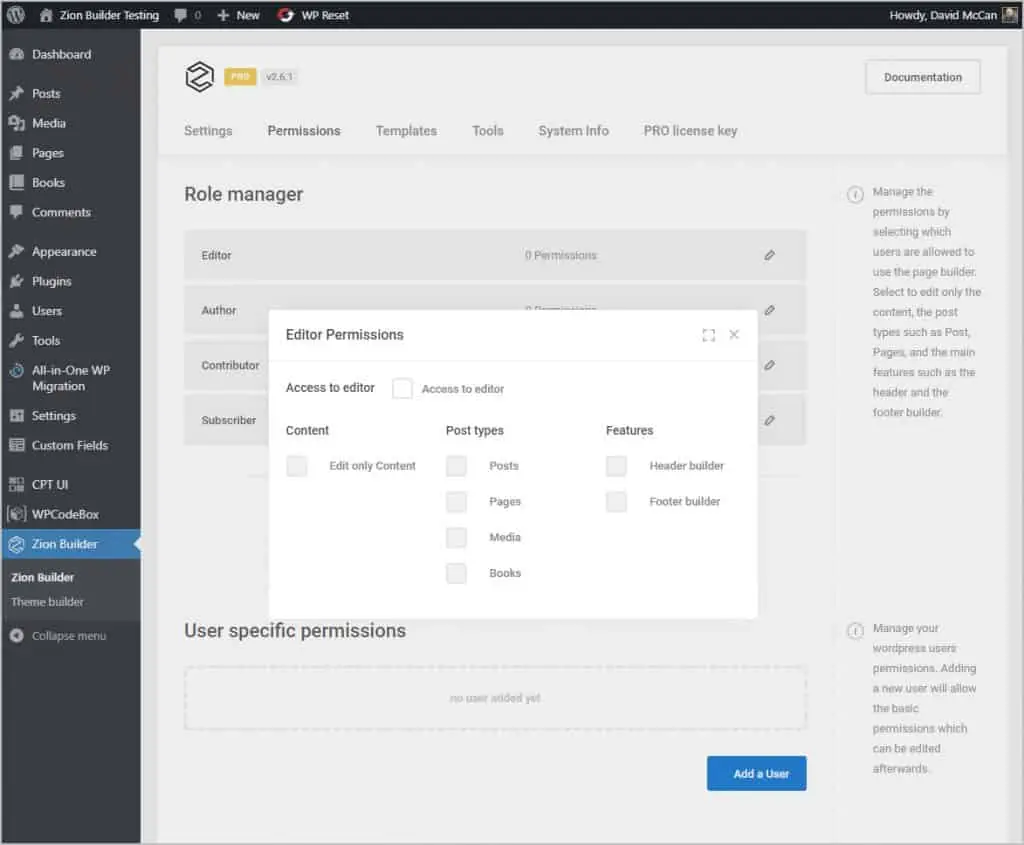
On the Permissions tab there is a pretty robust set of permission options, which can be set by role or individual user.
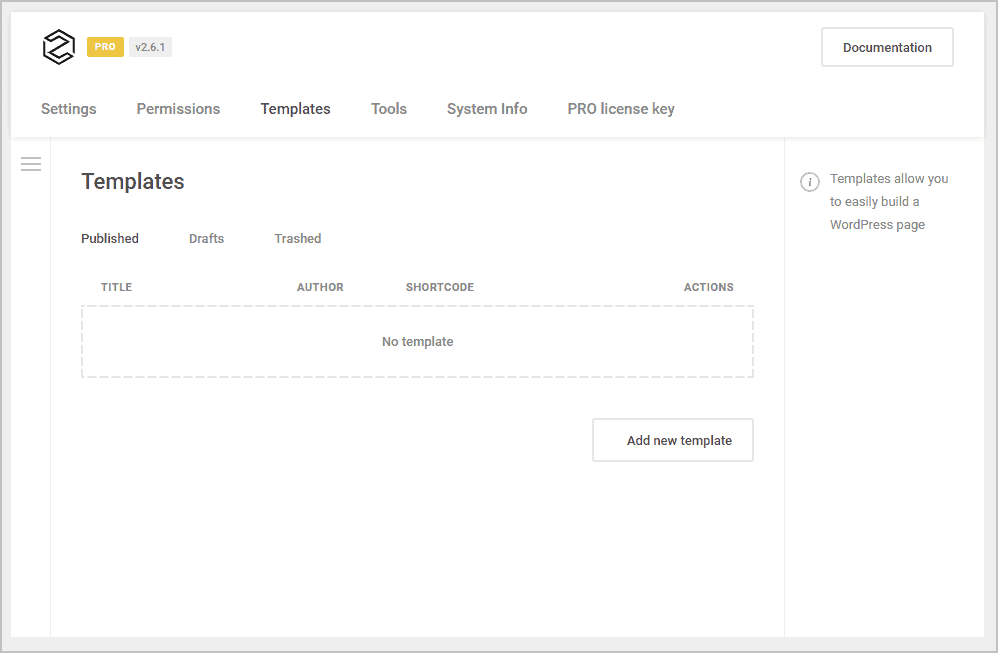
There is a screen for managing your saved templates.
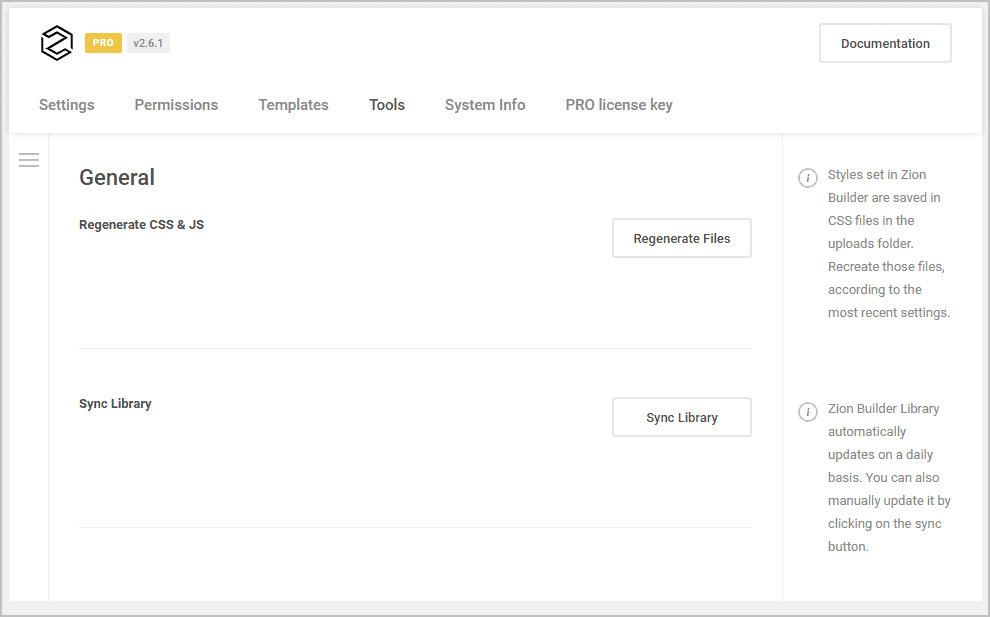
And a Tools screen where you can regenerate CSS and JS and sync the Zion template library to make sure you have the up to date version. There is also a screen showing system information and one for entering your license key.
Theme Builder
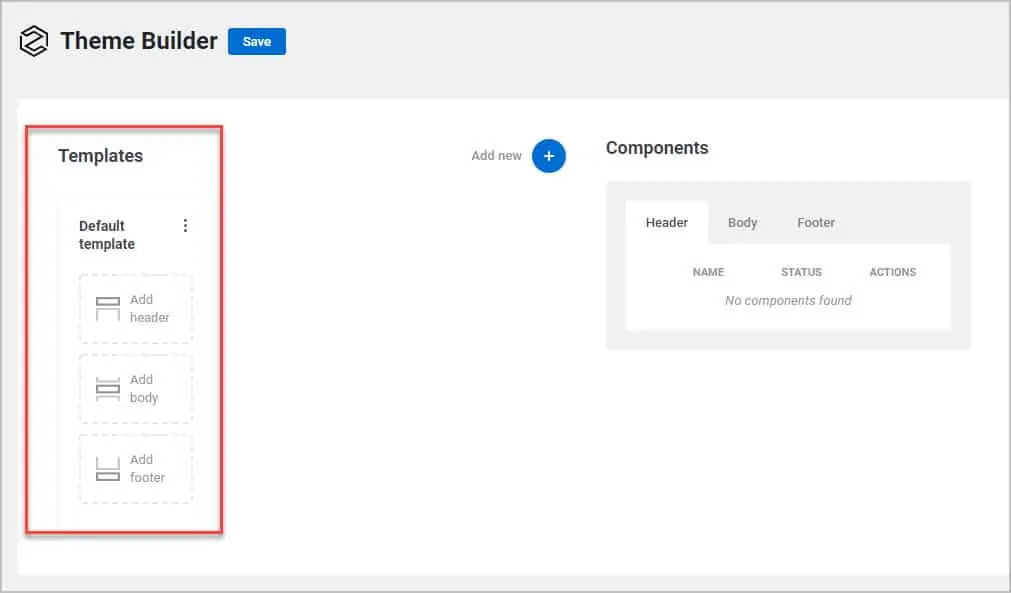
The Zion Builder theme builder screen take a bit of figuring out, but once you do it is easy to see and manage your theme “components”. It is called “components” on this page, but most everywhere else they are referred to as templates.
The section on the left shows the default templates that will be applied sitewide if there is not some other template overriding them. If nothing is defined then the installed theme is used.
Creating the Book Single Template
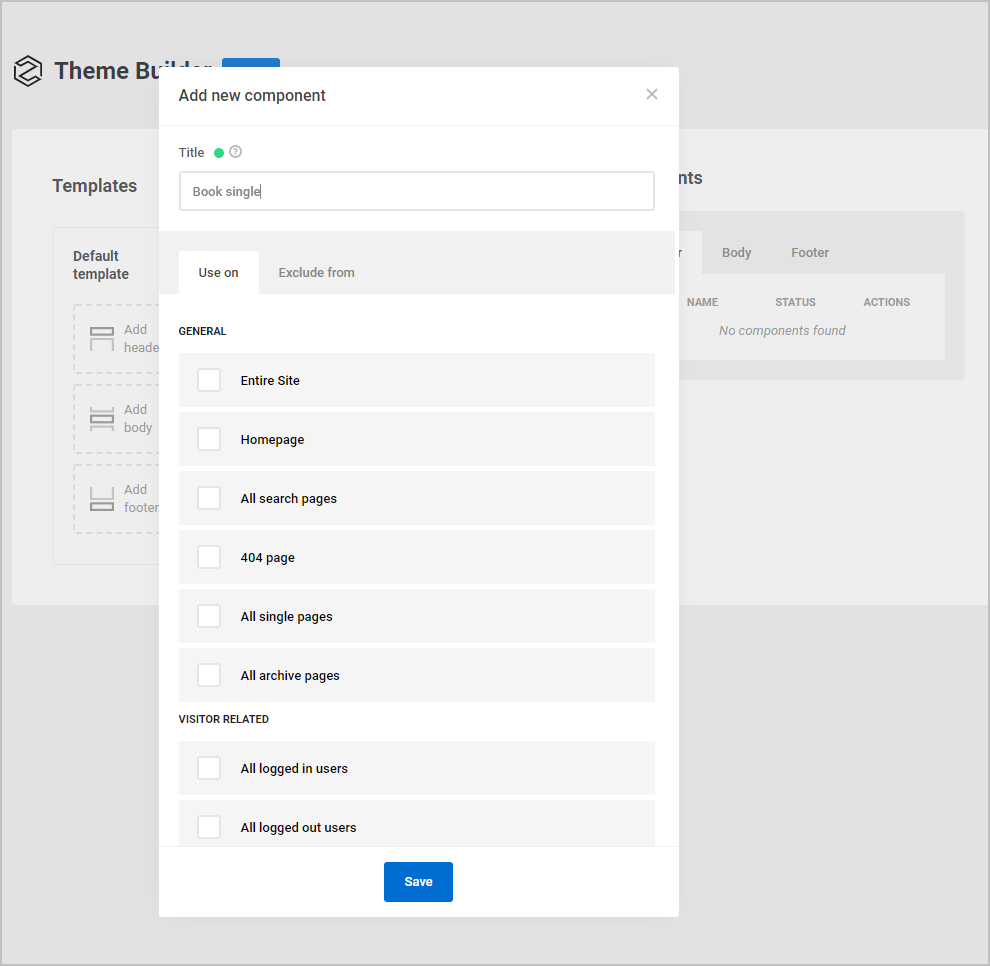
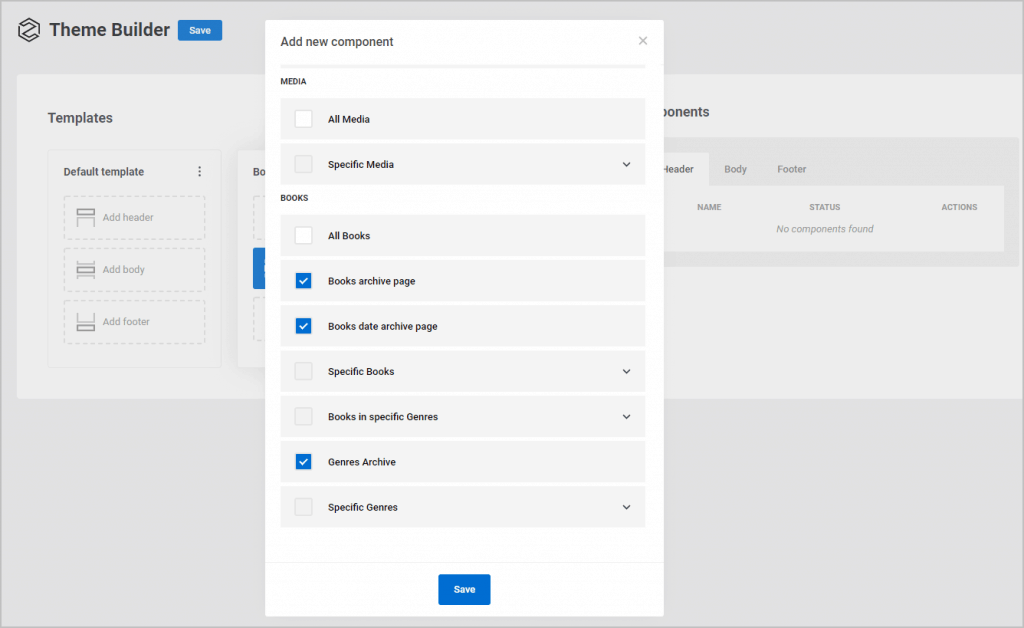
To get started, You click on the Add New blue circle with the plus sign. I want to create the single book temple so I gave it that name. As you can see, there are a lot of options for where to assign the template.
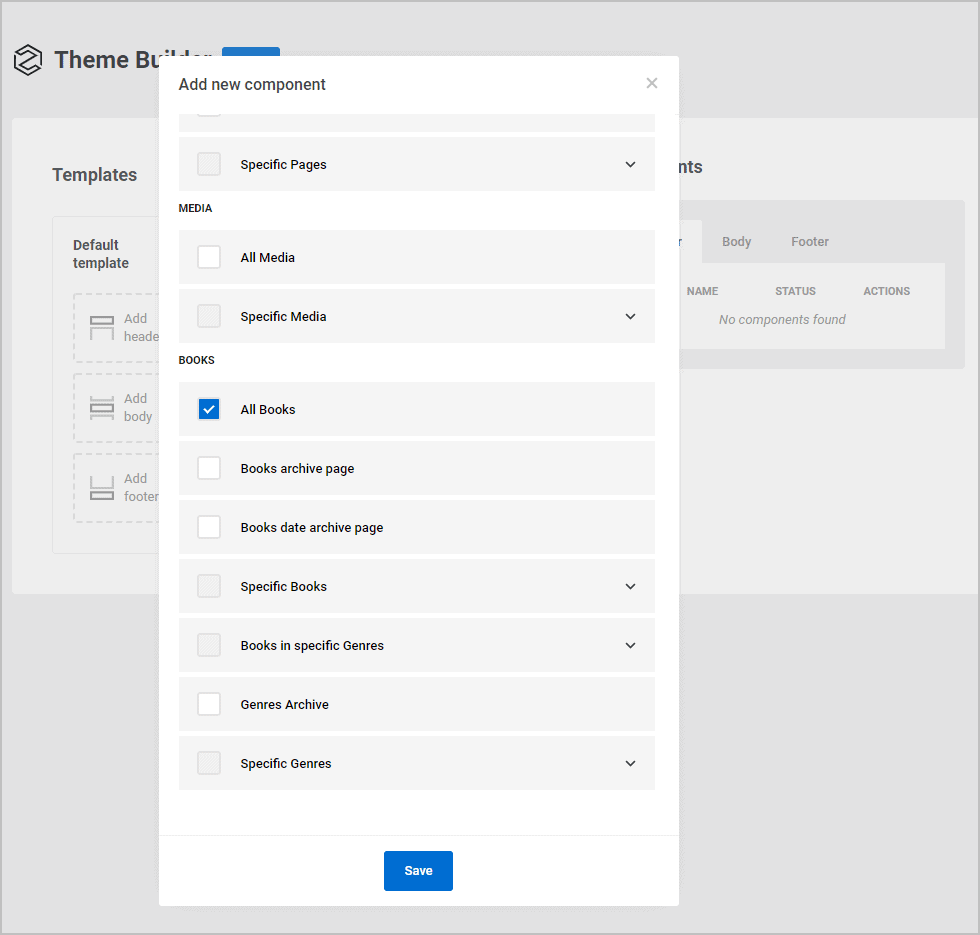
I scrolled down to the section for Books and selected All Books.
After clicking the Save button I see there is a new template set created.
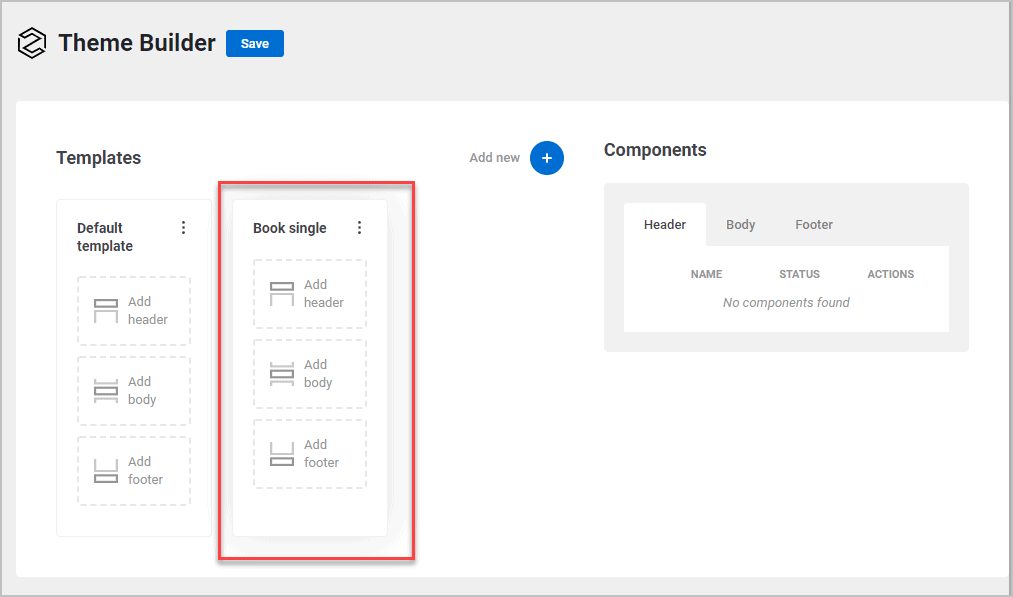
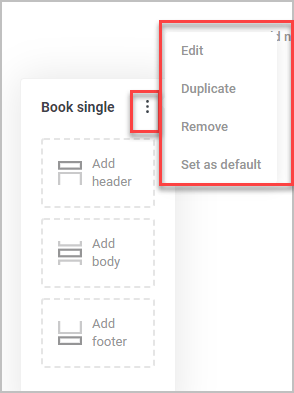
If you click the 3 dot menu these are the options for the template set.
Note that the aren’t any templates yet. To create a template, click on the Add header, Add body, or Add footer button. I click the Add body button and there is an option to add a new component.
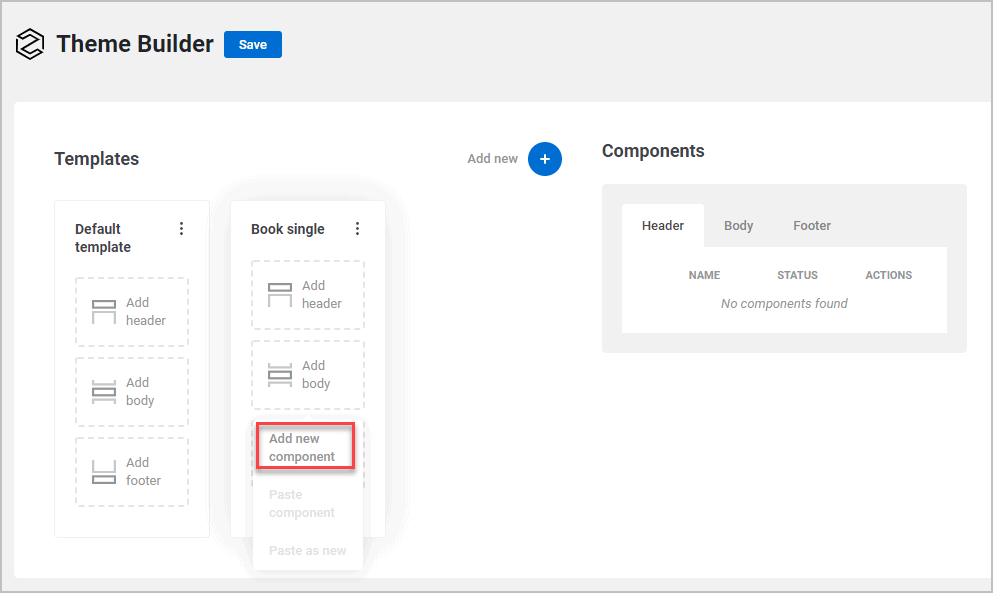
When you click that then a blank template is added. Now, if you click the Save button at the top and go to a single book page, it will be blank, because we created an override template for the book single, but haven’t added any elements to it. By the way, it is a good idea to save at this point.
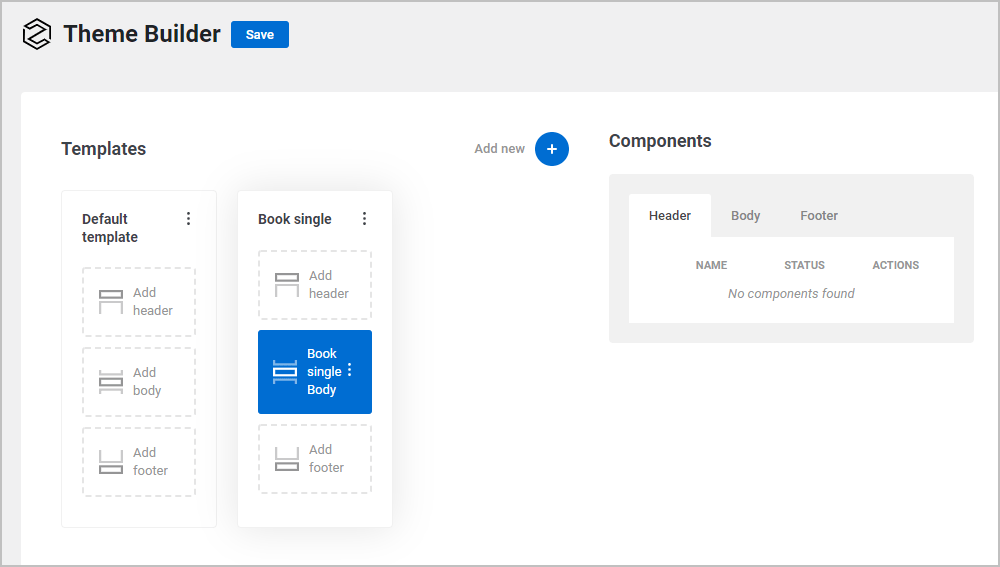
If you click on the three dot menu next to the Book single Body, then there is a context menu with the options for that.

When you click the Edit button then you go in to actually create (or edit) the template. This is the screen I got the first time I tried to edit a template. I thought that the Zion Builder was broken because I just got a 404. I was using the Page Builder Framework theme.
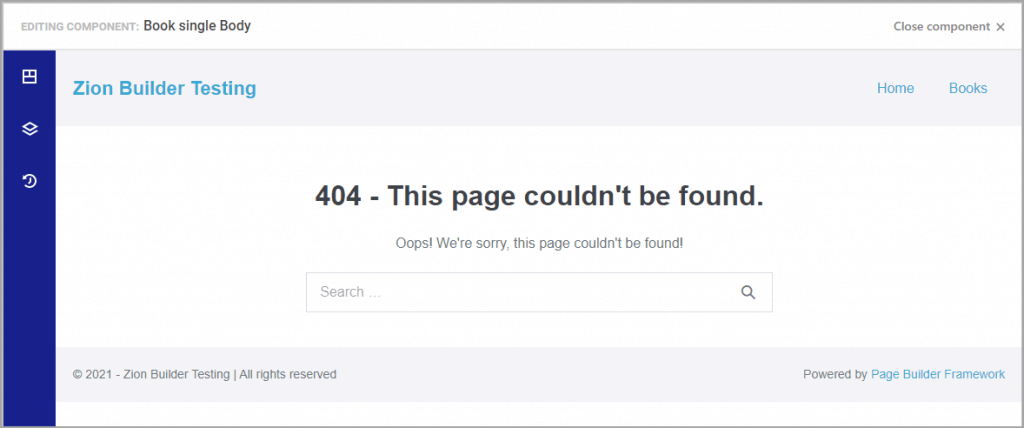
The simple solution is to save the Permalinks again.
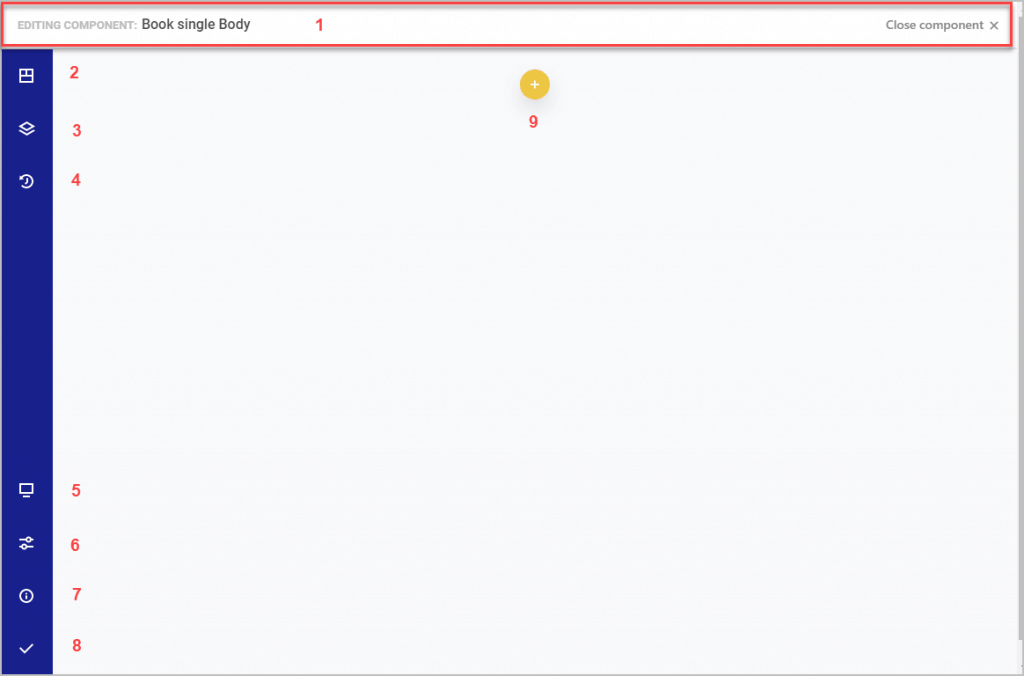
- The bar at the top shows what template you are editing and has an close button.
- This is the layout view where you can see the element hierarchy.
- This opens the template library.
- These are the revisions.
- The responsive device size options.
- These are the page options (shown next).
- This opens a menu for help or to navigate away from this screen.
- The save options.
- Clicking on the yellow circle with a plus sign is how you add elements to the page.
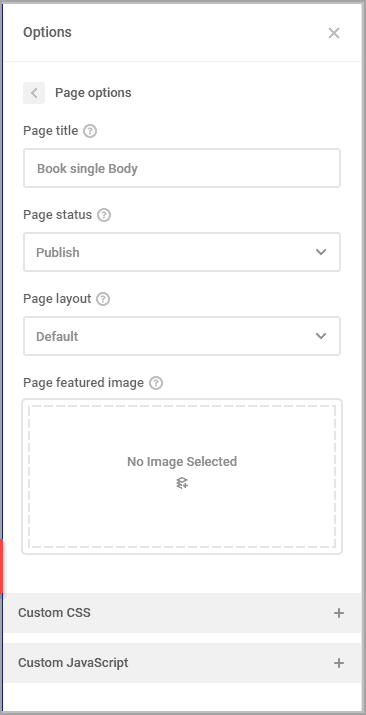
It is worth noting the page options screens. When you click that (#6) you get three submenu pages.
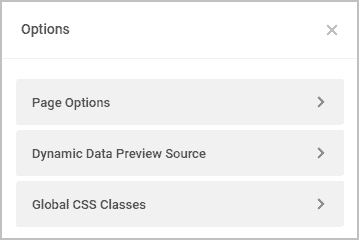
On the page options screen you can rename, change the status, layout, add an image, and add custom CSS or JavaScript for that template.
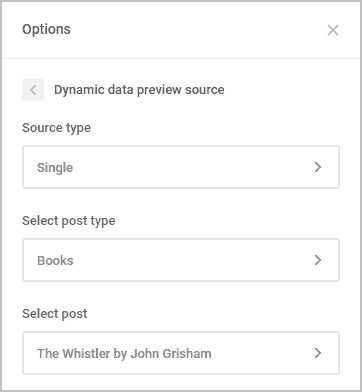
On the Dynamic Date Preview Source screen you can change the template applies to type, the post type, and the preview post.
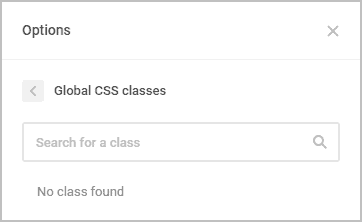
On the Global CSS Classes screen you can manage the global CSS classes.
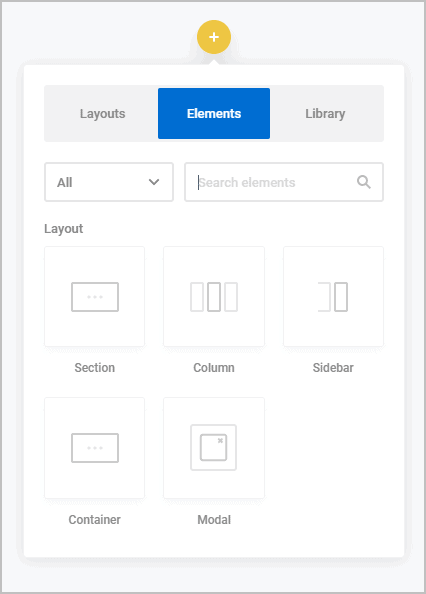
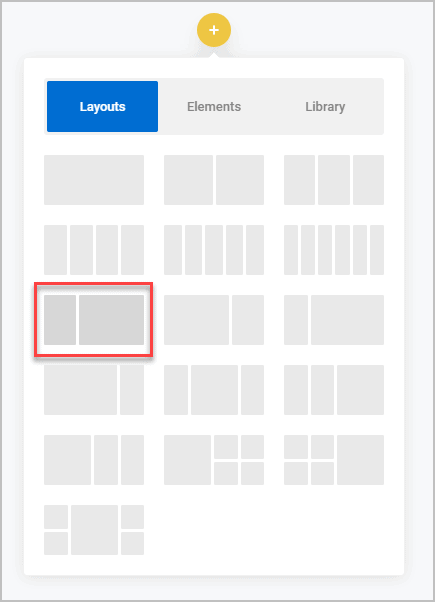
To get started, you click on the yellow circle with the plus sign. There you have three options: add a layout (row or section with columns), add elements, or go to the template library. Here are the layout options.

Here is the Elements interface.
And here is the templates screen. Note, there is currently no way to go back without closing this dialog and clicking the yellow plus button again.

OK, I go back and add a two column layout.
A dialog opens to add an element and I search for image.

Add the image and a placeholder shows.
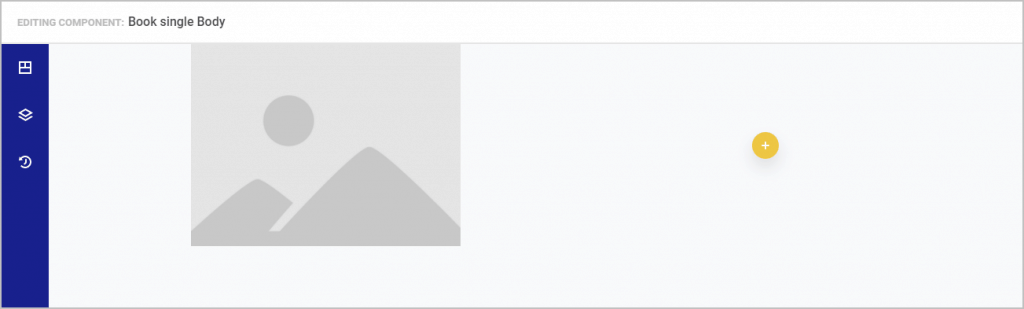
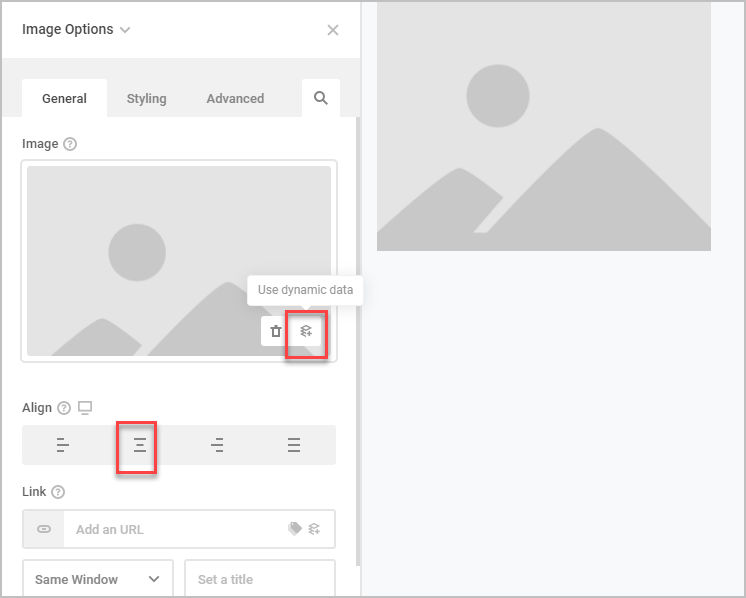
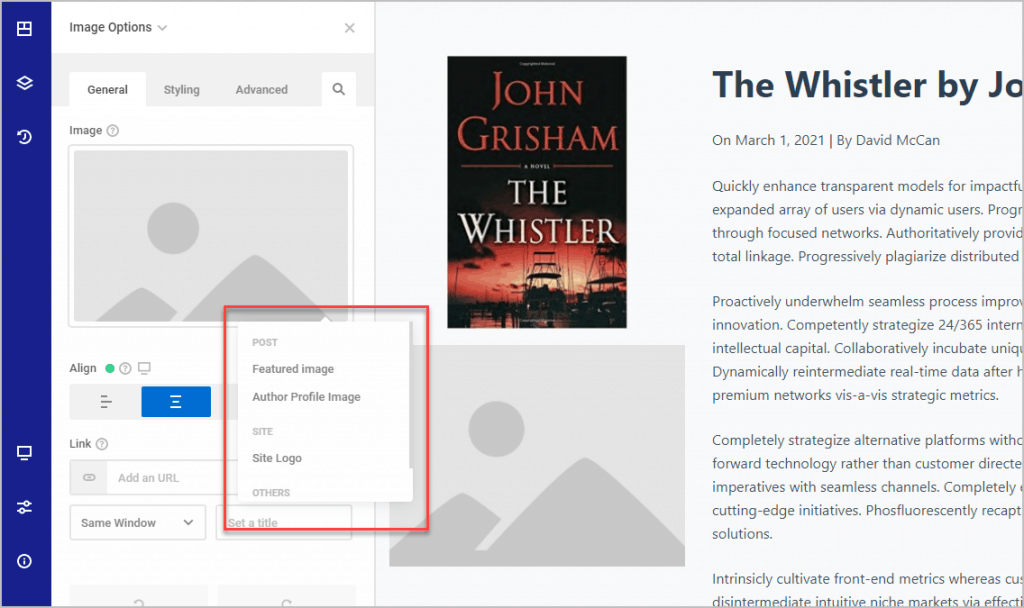
I double-click on the placeholder to open the image options. I center the image. When you hover over the image then there is an option for dynamic data.
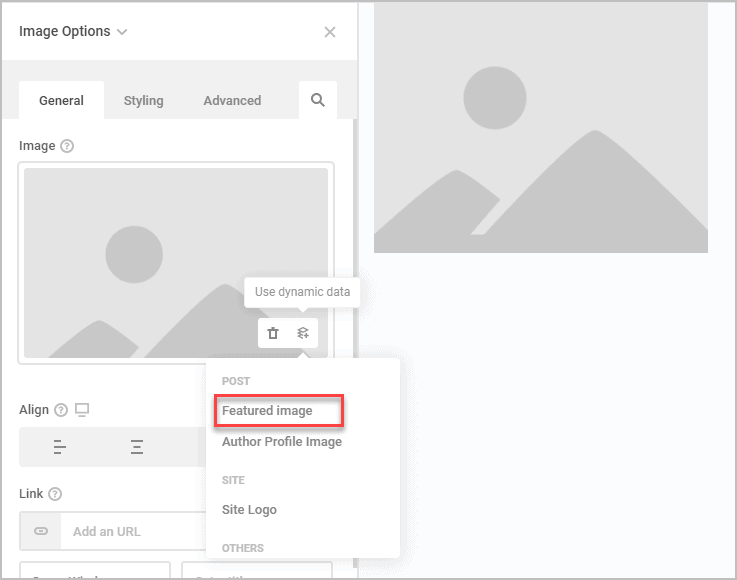
I pick the featured image option from the dynamic data list.
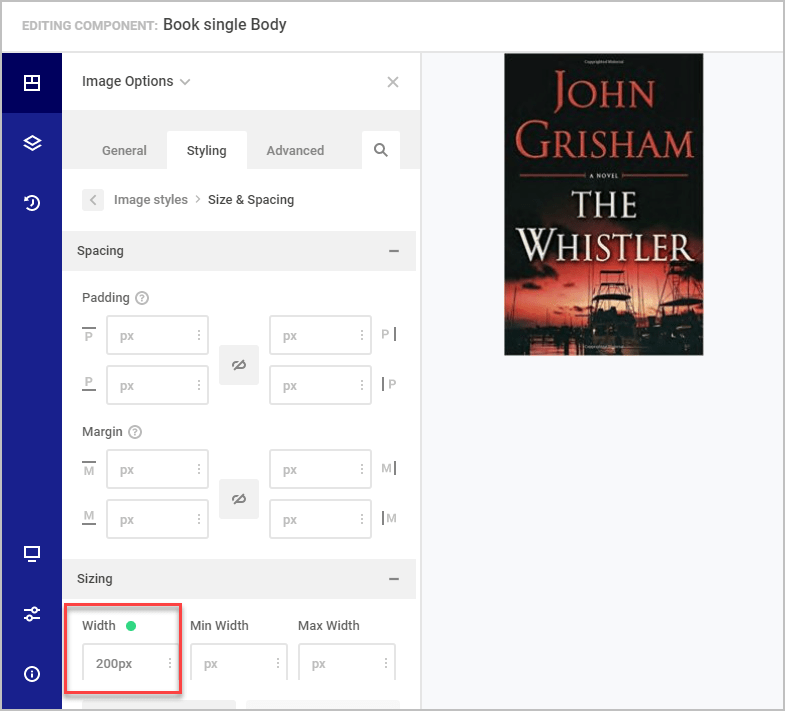
The preview image shows and I go to the Styling tab. There are three options: the image wrapper, the link, and the image itself. I click on the image styles option.
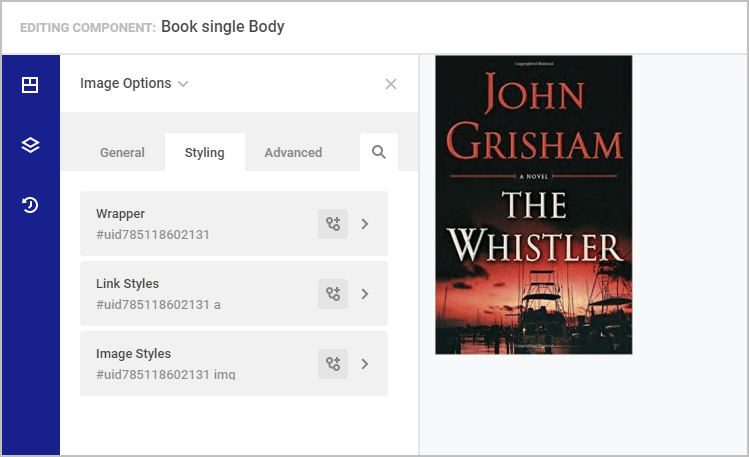
And enter the width of the image.
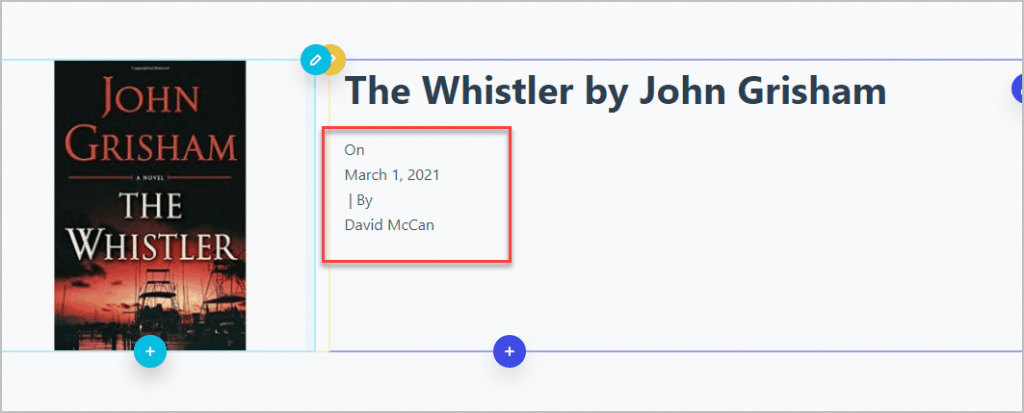
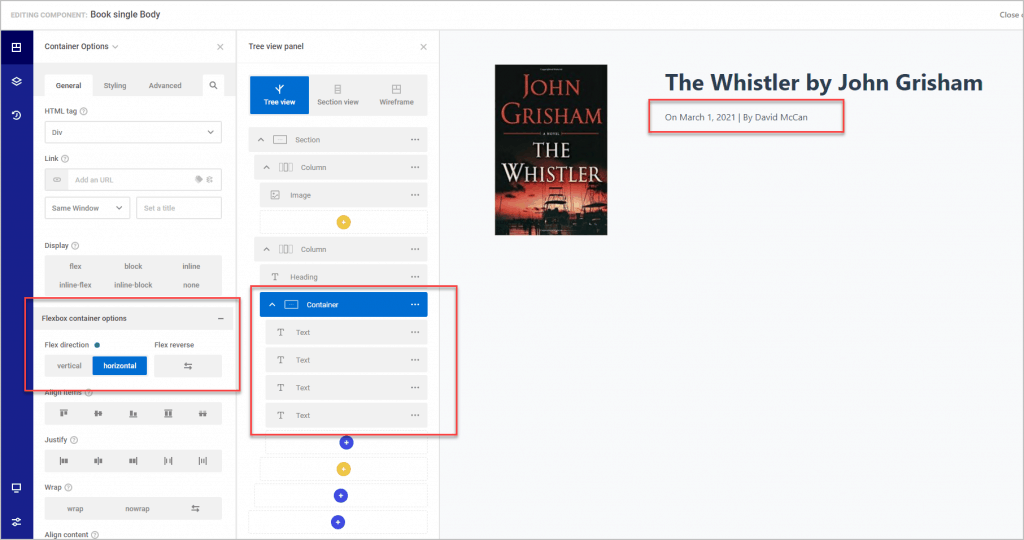
I next added a Header element into the right side column and picked the post title for the dynamic content source. For the post meta, I first added a container element and then inside of that I stacked text elements with words or dynamic data: post date and author.
Then on the container element I set it to flex direction horizontal. Although that process was not as easy as some themes or other page builders have it, it turned out being easier than I expected.
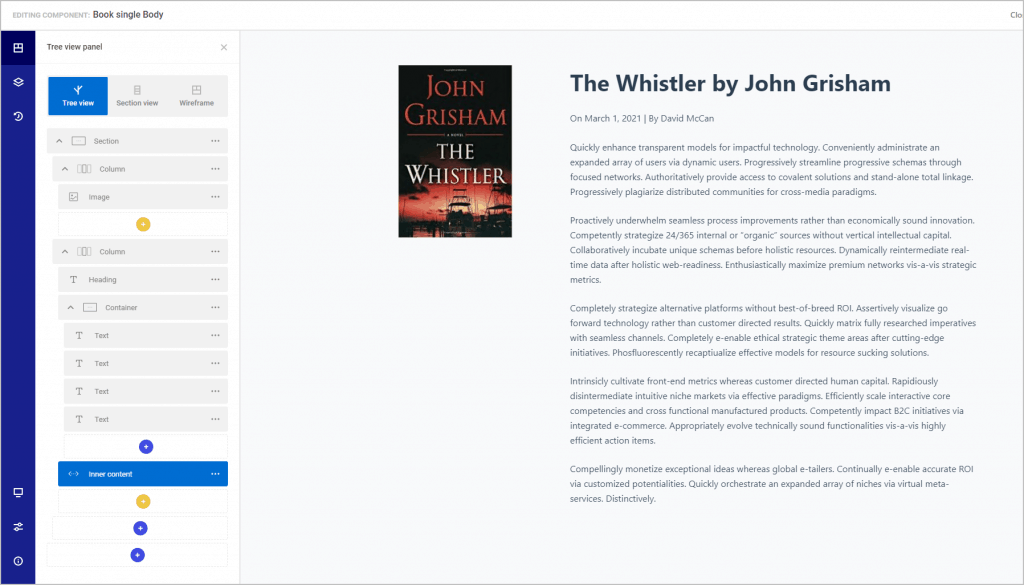
I then added the Inner Content element below the post meta and the content showed.
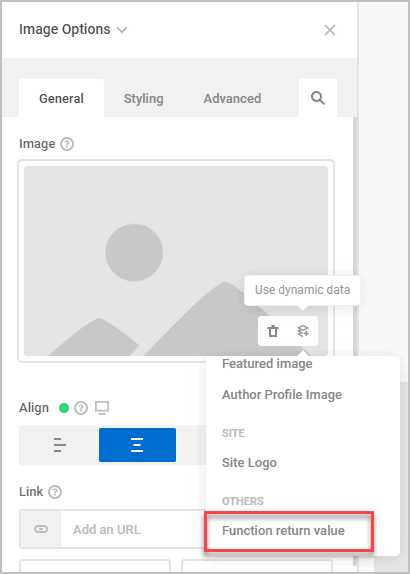
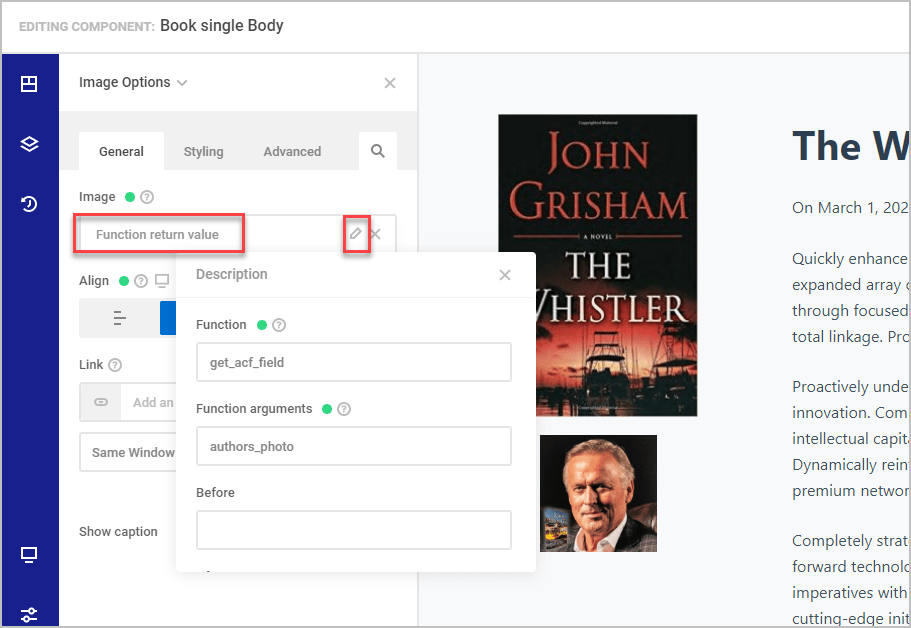
It was now time to add the custom fields. I added an image element under the featured image, but was surprised to find that the ACF Author’s Photo field wasn’t available as a dynamic data choice.
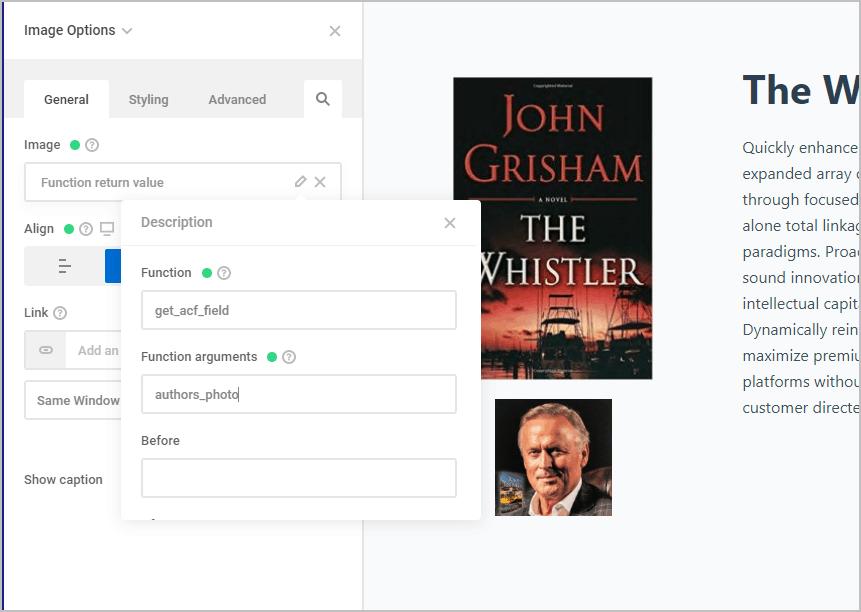
If you scroll down that list of dynamic data options at the bottom there is an option for “Function return value”. This means you can write a PHP function and return what is needed. This option won’t be ideal for many people, but it wasn’t a show-stopper for me.
It used to be that people would put these kinds of custom PHP functions into the functions.php file of their child theme, but these days lots of site builders use a code snippets plugin instead. As it happens, I was testing out WPCodeBox, a code snippets manager for just that purpose. I’ve used the free Code Snippets plugin for years, but WPCodeBox has some nice features: it automatically catches errors so you don’t accidently crash your site, you can store your code snippets online and access them from your other sites, there is an online snippets library with examples you can use, and it has a good editor with syntax hints for WP.
So, I installed WPCodeBox and added a PHP function.
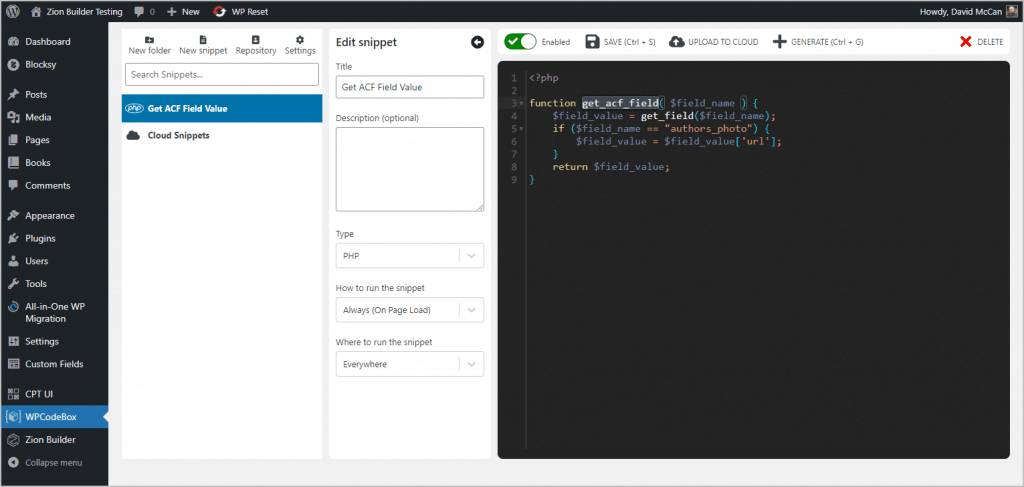
You send this function the ACF field name and it uses the ACF helper “get_field()” to retrieve the value. Images are returned as an array, so I check for the authors_photo field and extract the image link if the request is for that field.
function get_acf_field( $field_name ) {
    $field_value = get_field($field_name);
    if ($field_name == "authors_photo") {
        $field_value = $field_value['url'];
    }
    return $field_value;
}
After you select Function return value from the dynamitic data list, there is pencil icon you can click on to access the inputs. As soon as I had the name of the function and the field name in the image showed.
Below the author’s photo I wanted to add a button with a link to the author’s website. So, I added a button element, centered it, and gave it a bit of margin at the top. I did the same thing for the dynamic data, but this time the field name was “authors_website”. I saved.
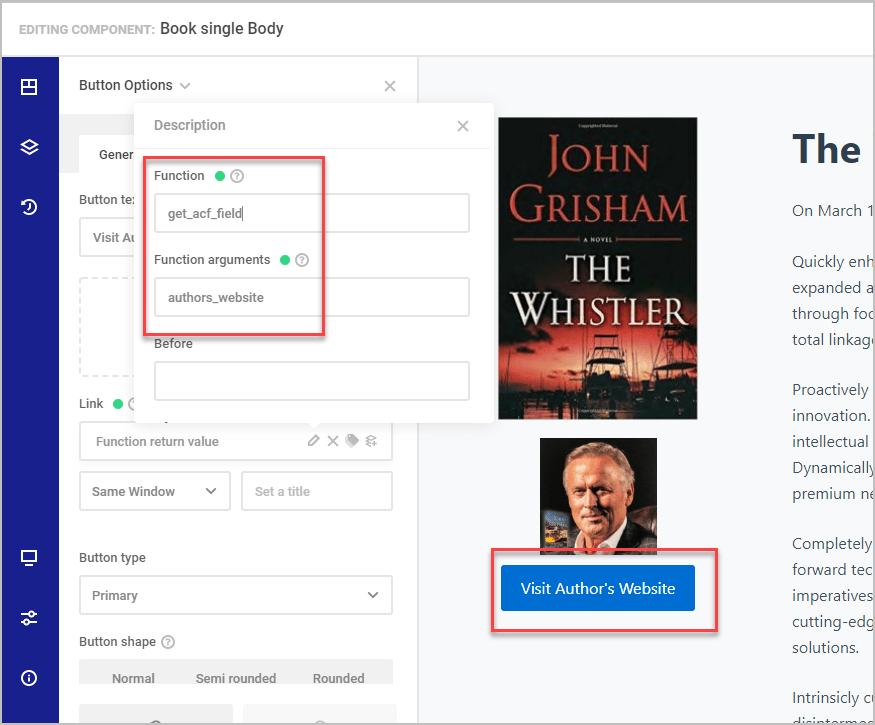
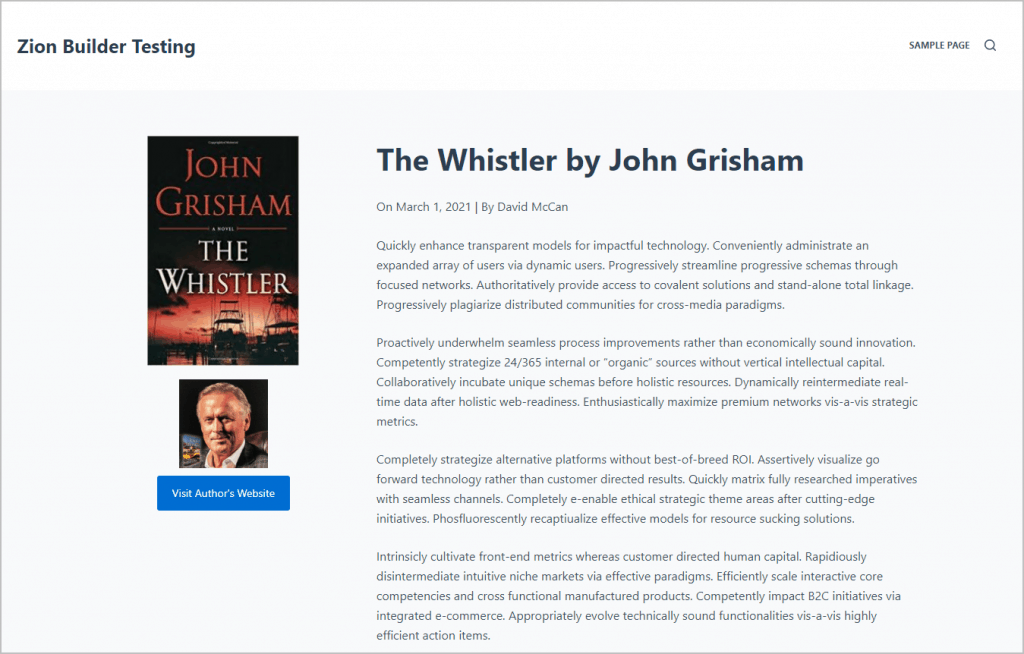
This is the final result. I verified that the button link was correct.
Creating the Book Archive
I returned to the Zion Builder, Theme Builder page, and clicked that Add New button again. This time I gave it the name “Book Archive” and picked the book archive locations from the list.
Like before, I get a new template set. I clicked on the Add body button.
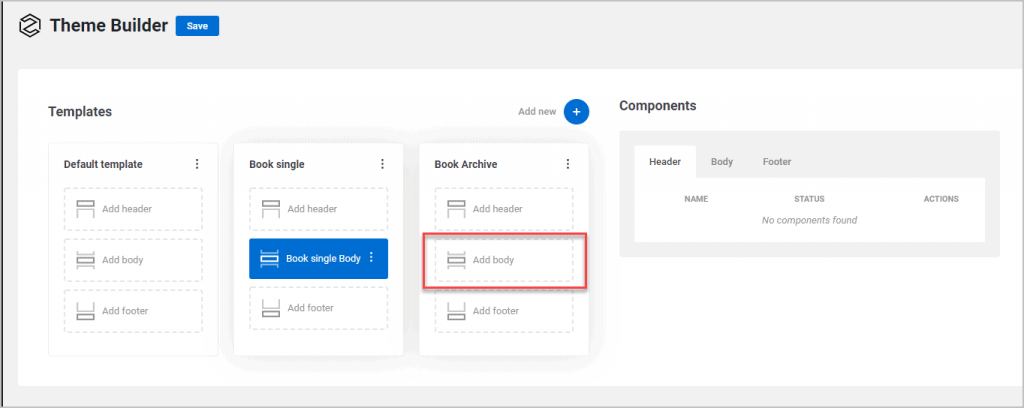
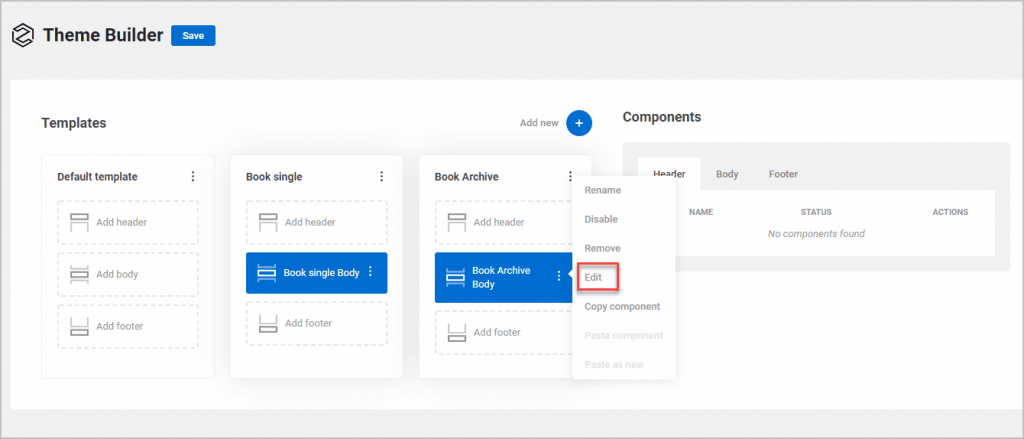
I clicked on the Book body item and then the create component menu item.
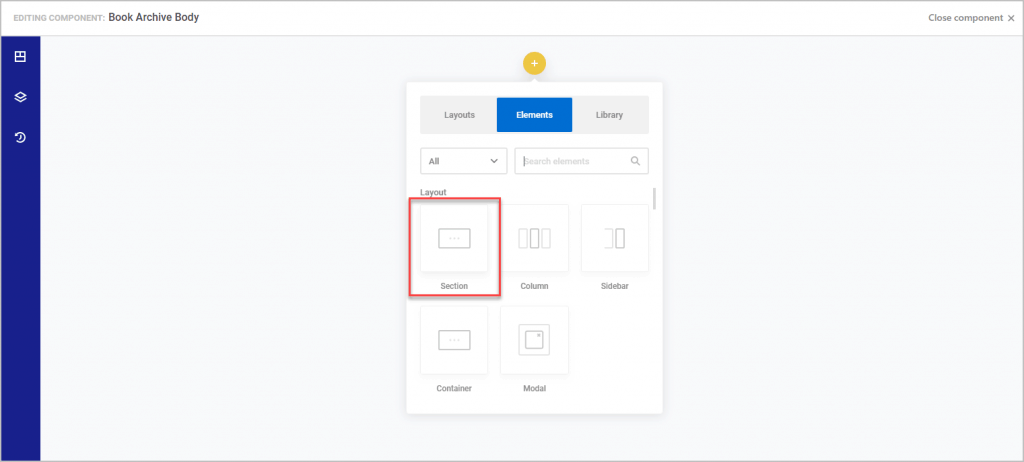
In the template editor. I clicked on the yellow plus button and added a section.
Inside the section I added a Container.
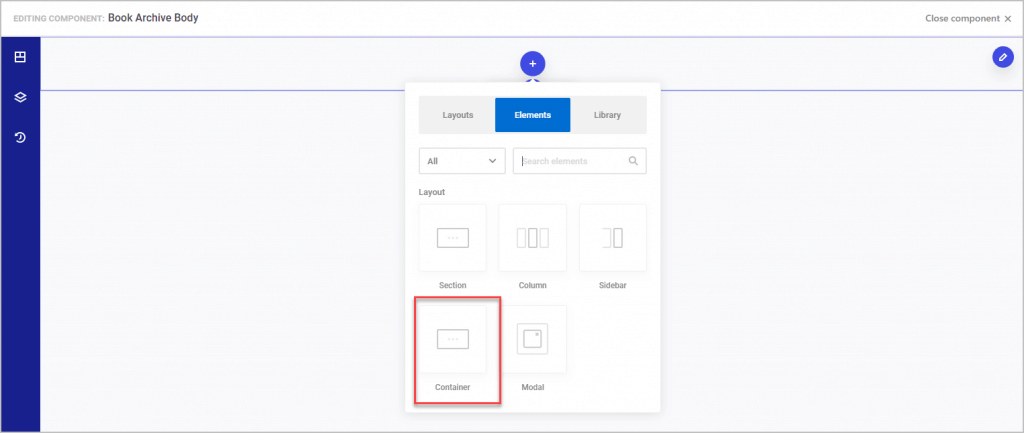
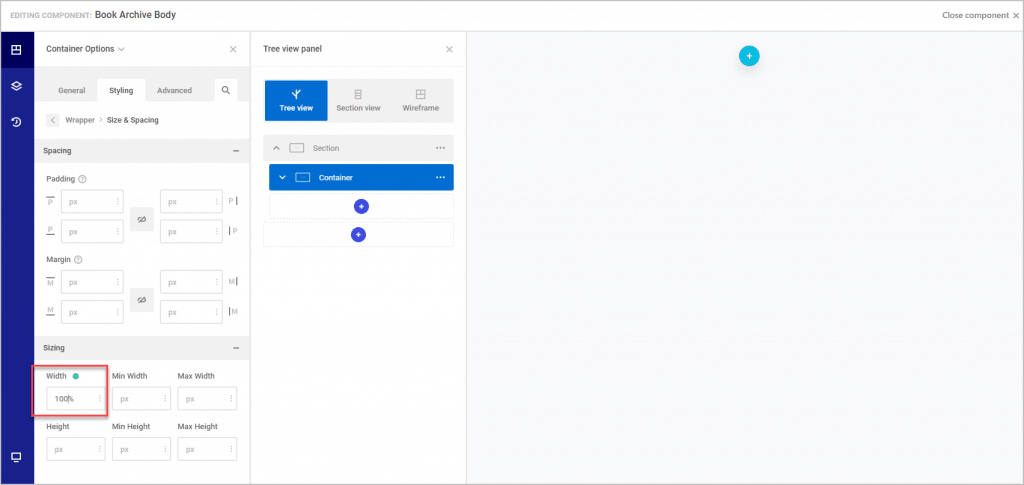
When the container was added it was not very wide. So I set it to 100% width.
As you might see, it was difficult to tell the difference between these sections and contains, so I gave the section a light red background color and the container a light green background color. I also gave the section a top margin.

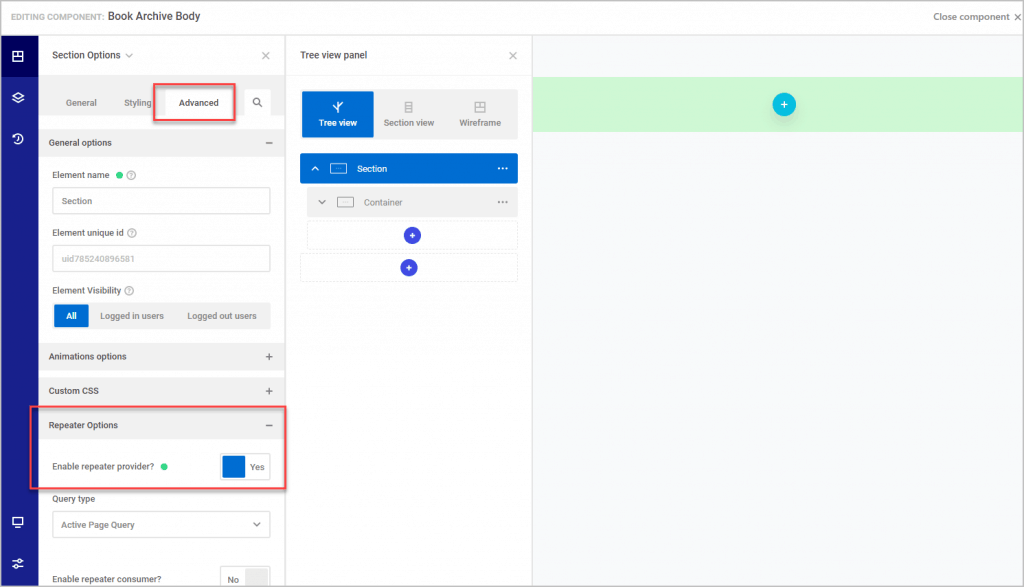
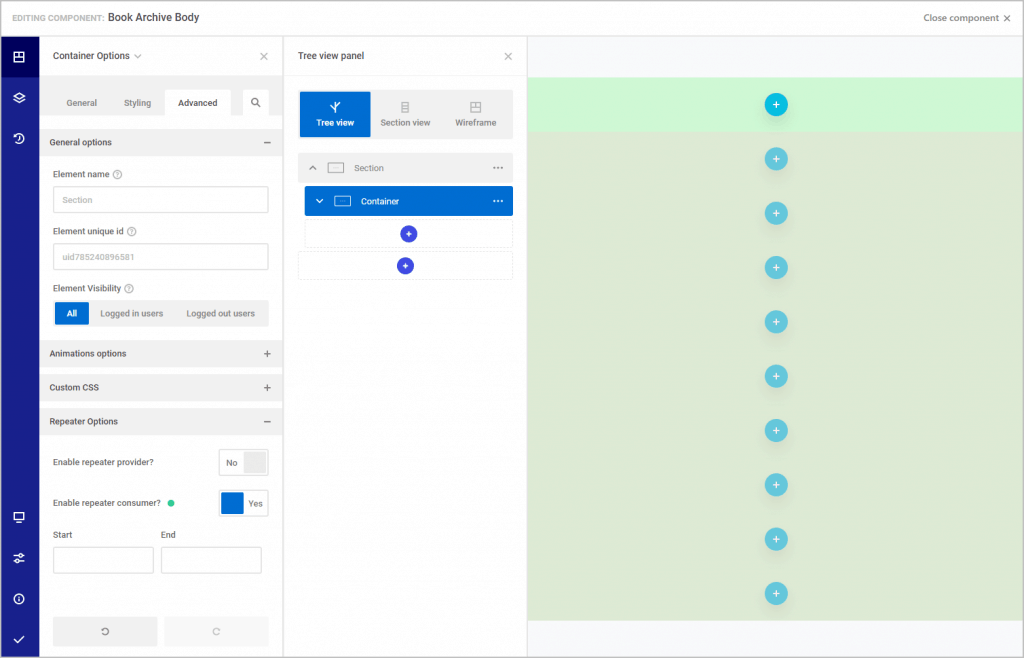
Zion Builder doesn’t come with a Posts element or an Archive element. Instead, it allows you to turn an element into a repeater. The way that works is the outer element becomes the “repeater provider” and the inner element to “repeater consumer”. So I set the outer section as the provider and the inner container as the consumer. Basically what we are doing is create a row of the archive loop. When you have both the tree view and the element options open, it would make more sense to me if they were switched so that the element options were closer to the element on the page.
You can see when I set the container as the repeater consumer that the top row because the template and then it was repeated down.
I added the featured image to the column on the left.
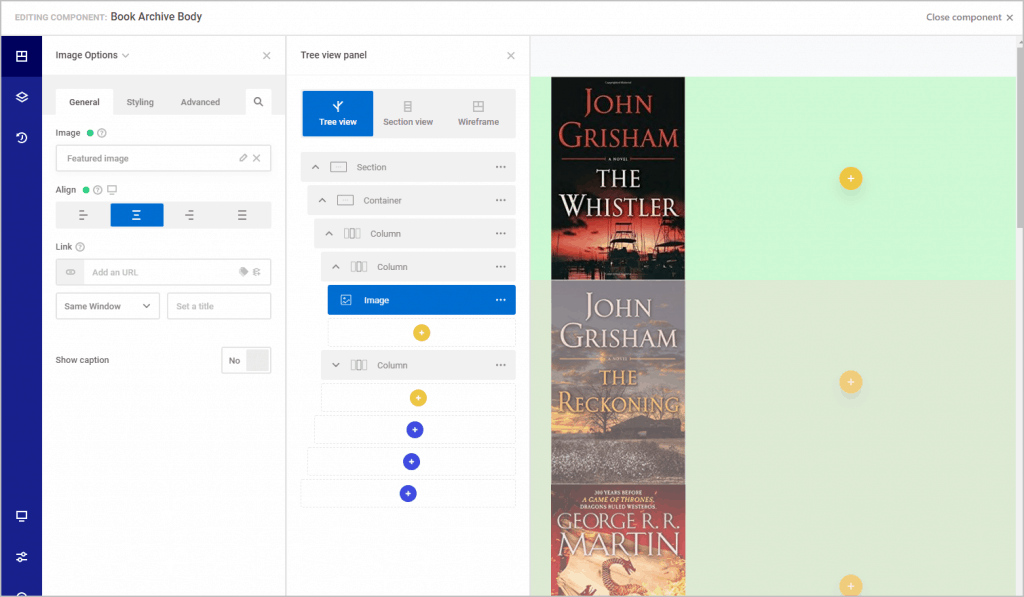
In the right column I added a heading element and set it to the post title. I added a text element and set it to the post excerpt. I didn’t see a way to set the excerpt length. I added a read more button under the excerpt and set its link to go to the post. I added spacing between things.
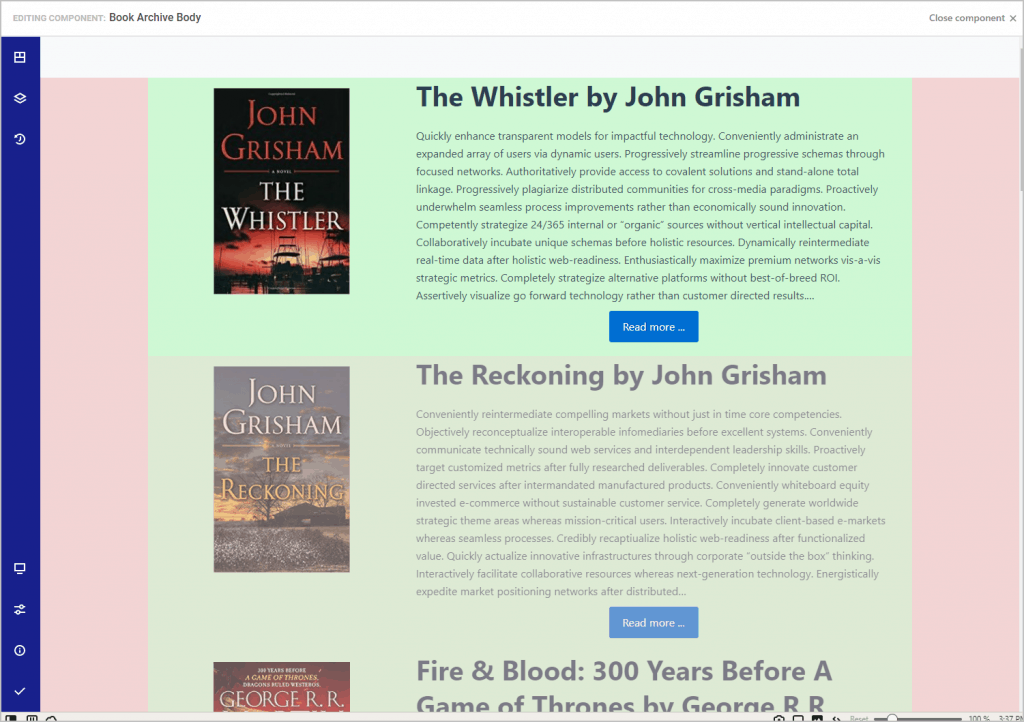
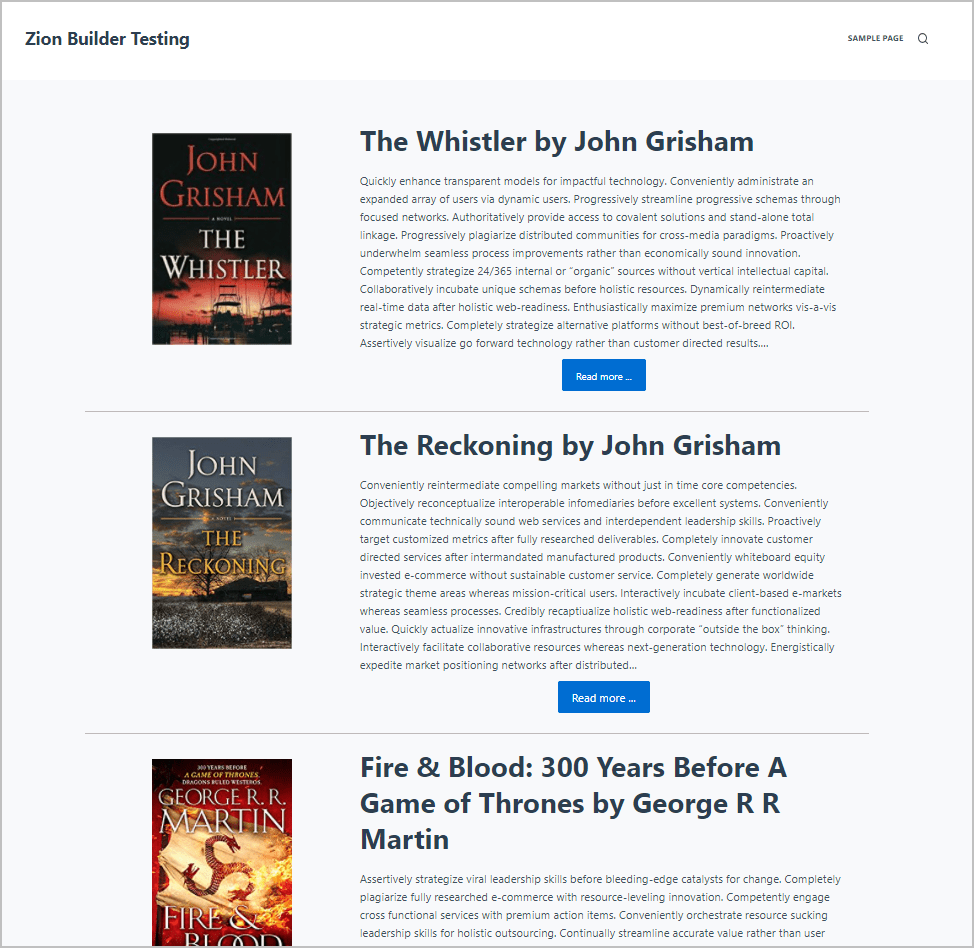
I removed those background colors, added a bottom border, and adjusted the margins some more. This was what it was looking like on the front-end now.
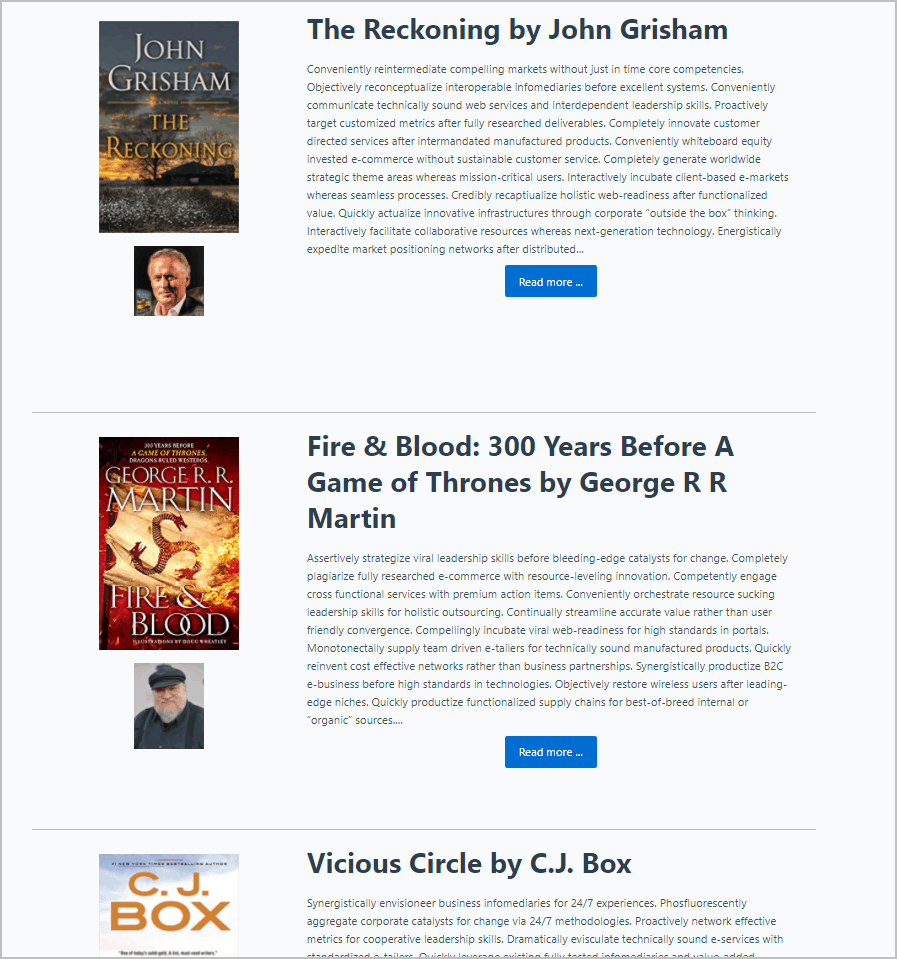
One thing I’ve done in the past to test the flexibility of the archive template is to see if it is possible to add a custom field the archive. This was easy, but I had to use the Function return value again. I added the author’s photo.
The final book archive looked good.
Discussion and Conclusions
I was pleased that I was able to complete the task and create both the single and archive book template.
I’ve seen people mention that the Zion Builder has a lot of bugs. The problem for me was the Read More button in the archive. What showed in the editor did not match what showed on the frontend and on the frontend only the first one showed as a button. I’m not sure if that was a theme conflict, user error, or a bug, but I played around with it a bit off video and couldn’t get it right then either.
More generally, it seemed like some rough edges in the user interface. You tend to see a lot of round plus buttons, which isn’t always helpful because it is not always obvious what container they are tied to. It would have helped if there was more visual container definition. Remember, I added temporary background colors to the section and container when making the archive for that reason. Also, finding and picking the right contextual menu for the element on the canvas was difficult, but using the tree view worked fine.
It would have made things quicker if when you added a new element its options panel opened automatically. Instead the previous stayed on screen. Additionally, it would be nice if you could double-click an element and have its options panel open also, so that you didn’t have to always use the tree view.
Looking at the options for each element, the general, style, and advanced options, I liked the range of options available. I thought it was easy to style the different elements, and center them. It was easy to pick the advanced custom fields. The repeater functionality worked well. It was flexible enough that I could add the author’s image, an ACF image field, to the book archive. You cannot do that with the Divi or Elementor Pro theme builders, for instance.
The Zion Builder is one of the new breed of page builders that is trying to improve on the previous generation by finding the sweet spot of ease of use, good performance, features, and flexibility. Zion Builder is off to a good start. There are still some rough edges, but the builder is being actively developed, so I’m watching to see what the developers do in the next few months.