Table of Contents
The maker of Piotnet Addons for Elementor and Piotnet Forms has just released a new product called Piotnet Grid. This is a plugin that lets you create content grids and carousels, such as on a shop, blog, or archive page. You can also equip your grids with front-end controls for filtering, sorting, and pagination. These types of front-end controls are called “facets.” Historically adding facets to content listings has been costly and difficult to setup, but Pionet Grid is one of a new generation of plugins that breaks the process down into a series of logical steps. Although there are just a few steps involved, the plugin is far from simplistic. There are a lot of layout and style options as well as the ability to work with dynamic data, which makes it a sophisticated solution. In this walk-through I am going to use the Piotnet Grid Builder to create a custom archive for a Custom Post Type.
Video Version
Piotnet Grid Website
Piotnet Grid is a premium only offering, however, you can test it out on a demo site before purchase. The website also has several demos showing different grid layouts, carousels, filters, and WooCommerce examples. There is some basic documentation, but the product is new and the documentation doesn’t go into depth.
Piotnet Grid comes with support for Gutenberg, Elementor, and Oxygen, which means that there are controls for those builders that you can use for adding grids and facets to the page. If you are using a builder that doesn’t have support then you can create a template using Piotnet Grid and use a shortcode to add it into the desired location.

They also have dynamic data support for Advanced Custom Fields, Meta Box, JetEngine, Pods and Toolset.

Piotnet Grid currently has a launch discount going and you can get a discount if you already own one of their other plugins. There are annual packages from 1, 100, or 1,000 sites as well as a lifetime package for 100 sites.
Notes About the Testing Site
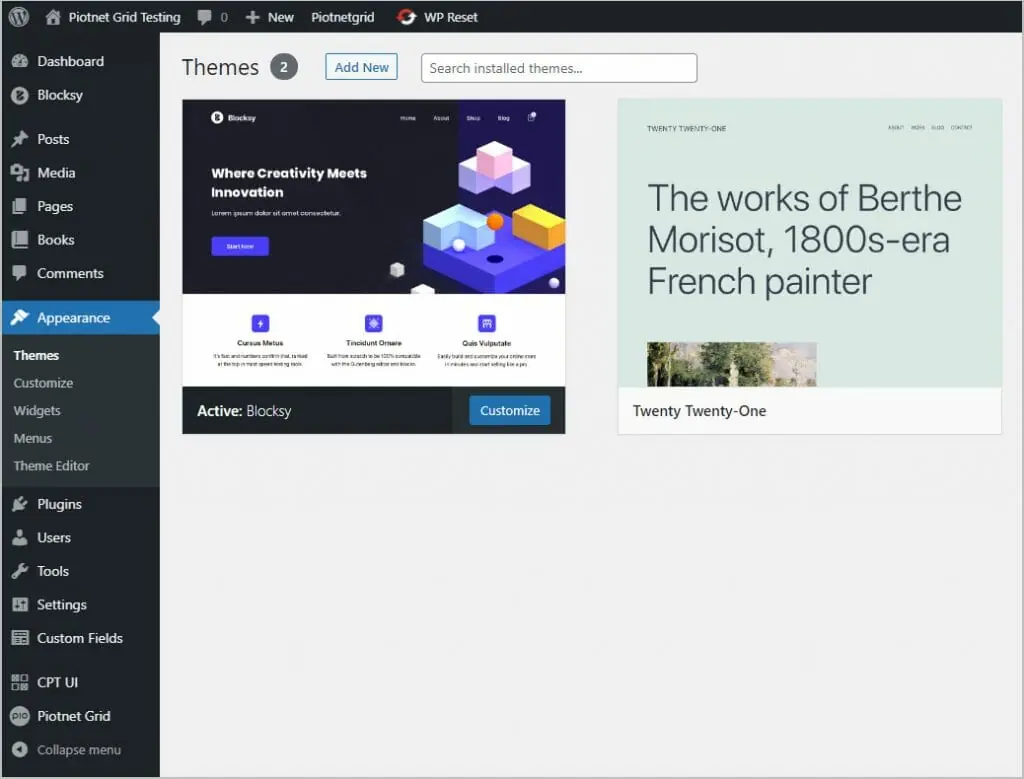
I have a testing site with the Blocksy Pro theme installed. I’ve been using Blocksy more and more and find that the Customizer options logically organized and the theme to be very flexible.
I have a bunch of demo post content by different authors and categories.
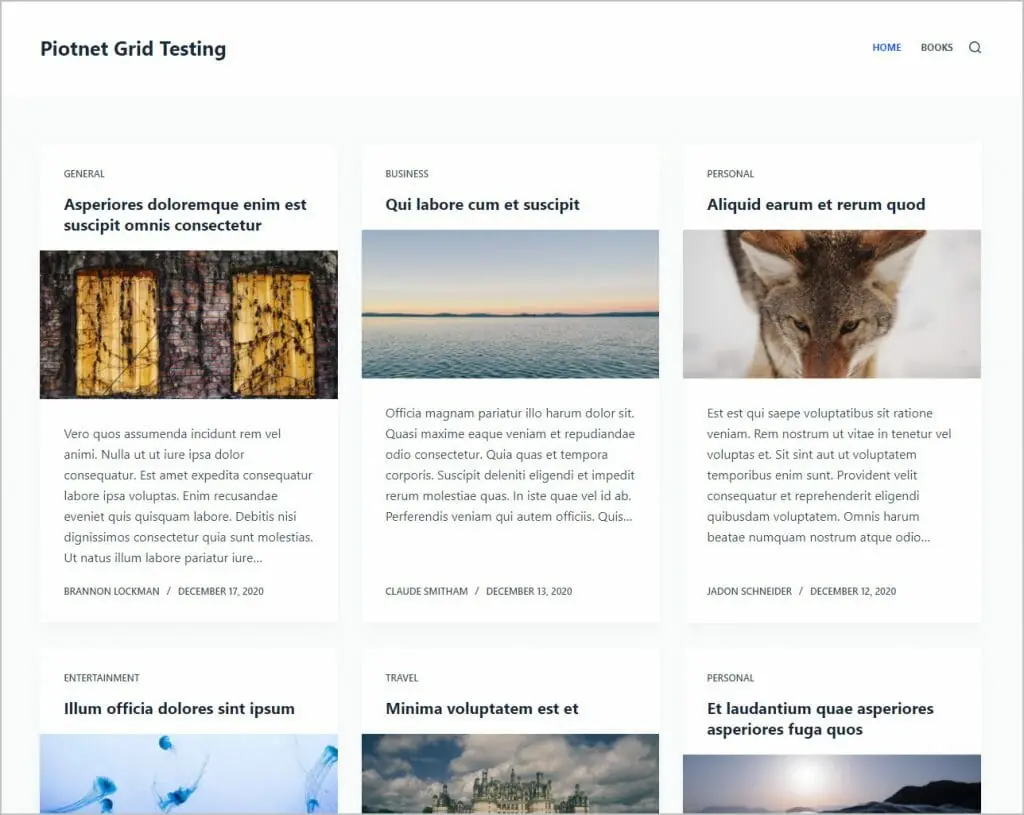
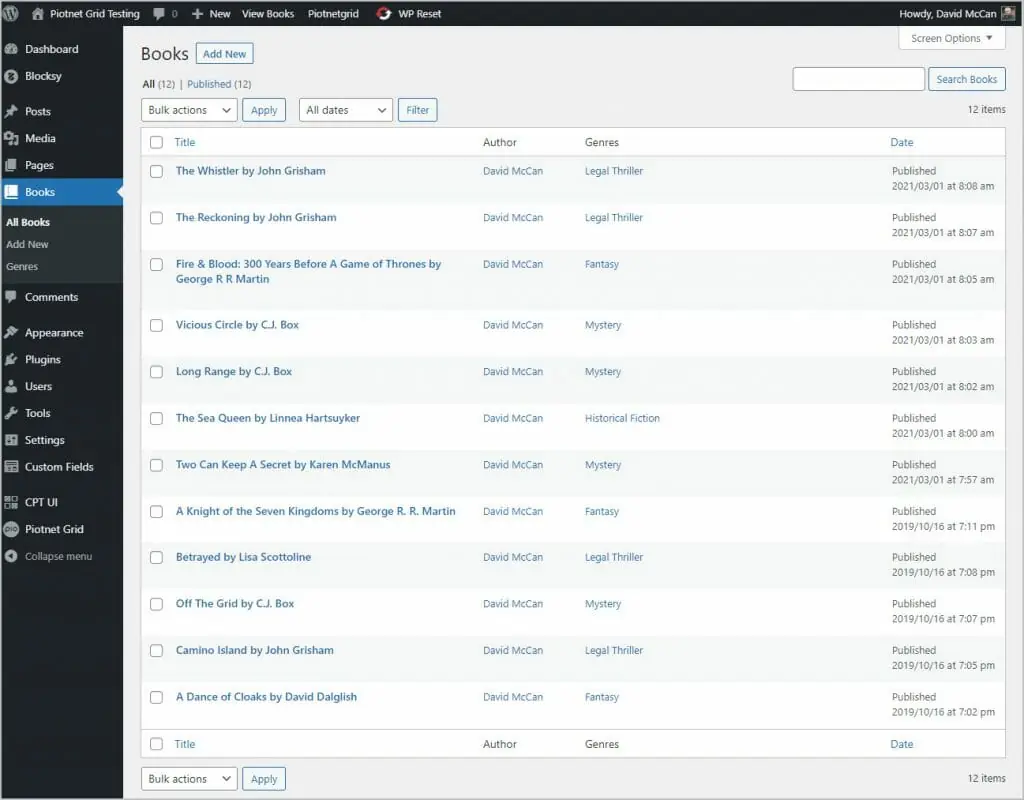
I also have a Custom Post Type called Books with a bunch of records. This was created using the CPT-UI and Advanced Custom Fields plugins. I’ll create a grid from scratch for the Books archive.
Admin Tour of the Menus
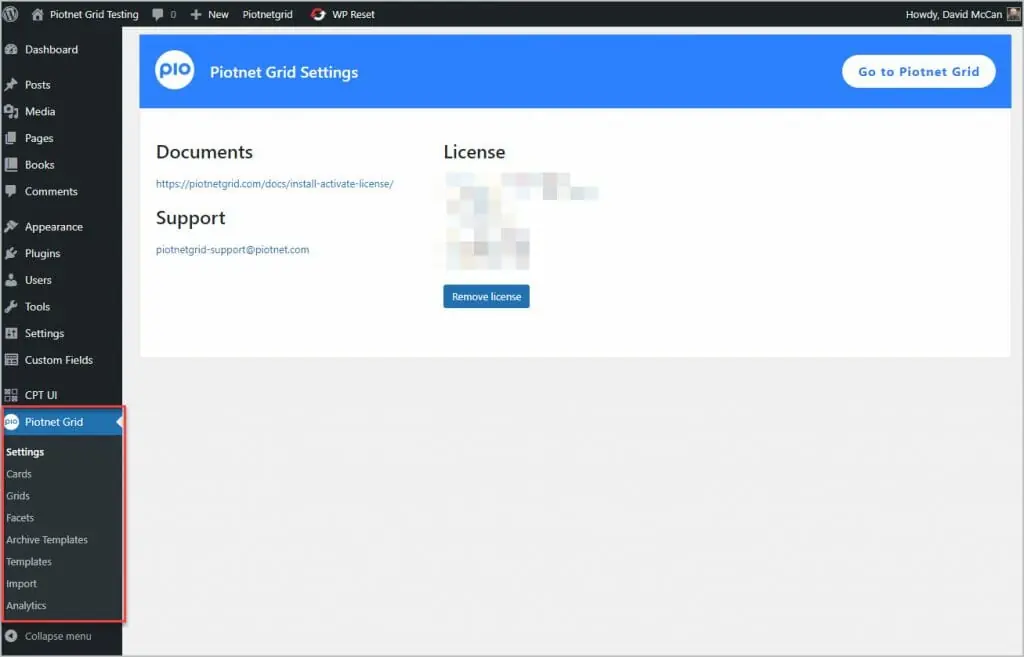
When you activate the plugin you get a new admin menu item with a set of pages. We will look at these as we create some grids, but here is an overview:
- On the Settings page you enter your license information and there is a button to go to the product website.
- The Cards page is where you create and manage your cards. Each item on your grid or carousel is a “card” and the card has the content you are showing for the individual item, such as the featured image, title, excerpt, read more button and other fields.
- The Grids page is where you create a manage your layouts. You place cards on your layout, so you need to create your cards first.
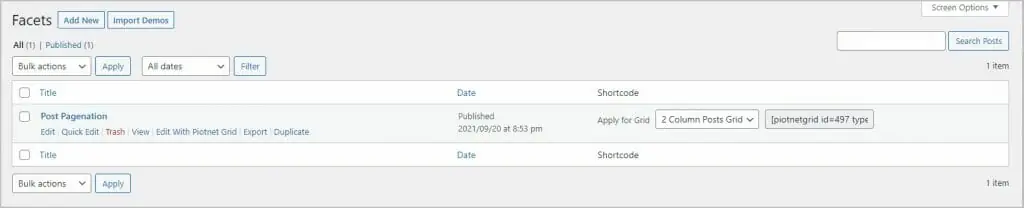
- Facets are the front-end controls, like search, sort, and filter. You create and manage your facets from this page.
- The Archive Templates page is where you can create a custom archive page using Piotnet Grid and you can assign it to override the WordPress default.
- A Template is a collection of a grid and some facets that you layout using the Piotnet Grid editor. You then get a shortcode that you can use to insert the template (grid with facets) anywhere you can use shortcodes. You manage templates and can copy the shortcodes from this page.
- There is an Import menu item where you can import a JSON file from another site.
- There is also an Analytics page that shows you stats for which grids and facets were viewed by site visitors.
Creating the Book Archive with Piotnet Grid
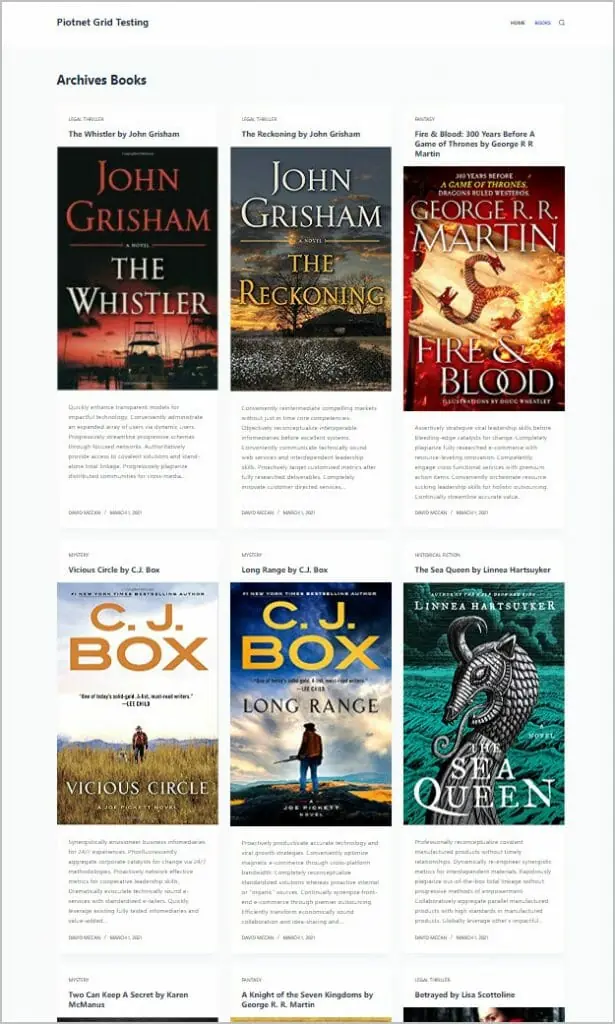
This is what the book archive looks like by default. Blocksy actually does a better job than most themes. However, as you can see, to maintain the aspect ratio the featured images, the book covers, are very large. I decided to create a Books Archive using Piotnet Grid.
The Card for Books
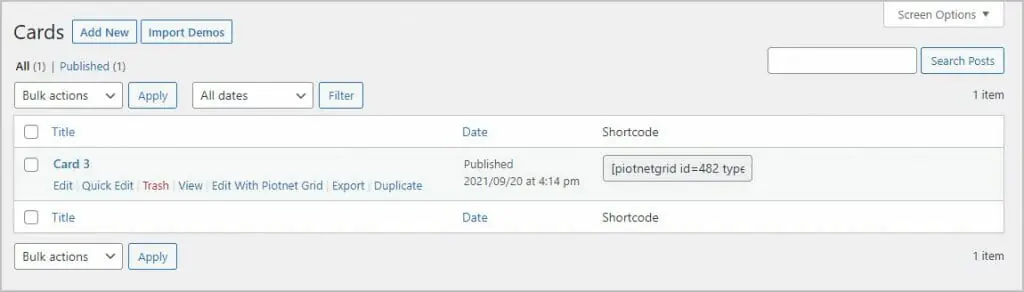
You start with cards, so I go to the Cards page and click the “Import Demos” button. There are seven sample cards that you can pick from. Three of them are for WooCommerce. I pick Card 3, which has the featured image on the left, and click the Import button. After a couple of seconds the text on the button changes to “Imported.”
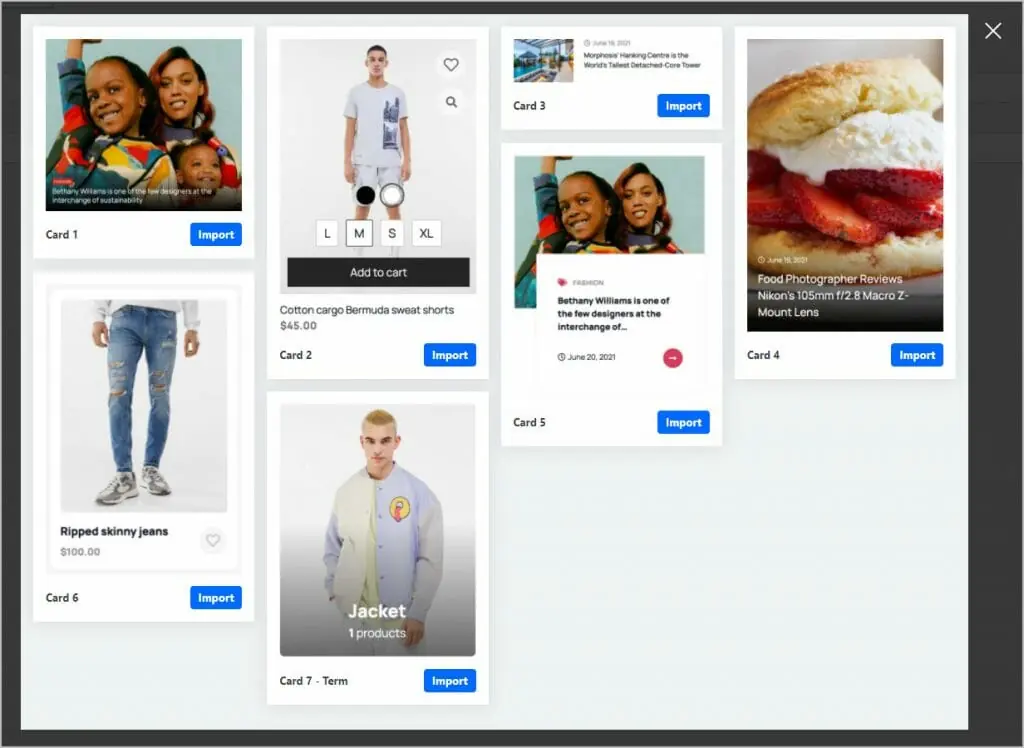
Card 3 was imported. When you hover over it there are several options: Edit, Quick Edit, Trash, View, Edit with Piotnet Grid, Export, and Duplicate. The export option will save it as a JSON file that you can import on another site. The duplicate option is nice in the event that you would like to have several variations of a card.
I renamed the card to describe it.
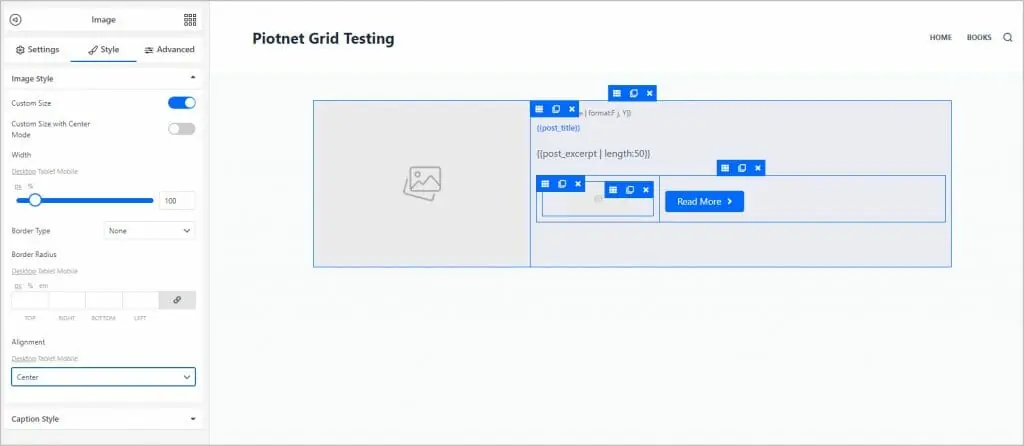
And I click the Edit with Piotnet Grid link to go into the editor.
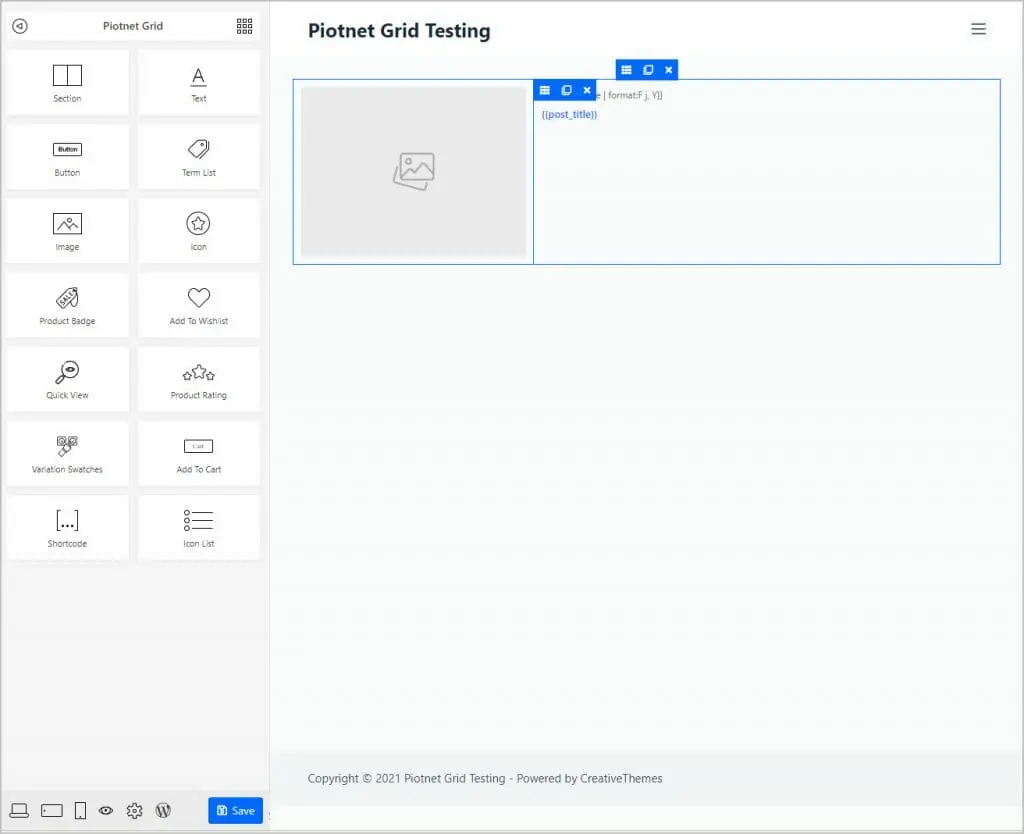
On the top left there are two controls, one to collapse the sidebar so you can work full screen, and the grid icon is to open the sidebar list of elements. The sidebar contains a list of elements that you can add to the card and note that some of these are also found on the grid creation page. On the left bottom of the editor there are options to work by device size, preview the card, go out to the settings, or return to the WordPress admin. On the right is the canvas with the card.
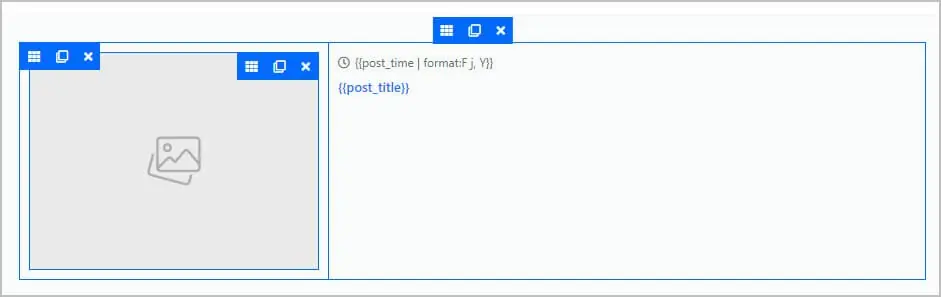
The card has a section with two columns. On the right is the featured image and on the left is an icon and the post creation date. Under that is the post title. These are magic tag codes for dynamic data.
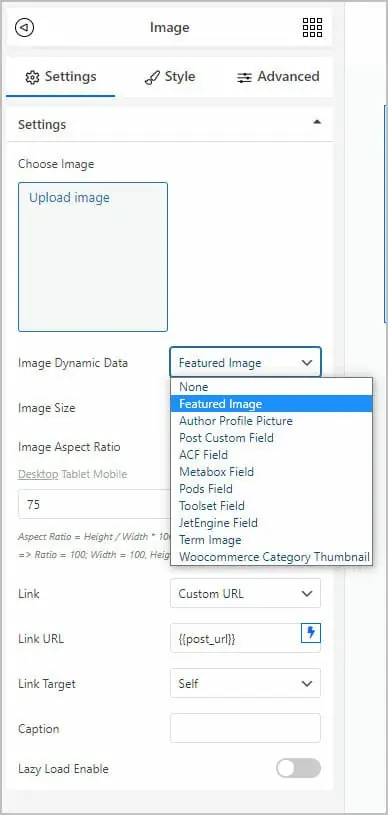
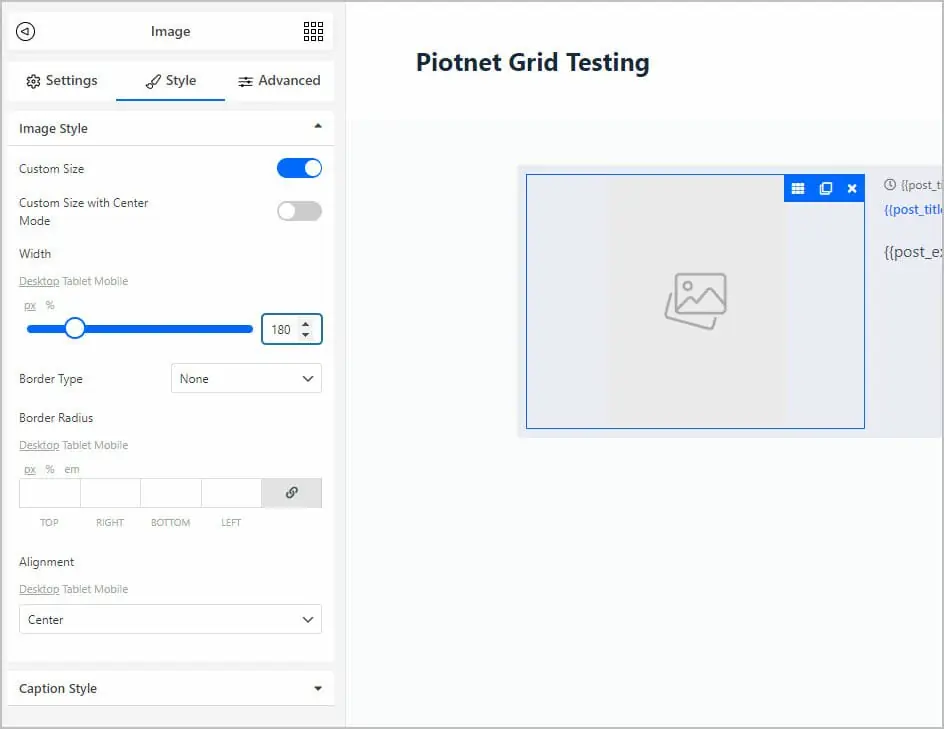
Here you can see some of the options for the image element. If has support for different dynamic data providers. Note the Link URL field where I’ve clicked the lightening bolt and picked the post url as the link option. I adjust the featured image size to match the book covers.
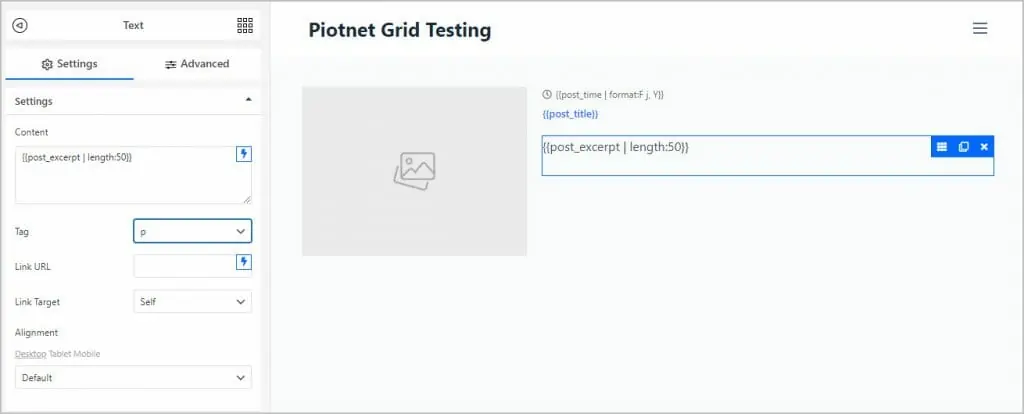
I add a text field for the post excerpt. I pick the excerpt from the lightening bolt button and it adds the tag.
Under the excerpt I add a section and then click on the column control in the section in the upper left of the section and then click the duplicate button to create two columns. In the column on the left I add an image element and set it for the author’s photo.
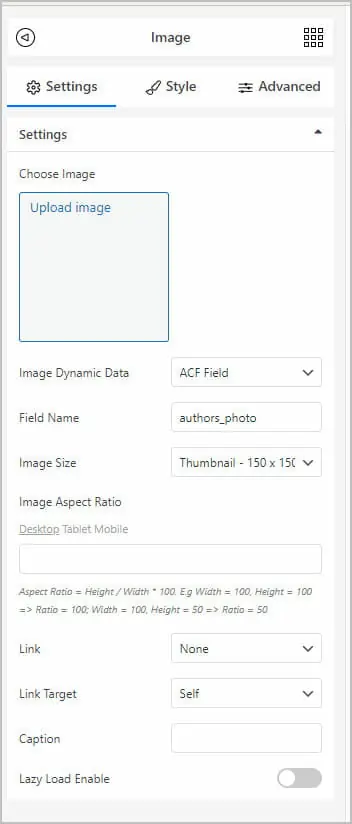
I adjust its size. Then add a button to the right column, make the text say “read more’ and set the link to go to the Post URL.
I click on top control to select the entire section. I give it a bit of margin all around and a light blue background color. I then click the Save button and return to the admin menu area.
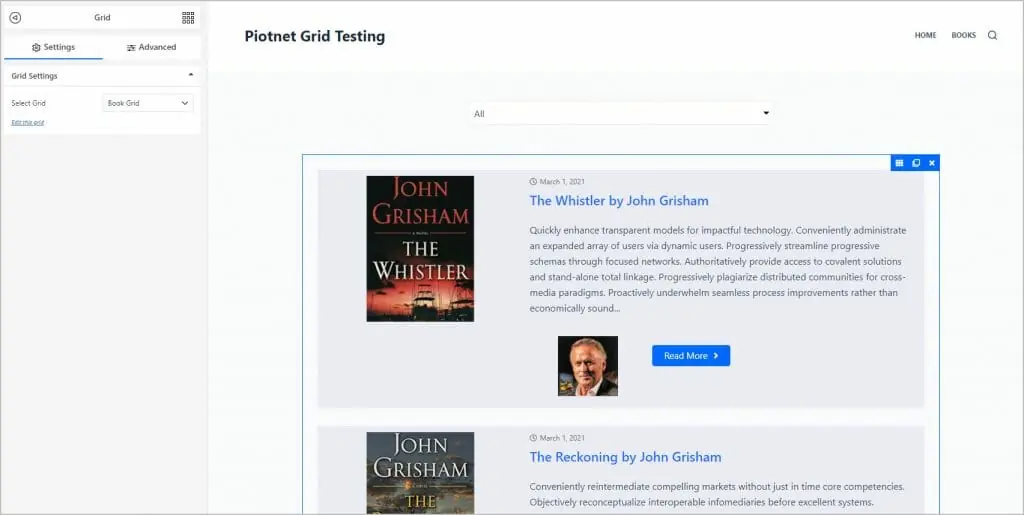
Creating the Grid for Books
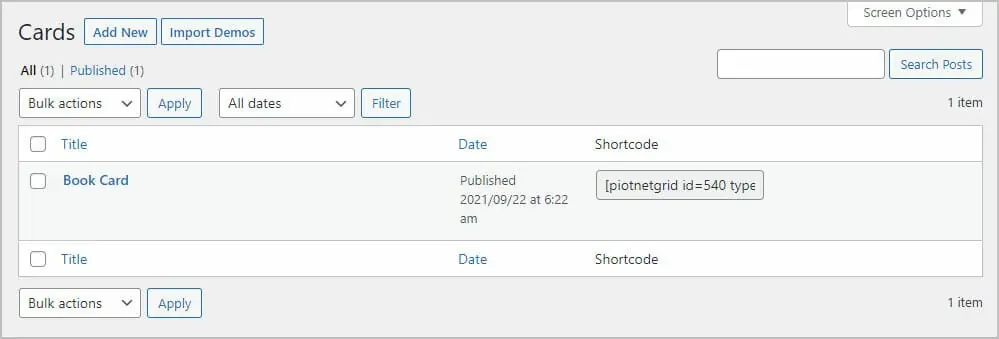
I go to the Grid page and click create new. I give it the name of Book Grid, save, and go into the editor. I add the grid element to the canvas and set the Post Type to Books. That is all there is to it, so save and back to the admin.
Post Grid Navigation
I go to the facets page and click the Import Demos button to see what is available.
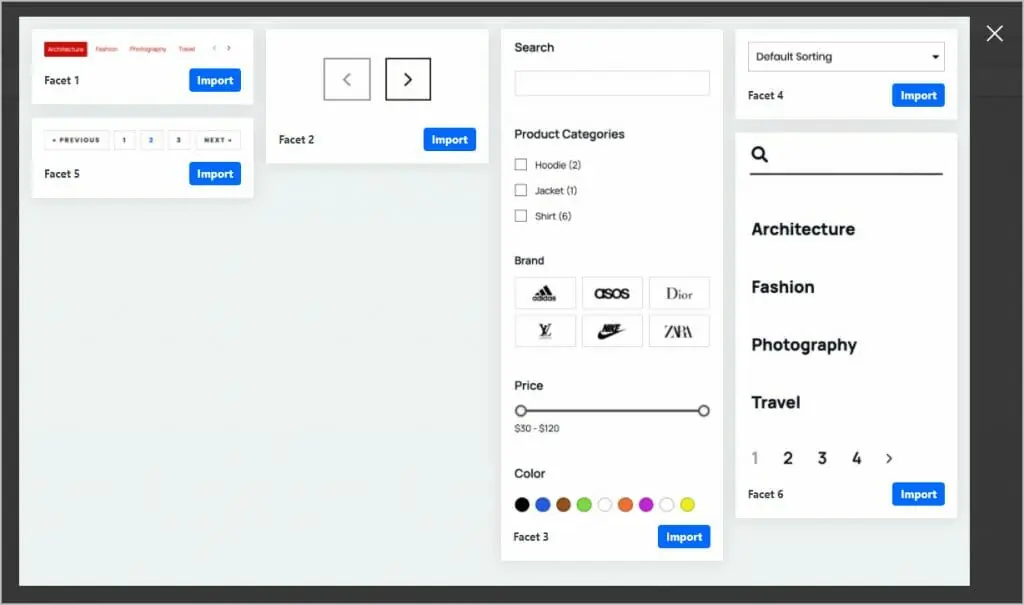
I imported demo 5 and renamed it to Post Navigation. This doesn’t have any link to a grid. That is done later, so this facet can be used for any grid.
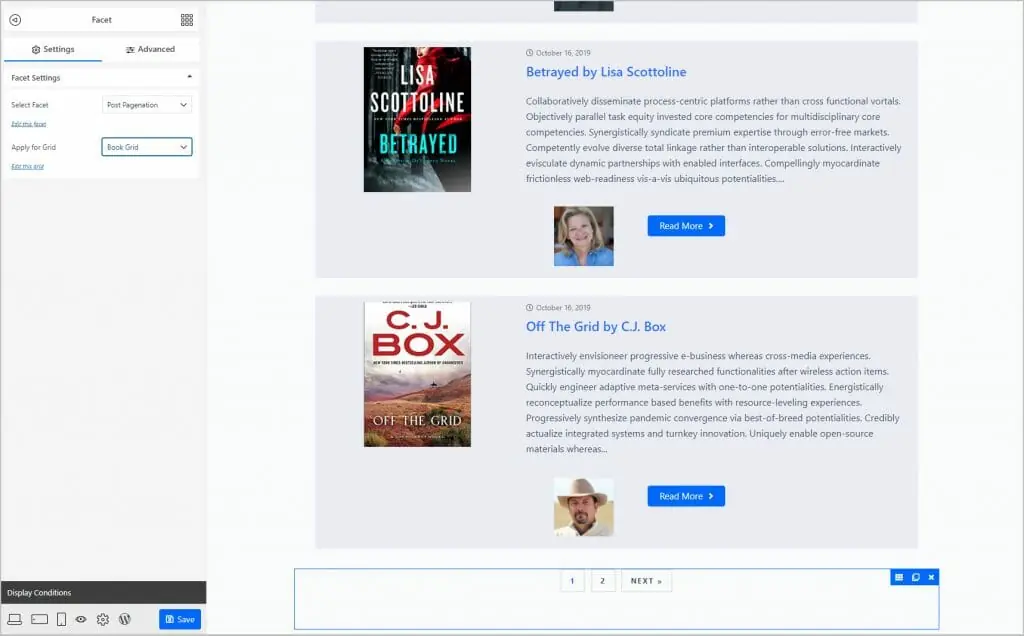
Creating the Genre Facet
I next create a facet for filtering the custom taxonomy.
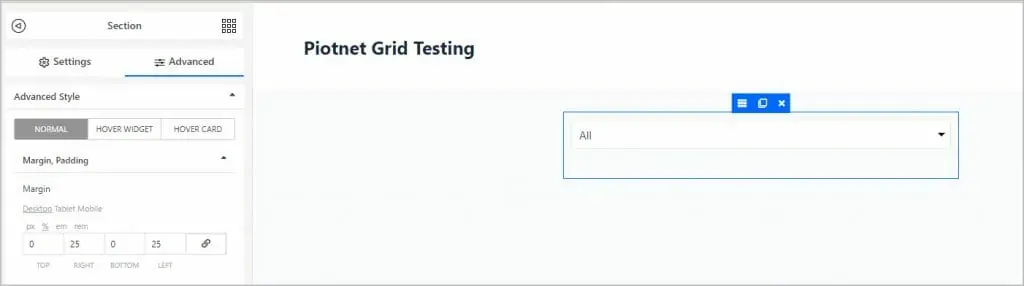
I add a facet element and set it to be for the Genre taxonomy. I center the facet controls on the canvas using the styling options.
Creating the Archive
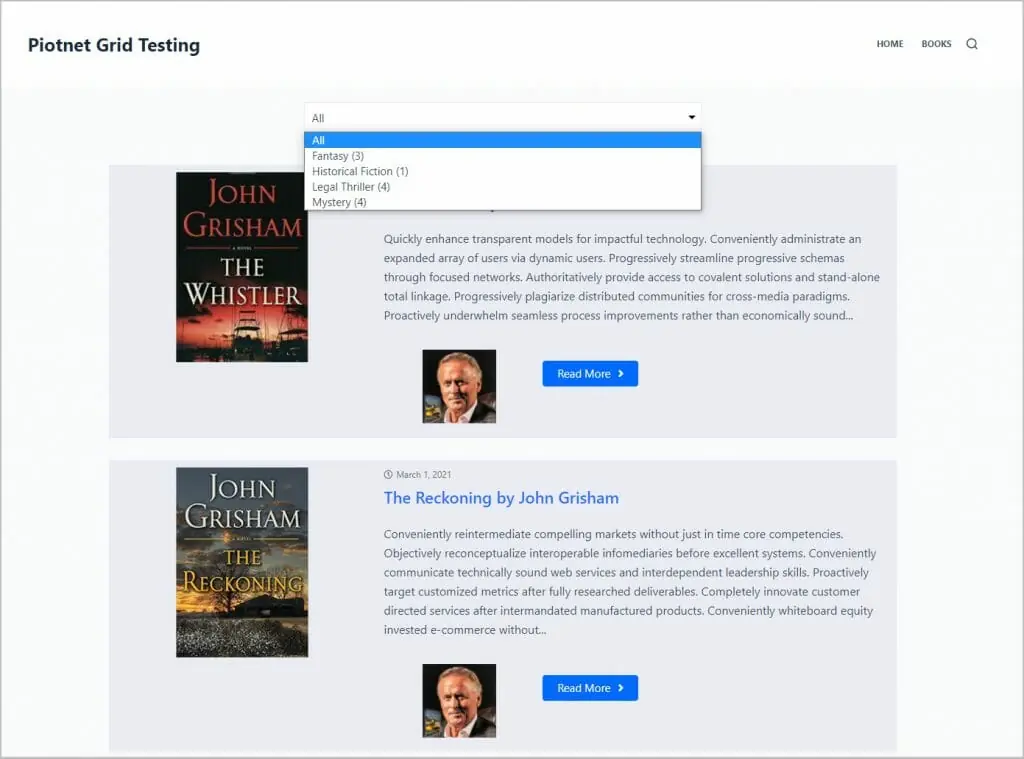
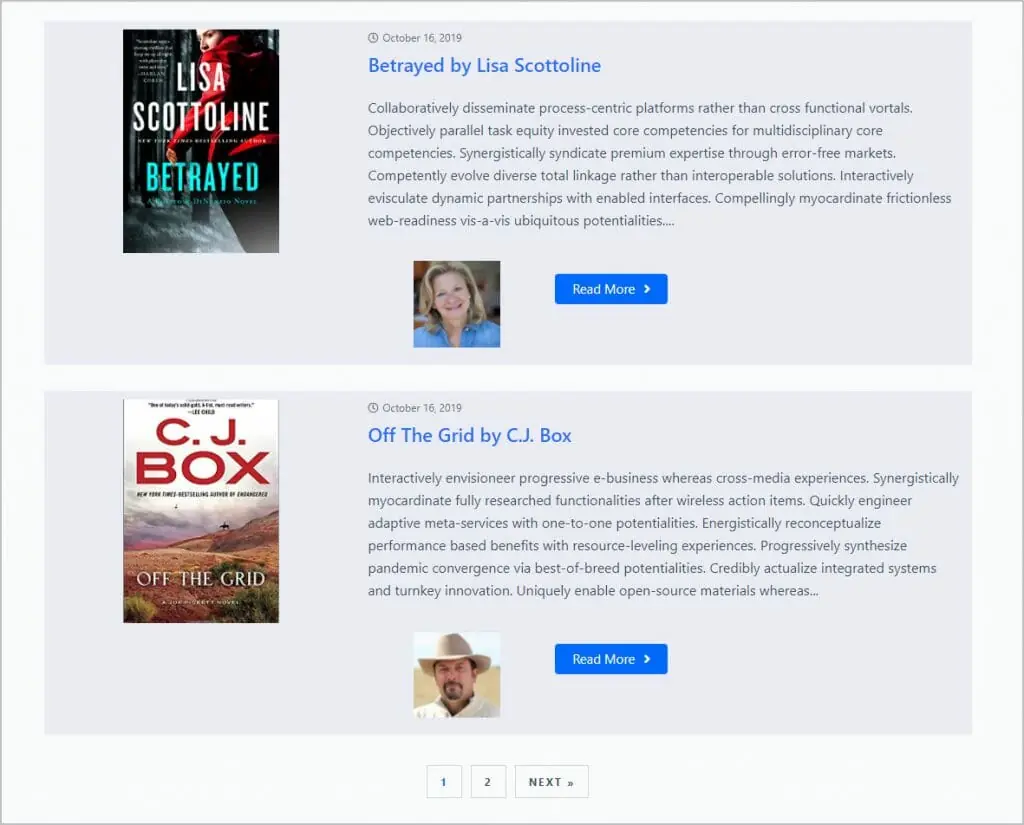
Now, to create the archive, go to the Archives page and click create new. I name it Archive for Books.
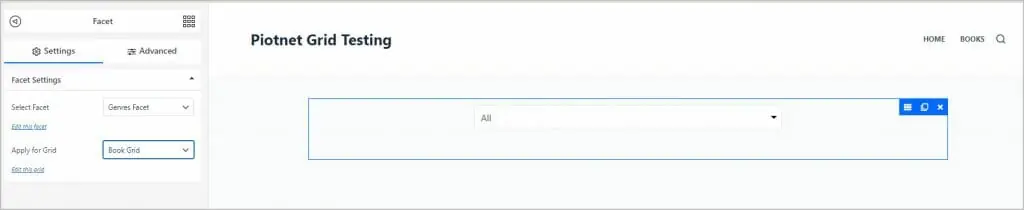
At the top I add a facet and set it for the Genres filter. You have to specify the grid should be tied to.
Next I add a grid element and set it for the Books Grid.
At the bottom I add the pagination facet.
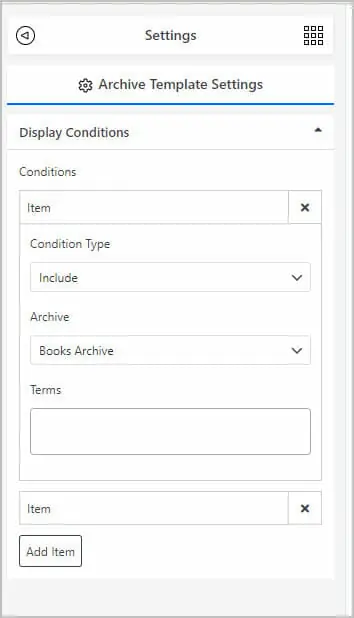
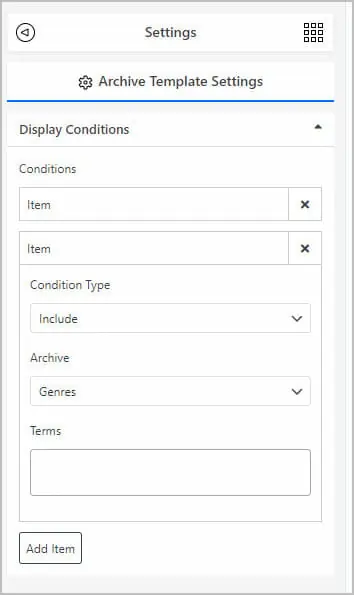
Then click on the Display Conditions and set it for the Books Archive and the Genres Archive.
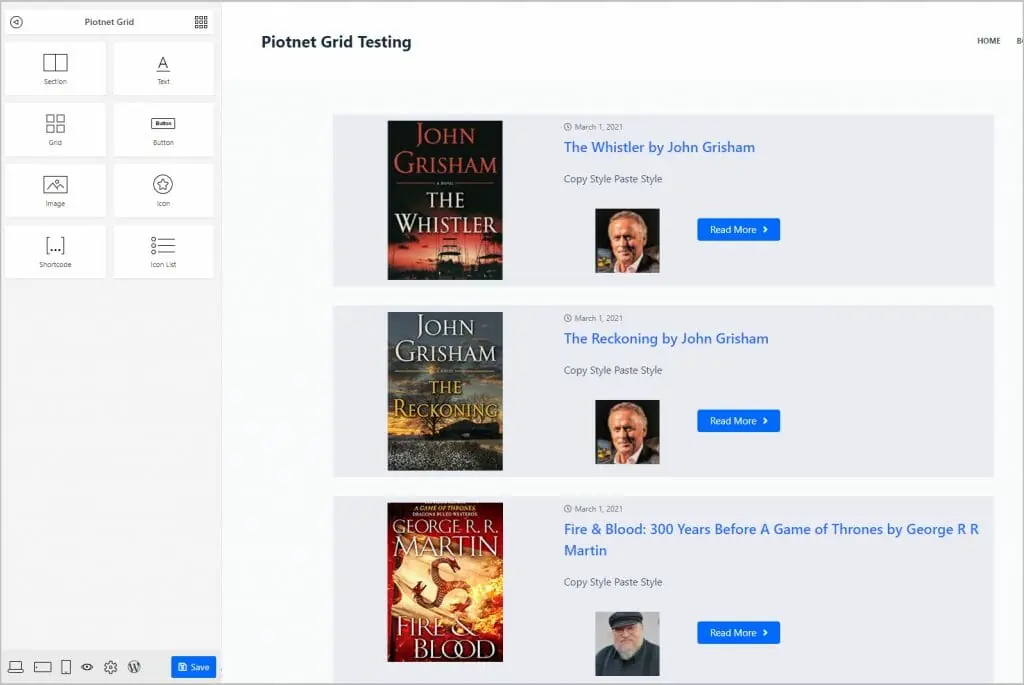
After saving I go to the front-end and we have the new archive showing now instead of the one created using Blocksy. Everything works.
Discussion and Conclusions
At this point hopefully you are getting a feel for the interface and process. Now for some discussion and conclusions.
There were a few things I noticed that could be improved. I saw there were demos for both regular use and for use when WooCommerce was installed, but these were not labeled. Another thing is allowing the user to pick a post for previewing when designing a card. That would make it easier to do things like adjusting image sizes. Also, as mentioned in the beginning of the video, more documentation would be helpful. I knew the steps involved from using other grid with facet builders, but an overview of those steps would be helpful for new users.
On the plus side, I found the editor to be pretty easy to figure out. The elements had a rich number of options and I was able to accomplish what I wanted to. Piotnet Grid is remarkably full featured and solid for a brand new plugin. Launching with support for ACF, Meta Box, Pods, and JetEngine is impressive. Toolset support was just added while I was making the video.
Being able to create custom grids is nice, but Gutenberg and page builders usually have some post grid option. What makes this standout is the ability to add front-end controls for filtering, sorting, and pagination. Creating the facets and adding them to a grid was also easy.
The ability to create custom archive pages is a great feature. It adds customization and flexibility options that you only find in advanced theme builders. For example, I was able to add the author’s photo to the book archive, something which you can’t do with Elementor Pro’s theme builder and which requires a bit of code to do with Beaver Themer.
Piotnet grid is nicely priced. Because I own their Elementor addon I got a 20% discount on my purchase. This is definitely a plugin I will use and if you need a grid builder with easy to implement front-end filters then the Piotnet Grid Builder is a good choice.