Table of Contents
This walk-through is a first look at the CubeWP Framework, a brand new solution for working with dynamic data. CubeWP calls itself an advanced end to end dynamic content framework. With the free core CubeWP Framework you can create Custom Post Types, add custom fields, and custom taxonomies, but there is also some ability to create templates for display on the frontend, frontend filters, and search options. CubeWP also has dynamic data integration with Elementor free and pro.
Note that in addition to the free core framework, CubeWP also has a number of premium extensions that add features for things like frontend forms, payment, and onsite communication. However, I found that the free plugin is so extensive that it deserves an article of its own and it was too much to try to cover everything at once, so I’ll focus on the core framework here and look at one of the premium extensions in a subsequent review.
Video Version
The video has the full walk-through. The written version is a summary of main points.
Overview of CubeWP

This is CubeWP in the WordPress plugin directory. You can see that it has fewer than 10 installs, so yes, it is brand new. I believe there has been a lot of beta testing and you can see that there have already been 9 minor updates.
The free version is the core framework and with the free version you can create Custom Post Types, custom taxonomies, and custom fields and then there are some other features which are somewhat limited. The idea is you build on this core. You can think of the free CubeWP as being like CPT-UI and Advanced Custom Fields combined, so there is some real value in the free version.
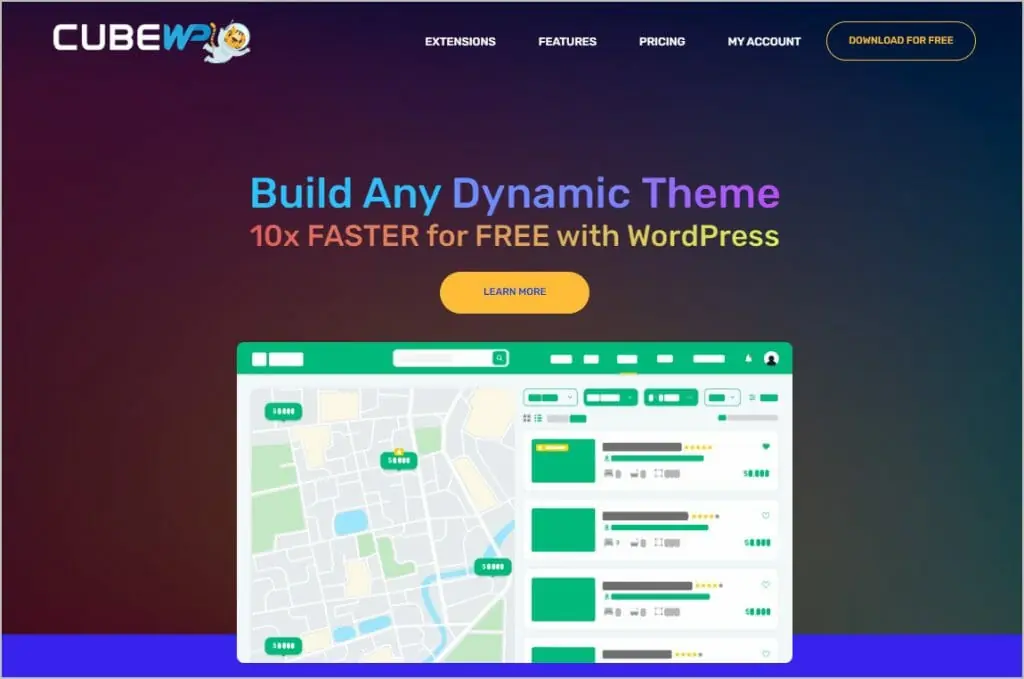
This is the company’s website. You can see that they have a number of premium / paid extensions. There is a frontend builder, Frontend Pro, which we will take a quick look at. There is a Payments extension for accepting payments using different revenue channels. There is also an Onsite Messaging Extension, Inbox, for direct user communications.
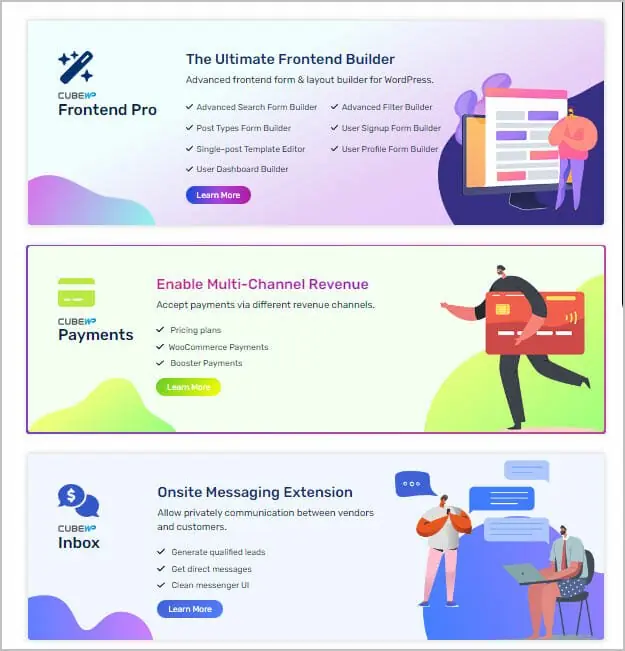
In the “coming soon” category, there is a Post Reviews and Rating extension, a traffic booster and promotion extension, and a Booking extension.

While the extension list doesn’t seem to be limited to any one niche, it seems like they might work well for creating directory, coaching, or membership types of sites.
Working With the CubeWP Framework

This is a testing site with the free Kadence theme. If we look at the plugins, we see that I have the free CubeWP Framework and the free version of Elementor installed and activated. I have the CubeWP Frontend Pro extension installed but not activated yet, because I want to show what you get with the free version. Elementor Pro is also installed but not activated, and later in the video we will use Elementor free and pro so you can see that integration.
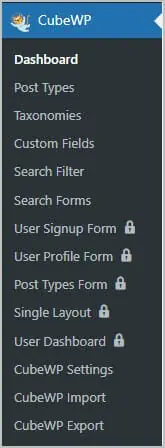
When you activate the CubeWP Framework you get a new area in the WordPress admin. You can see there are a number of settings pages. Some of them are unlocked and ready to use, and some of them have the lock icon next to them showing that they need the Frontend Pro extension to use.
The Dashboard page has a lot of links to documentation, support, YouTube, and their Facebook community. There is also some general information and ads for the pro extensions.
We will look at these in more details in a minute, but as an overview, the Post Types page is where you create custom post types, the Taxonomies area where you create custom taxonomies, and the Custom Fields area where you create custom field groups. Also unlocked are pages for customizing Search Filters and Search Forms. There is a Settings area and places for importing and exporting CubeWP data.
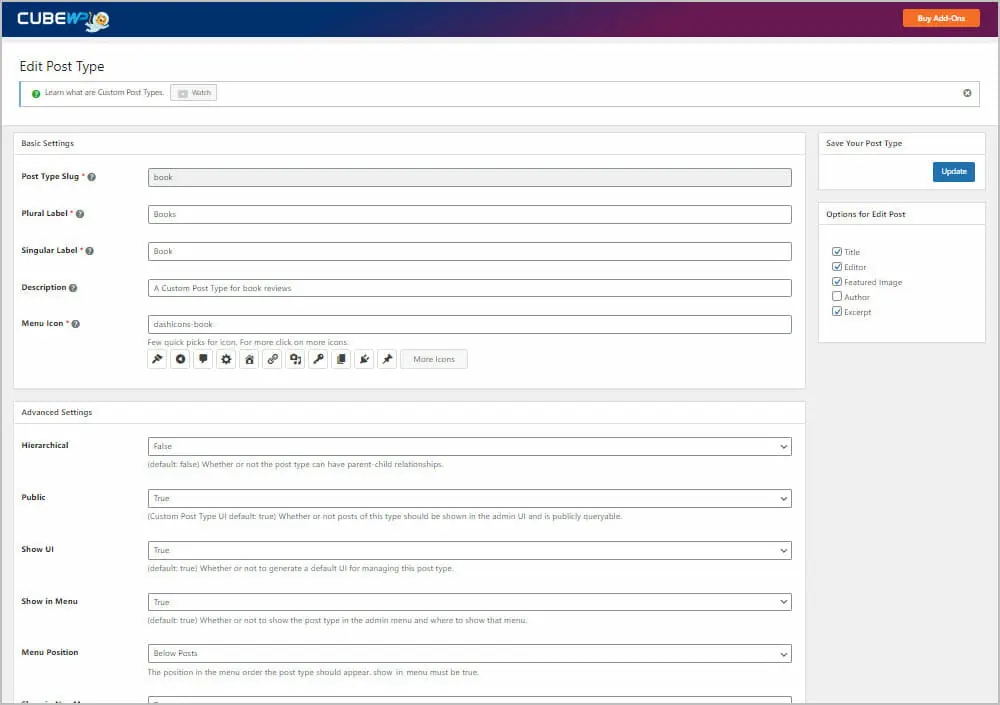
Lets begin by creating a Custom Post Type. Note that only these first three fields are required, the slug, plural label and single label. There are tool tips next to each field. The slug is what shows in the URL. I’ll type ‘book’. The Plural Label is “Books” and the Single Label is “Book”. For Description I’ll write “A Custom Post Type for Book Reviews”. For the icon I’ll click the More Icons button and pick a book icon.
Next are the Advanced Settings. I’m going to go with the defaults, but briefly, Hierarchical is like Pages where you can nest child pages under a parent page. WordPress and some themes and plugins have “private” post types that they use for storing their data, but this is a regular public post type to show in the admin and on the front. So Show UI and Show Menu are true. The Menu Position, we’ll go with below Posts. Show in Nav Menus and in the Admin Bar, on the side here and as an option on the “New” on the admin bar. Can Export true. Has Archive true, Exclude from Search false, Publicly Queryable and Query Var true. We don’t need a custom rewrite rule, we will use regular pretty permalinks, and we will go with Rewrite With Front as true and Show in REST API as true, because Gutenberg uses the REST API. On the side here you set what options the Custom Post Type supports. We will go with Title, Editor, Featured Image and click to add Excerpts. Now save.
As you can see, creating a new Custom Post Type is very quick. See, there are just three required fields. And another thing that simplifies the process is that they are going with the defaults for all of the labels. Probably half the screen or more when using CPT-UI is a long list of all of the labels, which you can customize. Mose people probably go with the defaults, but that is the only option here.
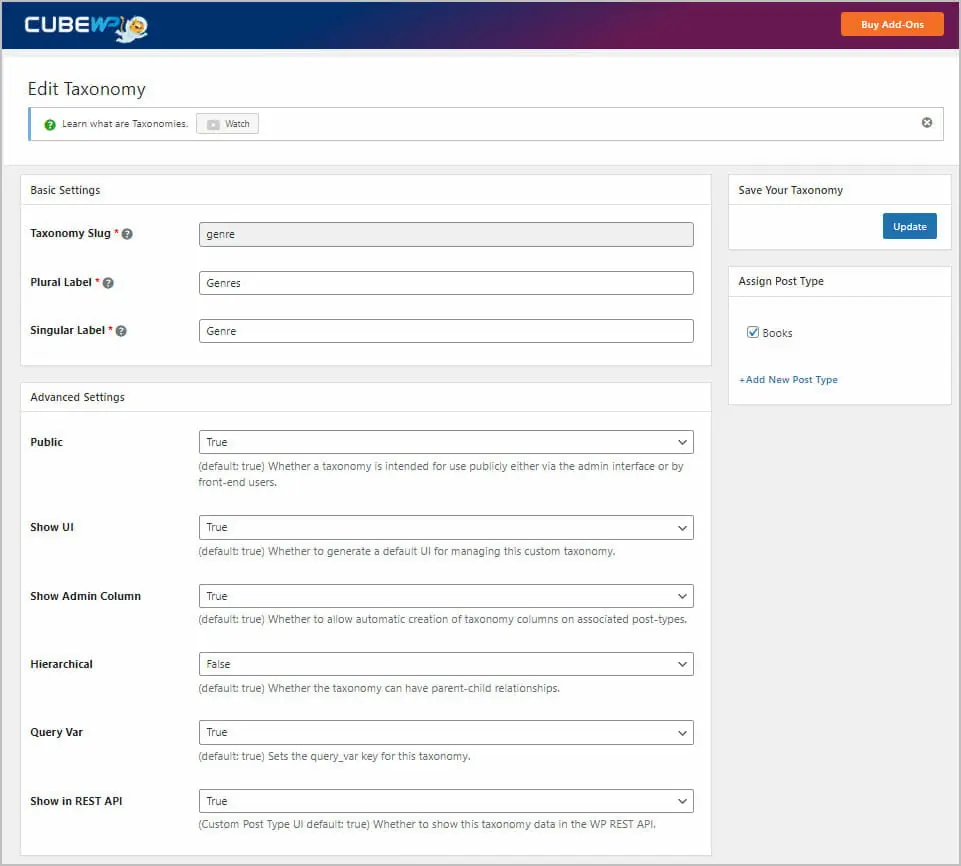
Now, to create a new taxonomy. This is similar to the Post Types creation screen. For slug I’ll enter “genre”, for Plural Label “Genres”, and for the Singular Label “Genre”. Again I’ll go with most of the defaults, that it is public, shown in the UI, and Show as an Admin Column for the post type, which is nice. I’ll set Hierarchical to false because I don’t need child terms. Then Query Var true and Show in REST API to true. On the side, I’ll check to associate this taxonomy with the Books Custom Post Type. Now save.
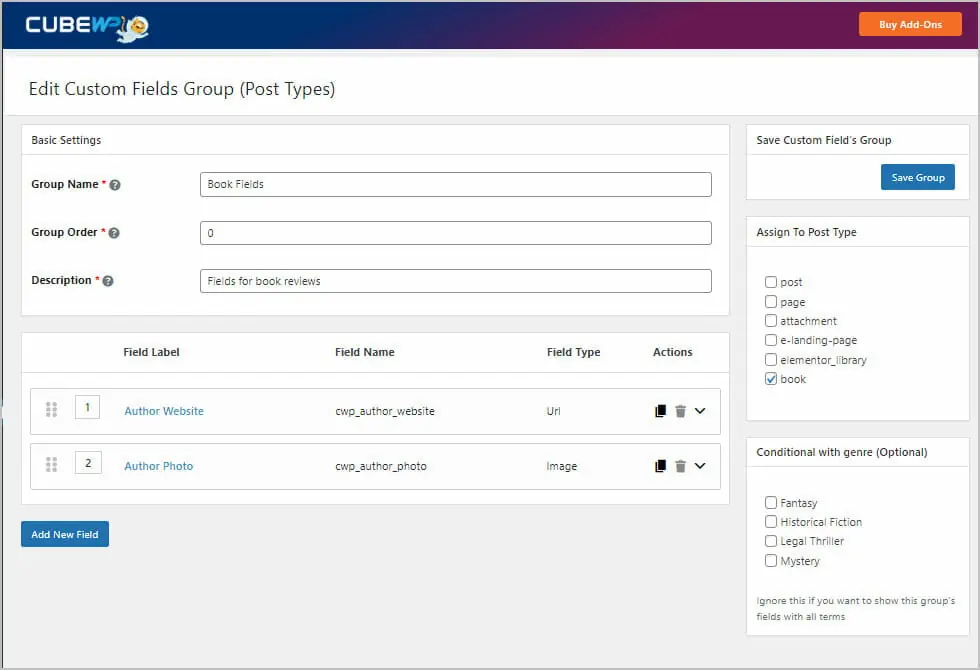
OK, now lets add some Custom Fields. You can see that you can add custom fields to post types, to taxonomies, and to user profiles. It says “User Roles” but the fields are added to the user records. So we create a new custom fields group. We’ll name it Book Fields. The order is for the order it shows at the bottom of the post edit screen if there is more than one group. For the Description we’ll say “Book Review Fields”.
When you click on Add New Field, the first field is the label that shows. We’ll say Author Website. Then there is the place for the Field Name. This is auto-generated and locked, but that auto generated name is not meaningful and hard to remember, so I’ll click the lock icon and name if “cwp_author_website”. I guess I’ll keep the “cwp” prefix and lock it again. If you change this after values have been added you will lose them.
Then we select the field type. There is a huge list of field types: Text, Number, Email, URL, Password, Text Area, WYSIWYG Editor, oEmbed, File, Image, Gallery, Switch, Color, Range, Dropdown, Checkbox, Radio Button, Google Address (which I guess is for maps), Date Picker, DateTime Picker, Time Picker, Post, Taxonomy, User, and Repeating Field. Post, Taxonomy, and User are relations to other post types and repeaters are a powerful option. So, for this field we want URL.
For Description I’ll say “Link to author’s website”. I’ll turn on Validation and have the validation message be “Valid URLs only”. The ID, Class, can Container Class here are for CSS styling on the frontend. So I’ll say for the ID “cwp_author_website” and leave the others blank for now. We can always come back and add it if needed. You can set the metabox size to be full width or half width, I’ll go with half width. Then Show in REST API to Yes and Condition Logic to No. Conditional Logic is so you can set a display condition.
Now we’ll add a second field and call this one Author Photo. Again I’ll unlock the name field and set this one to “cwp_author_photo”. This will be an Image field. For file types, I guess you can use this if you want to limit the types of images and have validation. I’ll set it to “image/jpeg,image/png” using the mime types, and the validation message to “Valid images only”. For ID again I’ll set it the same as the name, set the Metabox field size to half width, and Show in REST API to true.
Now back at the top of the page, I’ll assign this to the book post type and click Save Group. Great. You can see how quickly you can create a Custom Post Type. It is really streamlined.
Let’s go and add a book record. Here are the regular fields, Title, Content, and Featued Image. Here is the place for the Taxonomy Genre, and here at the bottom for the two custom fields. OK, I copy over a record. The Title will be “Long Range by C.J. Box”. I’ll paste in some dummy text for the content. The Genre will be Mystery and I’ll use the book cover image for the Featured Image. I’ll paste in the link to the Author’s Website and pick the Author’s Photo from the media library. Now save.

OK, I’ve added a bunch of book records and a menu item for books. Let’s go to the front, click on Books, and here is the default archive page.

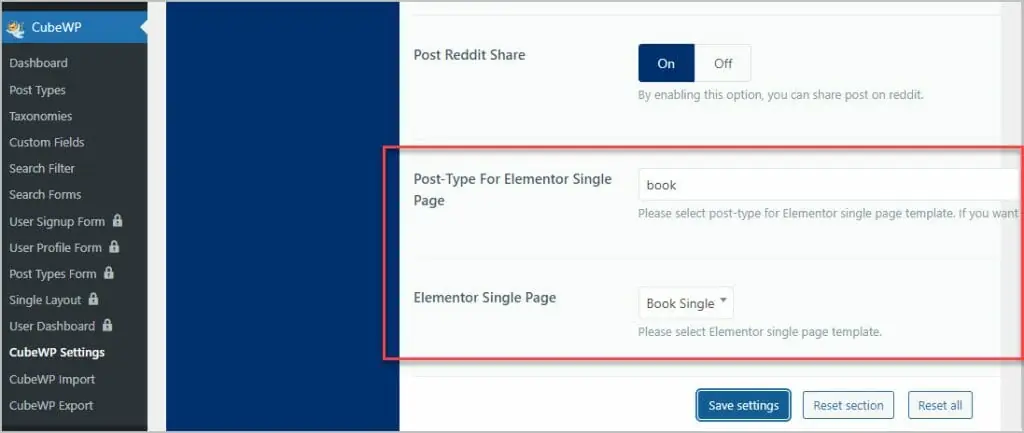
CubeWP has the option to use a special integration with Elementor free to create the single template for the Custom Post Type.
Discussion and Conclusions
It is clear from the core framework and the list of premium extensions that CubeWP wants to be an end to end solution for working with dynamic data. Now there are two parts to working with dynamic data, the creation on the backend and then the display on the front.
I found the process of creating the Custom Post Type, taxonomy, and adding custom fields on the backend to be very straightforward and fast. The CubeWP team has streamlined the process, left off labels and some of the more rarely used options. That will work for most users but if you do need to use one of the more obscure settings then it would good to have some way to access them, perhaps with a filter. All in all, though, CubeWP is like an easier to use version of CPT-UI.
So the creation portion is pretty smooth and well developed for a brand new tool, but what about the display on the frontend? The CubeWP team decided to offer their own brand of custom fields, rather than support something like ACF, Advanced Custom Fields. That eliminates the dependency on another plugin, but it means that they must deal with 3rd party builder compatibility or create their own builder. Creating your own builder is a big job and the layout options built-in to CubeWP are still a bit primitive compared to the rich feature set users are familiar with. To deal with this, CubeWP has a good integration with Elementor and the dynamic data features work, even with Elementor free. Too bad that the custom templating integration with Elementor free only works with the post single template. This is a place where it would be good if CubeWP either allowed users to customize the archive layout more or extended the special Elementor integration to also include the archive.
The CubeWP team has some ambitious plans with the premium extensions, so it is in their best interest to integrate with other builder options, perhaps by adding some Gutenberg blocks and by exposing the custom fields for the Bricks Builder like they did for Elementor.
The CubeWP Framework is new and the team is looking for feedback from users. Go ahead and try it out and let them know what you think. It is a free plugin. By providing a feature rich free plugin CubeWP shows that they want to be a serious option. Further, if we look at the types of pro extensions they have and that are planned, we can see that they are targeting niches that often rely on dynamic data, creating a natural pairing with their core framework.